X
wikiHow is a “wiki,” similar to Wikipedia, which means that many of our articles are co-written by multiple authors. To create this article, volunteer authors worked to edit and improve it over time.
This article has been viewed 29,118 times.
Learn more...
The Under Saarthal quest in Skyrim can be challenging, but we have you covered. In addition to solving tricky puzzles, you'll need to find 4 artifacts, including the Saarthal amulet. But once you retrieve the amulet, you'll wind up in a trap! We'll show you how to use the Saarthal amulet to escape the trap and continue on the quest.
Steps
Part 1
Part 1 of 3:
Entering Saarthal
-
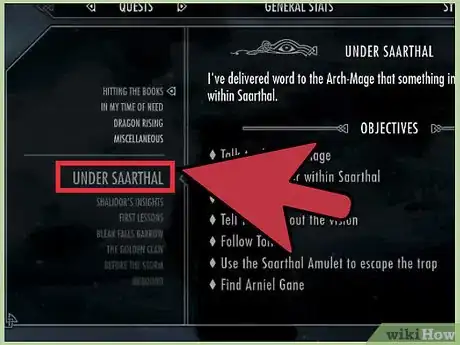
1Start the quest “Under Saarthal.” This quest will automatically be given to you as you go through the College of Winterhold main quests. It will come immediately after “First Lessons,” where Mirabelle Irvine tours you around the college and Tolfdir teaches you how to use a basic ward spell. Tolfdir will then instruct you and the other students to meet him near the ancient crypt of Saarthal.[1]
-
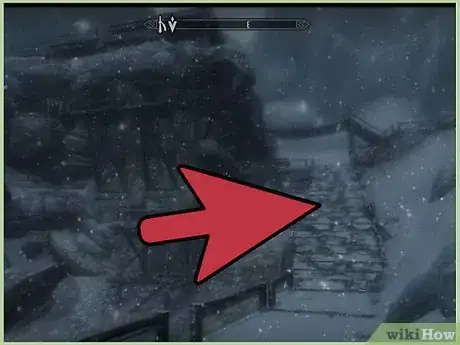
2Find Saarthal. Once you have started the “Under Saarthal” quest, the next thing you need to do is actually get to Saarthal. The crypt is directly southwest of Winterhold, and is easily reached by following the road south of Winterhold and swerving west when you see a clear snow-filled pass between the mountains.
- Watch out for snow bears, ice wolves, and snowy sabre cats on the way to Saarthal. They can be hard to spot, especially if it is snowing heavily.
- Do note that Saarthal’s dungeon entrance will be locked if you have not gone through the “Under Saarthal” quest. The entrance cannot be picked, and the only way to enter it is when Tolfdir opens it up to you as the quest progresses.
Advertisement -
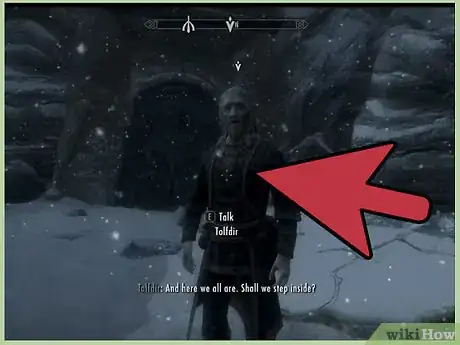
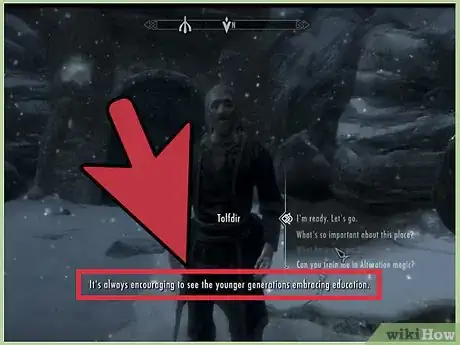
3Enter Saarthal. Once you reach Saarthal, you will find Tolfdir and your fellow students standing outside the main entrance. Talk to him, tell him you’re ready, wait for him to speak to the others, and follow him inside.
- Make sure you have a few torches or the Candlelight spell ready before descending into Saarthal. The dungeon will be somewhat dark, and these sources of light will help you find the items that you need to get through the dungeon.
Advertisement
Part 2
Part 2 of 3:
Finding and Using the Saarthal Amulet
-
1Receive your assignment. Tolfdir will continue his lecture on Nordic history as you and your fellow students descend into Saarthal. He will eventually get around to assigning tasks to your fellow students. Once he gets through with them, he will then turn to you and assign you to assist Arniel Gane.
-
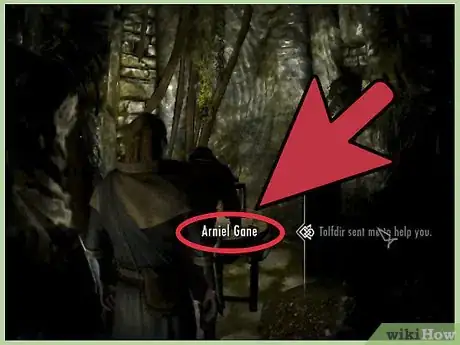
2Find and assist Arniel Gane. Simply follow the quest marker leading to Arniel, and you will eventually find him in a chamber fussing over his research. Talk to him, and he will instruct you to find a few artifacts. New quest markers will appear, and they will lead you to various artifacts within Saarthal, including the Saarthal amulet.
- Look carefully at all the objects, and make sure to pick up the rings before picking up the amulet. These enchanted rings are not essential to finishing the quest, but they will give you a bonus to health when equipped or can be sold for a tidy sum if you do not need them. If you pick up the amulet before the rings though, the quest markers for those rings will disappear, making them much harder to find considering their small size and relative darkness of the dungeon.
-
3Pick up the Saarthal amulet. The amulet itself is on a bust located in a carved-out niche on a wall. Picking up the amulet will cause spikes to appear from the wall and lock you inside the alcove where you found the amulet. Tolfdir will rush to your side and suggest that the amulet may have something to do with your predicament.
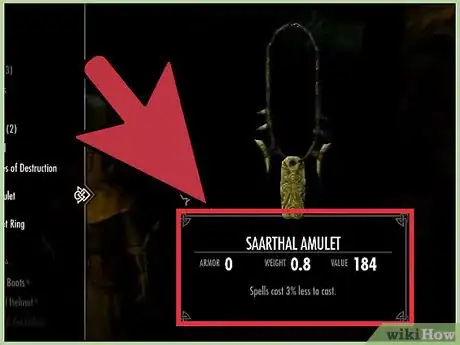
- Equipping the Saarthal amulet will reduce the costs of all your spells by 3%. You cannot disenchant this effect from the spell, but it can help reduce casting costs when stacked with the Diadem of the Savant (less 5%) and the Archmage’s Robes (less 15%)[2]
-
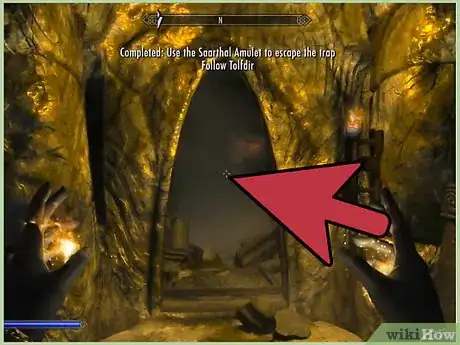
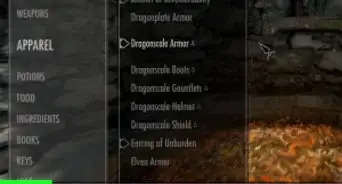
4Escape the trap. Access your inventory, open the Apparel tab, and equip the Saarthal amulet. Doing so will allow you to see a magical ripple in one of the nearby walls. Tolfdir will make a comment wondering if your spells might have an effect on the ripple. Now equip any targetable spell and cast it on the ripple. Doing so will reveal a hidden passageway leading to a previously untouched burial chamber.
- Any spell or shout will work on the ripple, including the basic “Flames” spell that you start out with.
Advertisement
Part 3
Part 3 of 3:
Escaping Saarthal
-
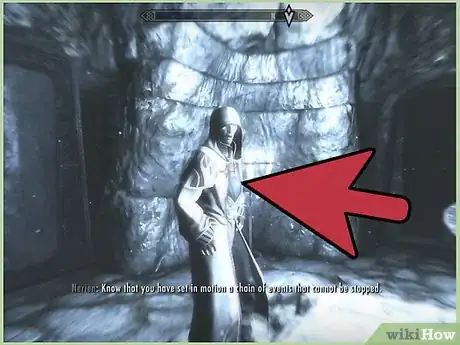
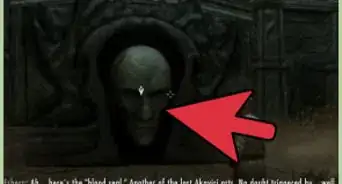
1Meet the Psijic. Follow the newly revealed passageway and you will reach a burial chamber. Tolfdir will appear at your side, and time will stop as the Psijic named Nerien appears and gives you a dire warning. Draugr will break out of the nearby sarcophagi once you finish discussing this strange experience with Tolfdir. Slay them, and continue onwards.
-
2Solve the first pillar puzzle. The dungeon is relatively straightforward, but you will eventually encounter two puzzles involving rotating pillars. The first puzzle is relatively easy, as all you need to do is match the animals on the pillars to the animals hidden behind each pillar. Use a torch or the Candlelight spell to have an easier time finding these symbols.
-
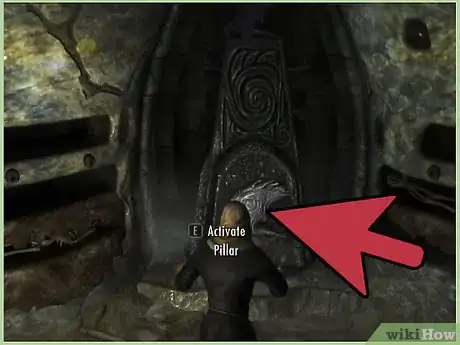
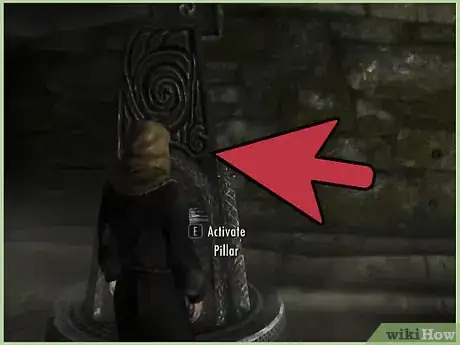
3Solve the second pillar puzzle. This second puzzle is a bit trickier as rotating three of the four pillars will also rotate other pillars. To solve the puzzle, start by orienting yourself. Face the locked gate and step back until you see all four pillars in front of you. You should have two pillars on your left and two pillars on your right with the lever in between them all. [3] [4]
- Take note of the four animal symbols etched into the wall prior to reaching the rotating puzzles. You should see a snake on the first symbol to your left, a whale on the first symbol to your right, another whale on the second symbol to your left and an eagle on the second symbol to your right.
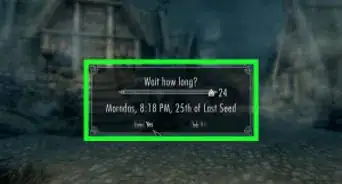
- Save your game before rotating any of the pillars. This will make it easier to rotate them in order without wasting too much time.
- Approach the left pillar nearest the locked gate and mentally note this pillar as “one.” Rotating “pillar one” will also rotate all the other pillars in the room. Turn it so that it reveals a fish. Go back to your starting position and reorient yourself.
- Now approach the closest pillar to your left. Mentally note this pillar as “two.” Rotating this pillar also rotates the two other pillars on your right. Turn it so that it reveals a snake. Reorient yourself.
- Approach the right pillar nearest the locked gate. Mentally note this pillar as “three.” Rotating this pillar will cause the other right pillar to rotate. Rotate “pillar three” so that it shows the eagle. Reorient yourself once more.
- The pillar to your immediate right will rotate no other pillar. Mentally note this pillar as “four” and rotate it to show the whale. If you have done this correctly, pulling the lever should open the way forward. If it didn’t work, reload your earlier save and start from the top.
-
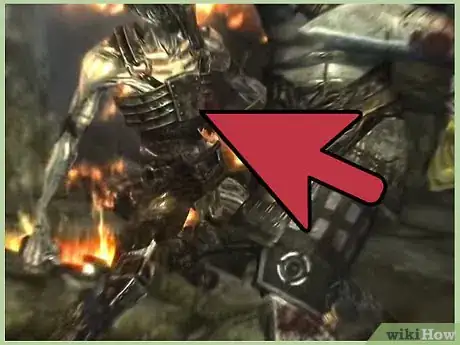
4Defeat Jyrik Gauldurson. Once you reach the end of Saarthal, you will spot a gigantic glowing orb. Tolfdir will make a remark about the orb and will awaken a particularly powerful draugr by the name of Jyrik Gauldurson. You will be unable to damage Gauldurson until Tolfdir turns his attention to the orb and strikes it with lightning. This will make the draugr vulnerable and will allow you to kill it, which will allow you to leave the dungeon and move on to the next step of the College of Winterhold quest line.
- Jyrik Gauldurson will cast an elemental shield that rotates every now and then. Take note of whatever element cloaks him—fire, ice, or lightning—and avoid casting spells of that element until he switches elemental shields.
- Be sure to loot Jyrik Gauldurson’s corpse to pick up the Gauldur Amulet Fragment as well as the Writ of Sealing. Reading the latter will open up the “Forbidden Legend” quest if you haven’t started it already.
- Make sure to pick up the Staff of Jyrik Gauldurson as well. It is located on the table in front of Jyrik Gauldurson’s throne and is useful for inflicting damage while simultaneously damaging the target’s Magicka.[5]
Advertisement
References
- ↑ http://www.uesp.net/wiki/Skyrim:Under_Saarthal#The_Saarthal_Amulet
- ↑ http://www.uesp.net/wiki/Skyrim:Fortify_Spells
- ↑ http://guides.gamepressure.com/theelderscrollsvskyrim/guide.asp?ID=13190
- ↑ https://www.youtube.com/watch?v=QZlWMPE9BAA
- ↑ http://elderscrolls.wikia.com/wiki/Staff_of_Jyrik_Gauldurson
About This Article
Advertisement
