This article was co-authored by wikiHow Staff. Our trained team of editors and researchers validate articles for accuracy and comprehensiveness. wikiHow's Content Management Team carefully monitors the work from our editorial staff to ensure that each article is backed by trusted research and meets our high quality standards.
There are 11 references cited in this article, which can be found at the bottom of the page.
This article has been viewed 12,740 times.
Learn more...
Aquapel is a product you can apply to any glass surface to repel water. The chemicals bond with the glass, causing rain and other liquids to bead and fall off.[1] It is especially useful to improve your visibility when you’re driving, keep your shower doors water-mark free, and make other glass surfaces look cleaner for longer. Pre-cleaning the windshield, window, or any other glass surface is key to ensuring the Aquapel properly bonds to the glass.
Steps
Applying Aquapel to Your Windshield
-
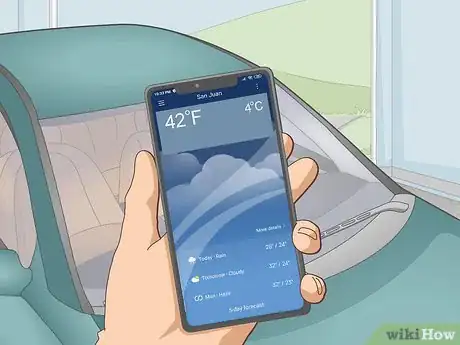
1Check the weather to make sure it’s above 40°F (4°C) and not raining. Before you prepare your windshield, make sure it’s not raining or too cold because water and near-freezing temperatures can affect how Aquapel bonds to the glass. Your car can be in an open garage or outside—direct sunlight won’t affect how the chemical bonds to the glass.[2]
- If your car is parked under a tree, move it to an open-sky area to prevent debris falling onto the windshield.
-
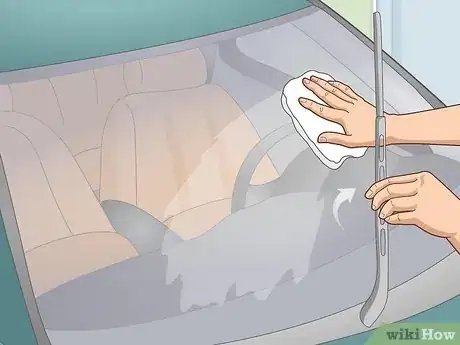
2Lift the windshield wipers away from the glass and wipe them clean. Lifting the wipers will allow you to clean the entire windshield without missing the areas under the wipers. Grasp each wiper at the mid-way point and pull them at a diagonal angle away from the glass. Then wet a paper towel and wipe them clean so they can sweep off rain without leaving streaks across the windshield.[3]
- Make sure the wiper blades aren't worn or misshapen because that affects how efficiently they wipe raindrops away.
- If your blades are worn out, buy replacements at any hardware or automotive parts store.[4]
- If you have a windshield wiper on the rear window, pull that one up as well. Note that if you’re applying it to the back window, you’ll need a second applicator because a single applicator only covers a little more than 1 windshield.
Advertisement -
3Clean the windshield with a professional glass cleaner. It's important to clean the glass first so the Aquapel can bond with the glass (and not any residue or dirt sitting on top of the glass). Spray glass cleaner onto the windshield and use a paper towel or rag to wipe it clean.[5]
- Do this for all of the windows where you plan to apply Aquapel.
- Inspect the windshield from several angles to make sure there are no streaks or dirty spots left.
-
4Wear safety goggles or glasses to protect your eyes. Aquapel can irritate your eyes, so put on a pair of safety goggles or glasses to prevent any accidents. If it does get in your eyes, flush them with water for 5 to 10 minutes.[6]
- If your eyes continue to show signs of irritation (redness, burning, pain), go to a doctor.
-
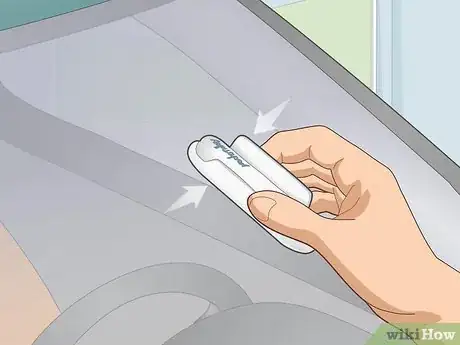
5Touch the felt base of the applicator to the glass and squeeze the applicator’s wings. Grip the applicator with your thumb, index, and middle finger, and hold it onto the glass. Squeeze the small wings on either side of the applicator (where your fingers are gripping it) until you hear a pop and see that it's releasing the Aquapel.[7]
- Make sure to hold the applicator level for even distribution.
-
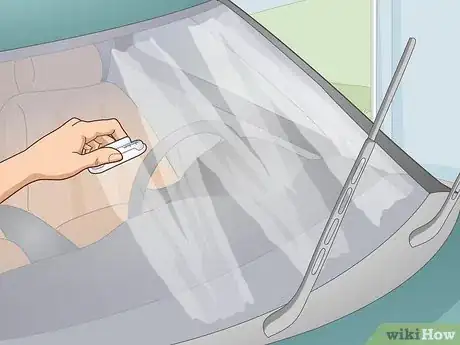
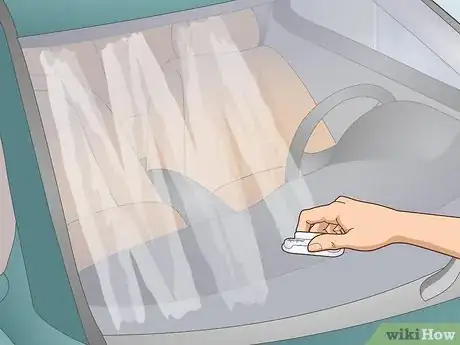
6Apply the Aquapel to 1 side of the windshield in a criss-cross pattern. Use medium pressure to apply the product to half of the windshield, using long strokes from the top to the bottom. Then, apply it over the same area moving from side to side to make a criss-cross pattern.[8]
- Use the black outline of the windshield as a guide so you avoid getting the product on any painted areas of the car.
- You only need to apply 1 layer, so work slowly and make sure you haven’t missed any strips of glass.
- The Aquapel will start to bead as you apply it.
- Avoid getting Aquapel on the wiper blades or molding.
-
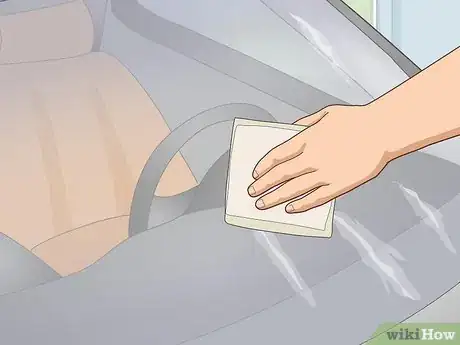
7Wipe away any excess Aquapel with a paper towel or clean rag. Once you've applied Aquapel to one half of the windshield, wipe off as much of the residue as you can—do not let the product sit on the surface for longer than it takes you to apply it.[9]
- Fold or rotate the towel if you need to so you're using a dry side for each section of the windshield.
-
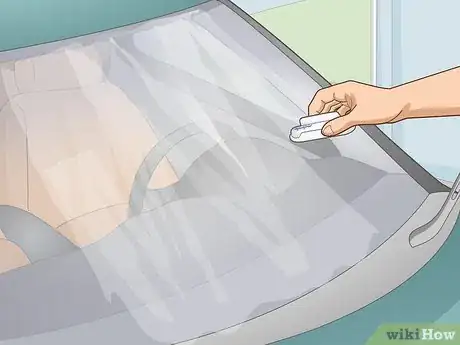
8Repeat the criss-cross application and wiping process on the other side. Start at the top of the windshield near the center and make long strokes up and down the window. Then reapply it from side to side. Once you’re done, use a clean rag or paper towel to wipe the product away.[10]
- It’s okay if you accidentally go over an area that you covered in your first application on the other side.
-
9Reapply Aquapel on the area in front of the driver's seat and then wipe it clean. To get the most visibility when you’re driving, reapply the product to the windshield in front of the driver's seat in a criss-cross pattern and then wipe it away just as you did in the beginning. There should be just enough left in the applicator to cover the area in the driver’s line of vision, but if not, open a new one.[11]
- Dispose of the applicator and paper towels in a trash can after you’re done. Do not try to wrap the applicator to save some for later use.
- Aquapel will work for up to 6 months and won’t come off in the car wash.
-
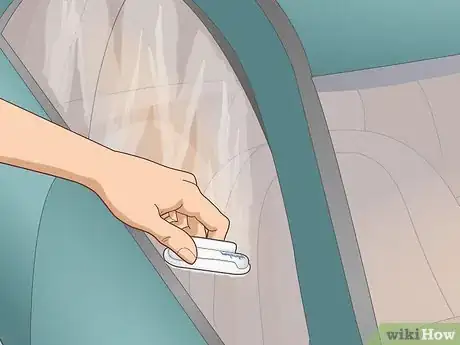
10Treat the back and side windows with 1 or 2 new applicators if desired. Each Aquapel applicator has enough of the product to treat 1 average-sized windshield (like on a sedan). For a 2-door car with only 2 large windows on the sides (and 2 small triangle ones), you can use 1 applicator to treat those along with the small rear window. For a 4-door car, use 1 applicator on the 4 side windows and 1 applicator on the rear window.[12]
- For a large van or a sedan with a large sunroof, you’ll need a total of 3 to 4 applicators to treat all of the glass.
Using Aquapel on Glass Surfaces
-
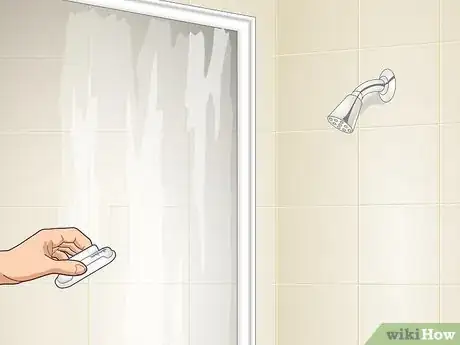
1Protect your shower doors from watermarks and soap scum. First, clean your shower doors with a glass cleaner until any existing watermarks are gone. Hold the applicator at the top of the glass and make streaks going up and down the door. Then start at the top of the door and sweep it on from side to side. Work in criss-cross patterned blocks until you've covered the entire surface and then use a paper towel to wipe off the product as soon as you finish applying it.[13]
- Stop 1⁄2 inch (1.3 cm) away from the sides of the door so you don't get any product on the molding.
- One applicator should be enough for a single shower door. If you have 2 or 3 large glass walls around your shower, you may need 2 or 3 applicators.
- Reapply the product every 6 months.
-
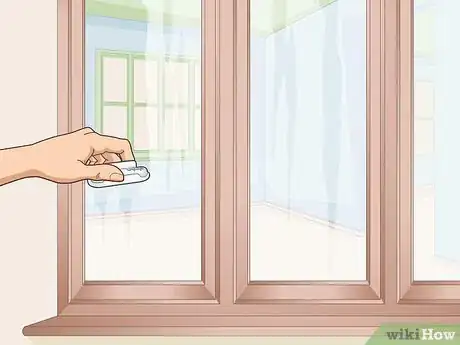
2Use it on house windows to prevent rain streaks. Clean the outside of your home windows with glass cleaner and a rag. Then apply a layer of the product on 1 or 2 small windows at a time in a criss-cross fashion. As soon as you’ve covered 1 or 2 small windows, wipe it away with a clean cloth and move on to the next set of windows.[14]
- Note that 1 Aquapel applicator holds enough product to cover a windshield, so you may need to stock up if your house has a lot of small windows or floor-to-ceiling windows.
- If your windows have painted panes, leave 1⁄2 inch (1.3 cm) of room around the edges when you’re applying it.
-
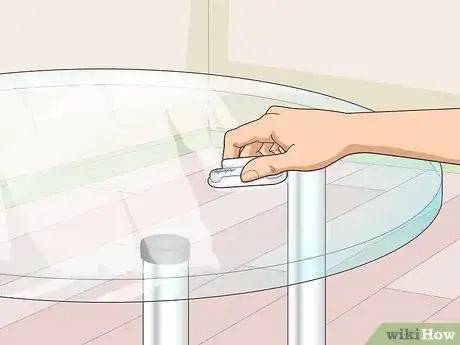
3Apply it to glass tables to protect from spills and watermarks. Clean the table with glass cleaner and then apply Aquapel in even, parallel strokes before going over it again to form a criss-cross pattern. Once you’ve covered the whole table in a criss-cross pattern, wipe the table clean with a rag or paper towel. Don’t let the product sit on the table for any amount of time—wipe it down as soon as you finish applying it.[15]
- Any spilled liquids will bead on top of the surface so you can easily wipe the mess away.
- If your glass table has water rings, rub out the marks with saltwater and a rag or white vinegar and lemon juice before applying Aquapel.
Warnings
- Store Aquapel in a cool, dry place away from heat, flames, and direct sunlight.[16]⧼thumbs_response⧽
Things You'll Need
Applying Aquapel to Your Windshield
- Glass cleaner
- Safety glasses
- Paper towels or clean rags
Using Aquapel on Glass Surfaces
- Glass cleaner
- Paper towels or rags
- Vinegar and lemon juice or salt water (optional, for removing water rings)
References
- ↑ http://www.aquapel.com/how-Aquapel-works.php
- ↑ http://www.aquapel.com/PDF/AquapelPromoSheets2005.pdf
- ↑ https://youtu.be/GkLUmYUmU-A?t=61
- ↑ https://youtu.be/GkLUmYUmU-A?t=40
- ↑ https://youtu.be/GkLUmYUmU-A?t=42
- ↑ http://www.aquapel.com/PDF/MSDS-EN.pdf
- ↑ https://youtu.be/GkLUmYUmU-A?t=78
- ↑ https://youtu.be/M0me-Rhco3c?t=91
- ↑ https://youtu.be/GkLUmYUmU-A?t=123
- ↑ https://youtu.be/M0me-Rhco3c?t=91
- ↑ https://youtu.be/GkLUmYUmU-A?t=150
- ↑ http://www.aquapel.com/PDF/AquapelPromoSheets2005.pdf
- ↑ http://www.aquapel.com/Aquapel-Household-Applications.php
- ↑ http://www.aquapel.com/Aquapel-Household-Applications.php
- ↑ http://www.aquapel.com/Aquapel-Household-Applications.php
- ↑ http://www.aquapel.com/PDF/MSDS-EN.pdf
