This article was co-authored by Ikaika Cox. Ikaika Cox is the Shop Director at the Salt Lake City branch Bicycle Collective in Salt Lake City, Utah. He has been a bike mechanic since 2012, beginning as a volunteer with the Provo Bicycle Collective, and growing and honing his skills as a bicycle mechanic and educator in multiple Bicycle Collective locations over the years. He now leads the Salt Lake City branch of the Bicycle Collective.
This article has been viewed 181,221 times.
Bikes are often broken down into separate pieces so they can fit into smaller cartons, which means you’ll have to put them back together yourself. How they’re broken down depends on the manufacturer, make, and model, so it’s always best to refer to the owner’s manual for exact instructions. A Schwinn mountain bike, for example, requires you to attach the seat, handlebar, front wheel, and pedals.
Steps
Setting Up for Success
-
1Find the owner’s manual. Take the bike out of its box. Set its protective wrapping aside. Locate the owner’s manual. Refer to this for exact instructions regarding your specific bike.
- If you don’t have an owner’s manual, check the manufacturer’s website. Many post instructions for assembly there.
- You can also consult someone at your local bike shop if you have questions or need additional help assembling your bike.
-
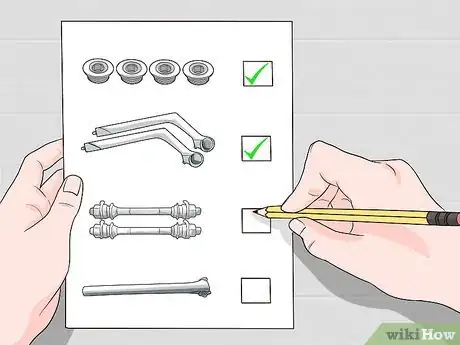
2Check if all parts are included. Before you begin, make sure you have everything you need. Double-check the box’s contents with the parts listed in your owner’s manual. If anything is missing, contact the seller and notify them.
- Don't throw anything away until you’re finished. Smaller parts could possibly be hidden in the box or protective wrapping.
Advertisement -
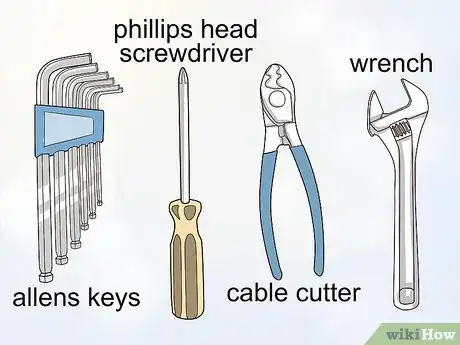
3Get your tools. Again, refer to the owner’s manual to double-check which tools are required for assembly. Expect types and sizes may vary according to the make and model. However, generally speaking, you will most likely need:
- Allen keys
- Cable cutters
- Phillips head screwdriver
- Wrench
-
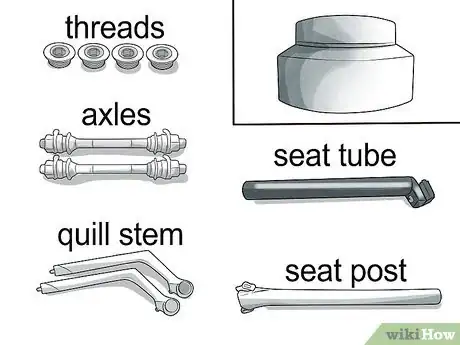
4Lubricate your parts. Check your manual to find out which parts should be lubricated (and with which type of lubricant). Inspect your bike to locate any metal parts that will come into direct contact with other metal parts. Apply lubrication here to reduce damage from friction and corrosion. Such areas will probably include parts like the:
- Axles
- Quill stem
- Seat post
- Seat tube
- Threads
Attaching the Seat
-
1Locate the minimum insertion mark. Inspect the post attached to your seat's saddle. Locate the mark that indicates how far this should be inserted into the seat tube to achieve the maximum safe height for your seat. If desired, you can place it deeper than this for a lower seat, but always insert it at least this much to make sure your seat is securely in place.
- A seatpost that is not inserted deeply enough into the seat tube can easily damage or destroy your frame if you attempt to ride the bike.
- If you want a higher seat than the insertion mark allows, you will need to purchase this separately.
-
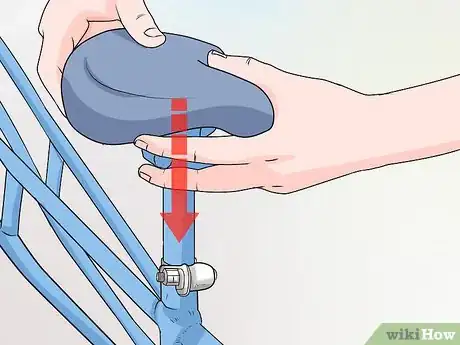
2Slip the post into the tube. First, grease the seat post if you haven’t already. Slip it into the corresponding tube on the bike’s body. Push it in until the minimum insertion mark is inside the tube.
- If grease isn’t included with your new bike, any waterproof, hi-temp grease will work. You can purchase this grease at any hardware store.
-
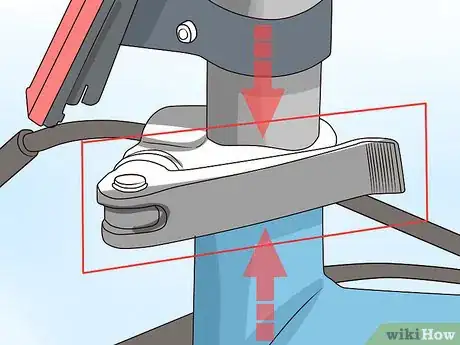
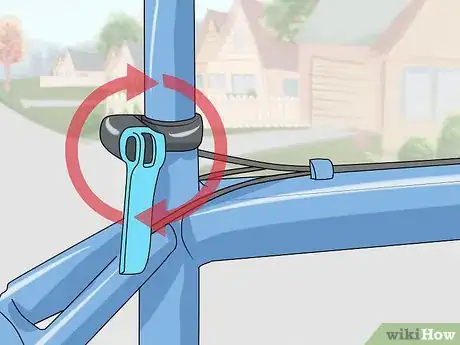
3Tighten and adjust. Depending on the make and model, there should be either a bolt or a quick release mechanism on the outside of the seat tube. Whichever one it is, tighten this once you’ve inserted the post to your desired depth. Secure the seat post in place so it isn’t jarred out of place as you ride.
-
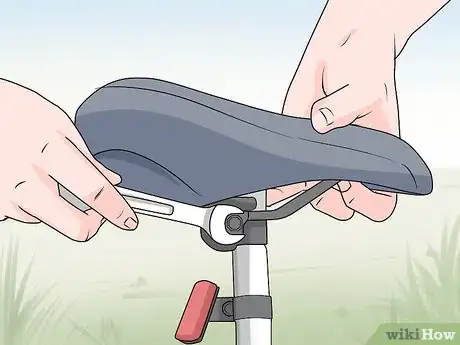
4Center the saddle. Once the post is secure, move up to the seat’s saddle. If needed, adjust its position so it’s centered over the post. Then tighten its bolts to fix it.
Moving on to the Handlebar
-
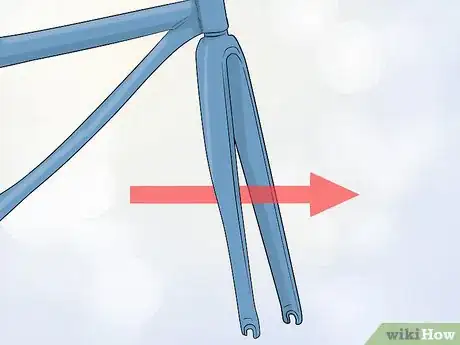
1Face the fork forward. Locate the wheel mounting slots and axle on the bike’s fork for the forward wheel. Make sure they’re facing away from the bike itself. If they aren’t, simply twist the fork around until they are.
-
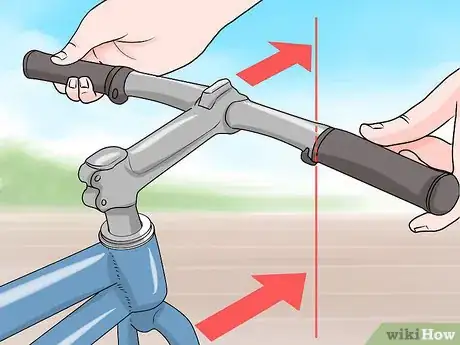
2Immobilize the handlebar. Before you attach it to the bike’s body, make sure the handlebar isn’t able to move on its stem. Adjust it so it’s positioned as though you were riding forward in a straight line. Then tighten the stem bolts to fix it in this position.
-
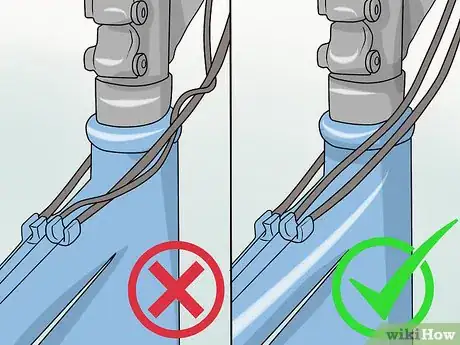
3Inspect the cables. If your bike has any brake or shift cables attached to the handlebar, give them a quick inspection. Double-check to be sure that they haven't become tangled up or knotted. If needed, undo any knots or twists.
-
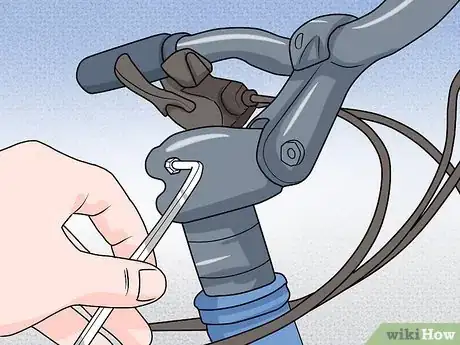
4Attach the handlebar to the bike. First, refer to your owner’s manual to determine if your handlebar has a quill stem or an A-head. Each requires different steps to attach it to the bike’s body. Depending on which you have:
- Quill stem: Lubricate the stem with grease. Locate the minimum insertion mark on the wedge-shaped part at its bottom. Insert this into the bike’s corresponding tube. Make sure the handlebar is aligned with the fork, then tighten the stem center bolt.
- A-head: Locate the stem cap, undo its bolts, and remove the cap. Fix the handlebar on top of the stem. Replace the cap and bolts and retighten them.
- Consult your owner’s manual find out how much torque you need to correctly attach your handlebar. If you don’t have a manual, get advice from someone at your local bike shop.
Working on the Wheels
-
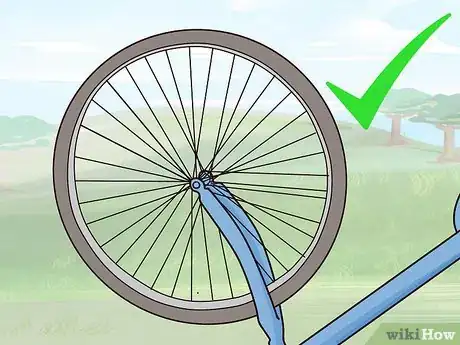
1Make sure each tire is mounted correctly on its rim. Go over each side of the wheel. Look along the rims. Confirm that the tires are evenly placed over the rims. Adjust if necessary.
-
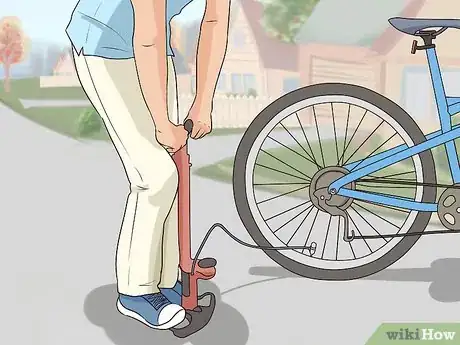
2Inflate the tires. First, find their recommended air pressure, which should appear on the tire itself. Then remove their caps and fasten your bike bump to the valve. Inflate them slowly so you don’t go over the recommended air pressure and burst your tire by accident.
-
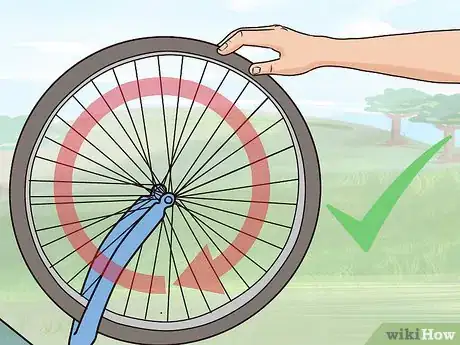
3Recheck how the tires are seated on the rims. Once the tires are inflated, give them a spin. Make sure they’re still seated evenly over the rims once they come to a stop. If not, release the air, readjust the tires, and repeat until they’re in the proper position once inflated. Replace the valve cap when you’re all done.
-
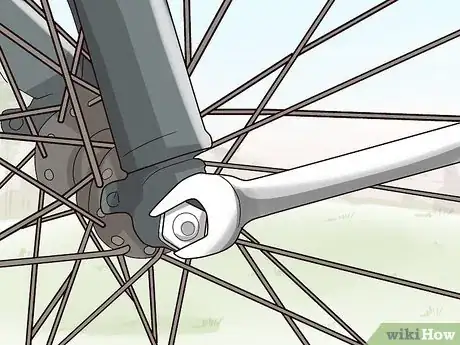
4Attach the front wheel. Center the wheel evenly between its fork and place it into the front fork’s drop outs. Open the brake to do so if necessary. Tighten all bolts. As you do, tighten each just a little bit at a time, move on to the others and tighten them just as much, and repeat until you’re all done. Then double-check that the wheel is still centered between the fork.
- Many bikes have a quick release on the front wheel, which allows for easy installation and removal without tools. With the quick release lever open, slip the wheel onto the dropouts. Tighten the nut by hand until you need to use a bit of force to close the lever (enough to leave an imprint of the lever on your hand).[1]
- Instructions for this step possibly vary the most between designs. Refer to your owner’s manual for precise steps for your specific wheel.
Finishing Up
-
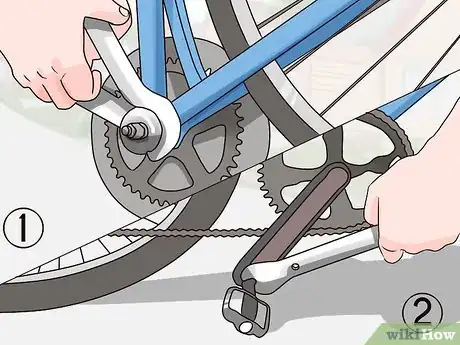
1Attach the pedals. First, identify which is which by checking the spindles. Find the L and R markers respectively. Use the L pedal on the bike’s left side and the R pedal on its right (which would be your left and right when seated on the bike). To attach them:
- Screw each pedal onto its corresponding thread with your hands at first (turning clockwise for the right pedal and counterclockwise for the left). Then switch to a wrench to tighten them firmly into place as you near the end.
-
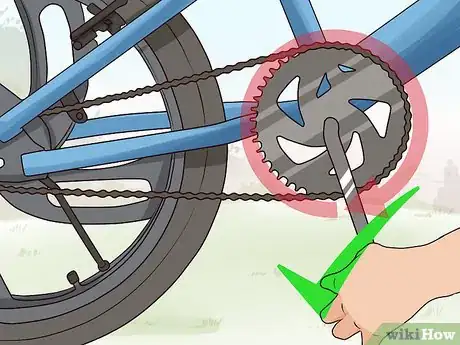
2Give the gears a trial run. If your bike has gears, raise the back tire off the ground. Turn the pedals and shift through all the gears as you do. Make sure each one shifts to the next smoothly. If they don’t, set the bike to its highest gear before making your adjustments.
-
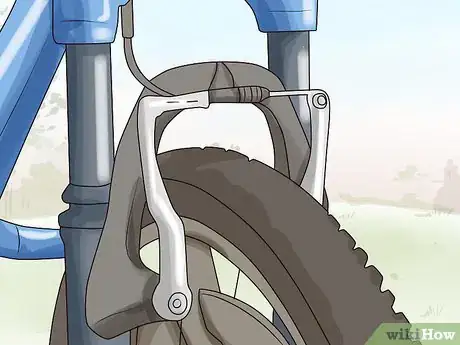
3Check the brakes. Locate the brake pads. Keep your eyes on these as you turn your pedals. Squeeze the brake lever and make sure that:
- The brake pads make contact on the rim without interference. The brakes should rest squarely on the rim and should not rub on the tire itself when they are engaged.
- They do so when the brake lever is only a third of the way to making contact with the handlebar.
- Each pad retreats the same distance from the rim when you let go of the lever.
-
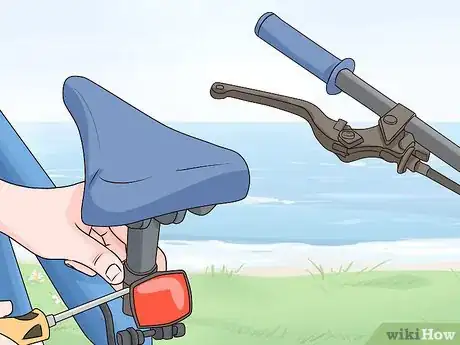
4Adjust the levers and reflectors. First, make sure any gear or brake levers are in front of your handlebar, at a 45° angle between the bar and the ground. Squeeze them to make sure they’re working properly. Then set both wheels on level ground. Check the angles of both the front and back reflectors. If necessary, adjust them so they’re at least within 5 degrees of being perfectly vertical with the ground.
- At this point, you should be done assembling. However, inspect your handiwork step-by-step before using your bike. Make sure that you haven’t overlooked anything or made any mistakes.
Community Q&A
-
QuestionHow to install pedals on a bike?
 Aaron KentCommunity AnswerYou will need a pedal wrench/Allen key and grease. First, identify your pedals. One pedal should look normal and the other one should have markings on it i.e. lines. The one with the the markings is reverse thread, so it will thread it on backwards. Next, apply grease to your pedals this will make sure you will be able to get them off later. Now, thread the normal pedal on to the drive side of the cranks. Use the wrench/Allen key to tighten. Next, thread the reverse thread pedal into the other side, remember to thread it in the opposite direction. Again, tighten the pedal. Insure that both you pedals are tight and then enjoy your new bike.
References
About This Article
To assemble a bicycle, you’ll need Allen keys, a wrench, and a Philips head screwdriver. Start by inserting the seat into its post and tighten it at the right height. Then, attach the handlebar to the frame and make sure it’s facing forward while you tighten it. Once you’ve attached the seat and handlebar, inflate your bike’s tires. Attach them to the forks using a wrench. Make sure the wheels are centered so they don’t rub against the forks. Finally, attach your bike’s pedals and tighten them with a wrench. For more tips from our Biking co-author, including how to check your bike’s gears and brakes, read on!
