wikiHow is a “wiki,” similar to Wikipedia, which means that many of our articles are co-written by multiple authors. To create this article, volunteer authors worked to edit and improve it over time.
This article has been viewed 38,931 times.
Learn more...
Homeowners and interior design professional who want a fashion-forward, fresh look select glass tile accents more frequently than ever. Glass tile harmonizes with either traditional, transitional or contemporary architecture, adding a splash of style. For years, glass tile was only used for accent and trim pieces, with ceramic tile filling the field; there was not much thought given to the installation materials, which were generally the same as those used for the ceramic tile. Modern design trends continue to push the envelope with glass tile, moving beyond the traditional accent pieces - glass tile is now being used as field tile with sizes 12" x 12" or larger, and with these new tiles come new challenges.
Steps
-
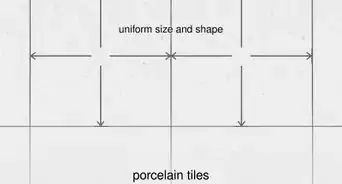
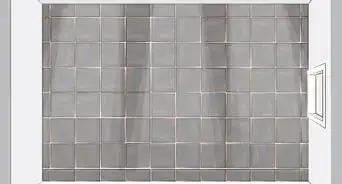
1Ensure color consistency behind glass tile.
- Since glass can be the sole material in an installation, it is essential to choose a bonding mortar that meets its unique demands. In most cases, the color of the thin-set mortar was not an issue when installing opaque ceramic tile. But with clear and translucent glass, the mortar appears through the tile: if the color varies in the mortar, it will in the glass tile too.
- To eliminate variations across a glass tile installation, choose a glass tile mortar with a bright white shade that is controlled to a consistent standard color. The color consistency will ensure a uniform appearance on the face of the glass tile, even in large installations that require multiple batches of mortar. As an added bonus, the bright white shade of the mortar can enhance the color of the clear or translucent glass tile.
-
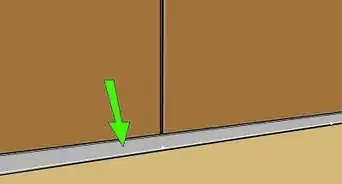
2Eliminate mortar voids.
- A typical ceramic tile installation involves spreading a thin-set mortar on the surface with a notched trowel, then pressing the ceramic tile into the mortar to collapse the ridges and improve contact between the tile and mortar. Unfortunately, this practice can leave many voids in the mortar behind the tile. While this would not be a concern with opaque ceramic tile, the randomly distributed air pockets or voids may be visible through clear or translucent glass.
- The mortar should still be spread with a notched trowel onto the substrate, but it should also be spread (back-buttered) in an even, thin film onto the back of the glass tile. Now, when the two mortared surfaces are pressed together, the back of the tile is already covered, so any remaining voids from the mortar ridges are hidden and do not show through the glass tile. Keep in mind that standard thin-set mortars can shrink and pull away from the tile, causing voids and air bubbles during the curing process, so make sure that the mortar resists shrinkage too.
Advertisement -
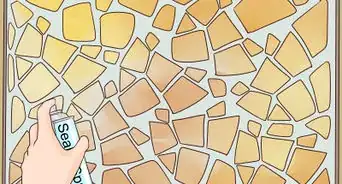
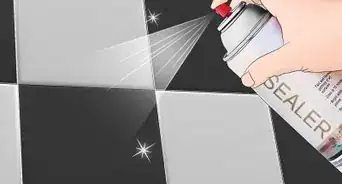
3Create a strong bond.
- Since the surface of glass is very smooth, it's important that the setting materials have a strong bond. Materials with a high polymer content have a high bond strength, ensuring that the glass maintains its spot in the installation.
- Another installation concern is the glass-making method: small, boutique glass tile makers may not manufacture their products to meet industry standards due to surface treatments or tile backings. Metallic and painted backings will not bond well to cement-based mortars and may come loose. Similarly, mesh backing can trap water beneath the tile, weakening the bond or creating mold. Make sure to create a mock-up to test the tile installation materials before proceeding with the full-scale project.
-
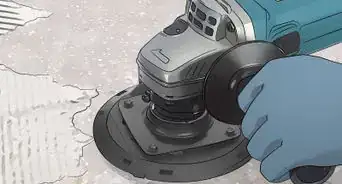
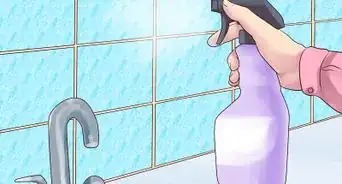
4Protect glass tile installations from temperature variance.
- Glass tile installations occasionally fail as a result of exposure to sunlight or other forms of heat. Glass tile and cement setting materials expand and absorb heat at different rates, which can lead to cracks in the finished surface. Once again, the polymers in the mortar will help to absorb some movement, but silicone caulk should also be used to create movement joints that can handle the flexing tiles.


Community Q&A
-
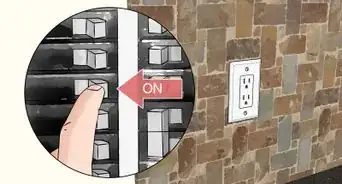
QuestionHow do I keep the thin set from coming through the cracks?
 Community AnswerWhen pressing a tile into the mortar, place it flush to the tile beside it. Then push it away from the previous tile in both the x and y direction until you have your approximate tile gap. Place your spacer and adjust the gap.
 -
QuestionAfter installation, my light green glass tile looks darker. Why?
 Community AnswerThe glue that you used probably made it darker. If you don't like the dark tile, try again with a lighter color of green so that it darkens to the perfect color.
 -
QuestionAre you supposed to be able to see the mesh netting on the back of the tile through the translucent tile on the wall?
 Community AnswerNot necessarily. It will depend on the manufacturer and how they preassemble these tiles with mesh netting. Typically, with proper coverage of your adhesive product (glue or mortar), the netting should disappear. That said, if the manufacturer has this netting set on the raw surface of the tile, then making the netting disappear will be tricky. Usually, the manufacturer will prime the backside/raw surface to help hide any background or surface being covered.