This article was co-authored by wikiHow Staff. Our trained team of editors and researchers validate articles for accuracy and comprehensiveness. wikiHow's Content Management Team carefully monitors the work from our editorial staff to ensure that each article is backed by trusted research and meets our high quality standards.
There are 7 references cited in this article, which can be found at the bottom of the page.
This article has been viewed 16,924 times.
Learn more...
A forge is a fireplace used to heat metals. When it comes to constructing a homemade forge, you have 2 major fuel options: coal and gas. A coal forge is the more traditional design, whereas a gas forge is smaller and is easier to control. Whichever design you pick, it’ll only take a few hours to construct your forge.
Steps
Constructing a Coal Forge
-
1Get 2 stainless steel sinks for the base. A popular base for coal forges is some kind of stainless steel, be it an old kitchen sink, air tank, or large pot. This acts as a burning chamber for the metal. Make sure to use 2 sinks, one filled with water and one covered in cement.[1]
- The reason sinks are so useful is because they already have a hole in the bottom of them that act as the drain.
-
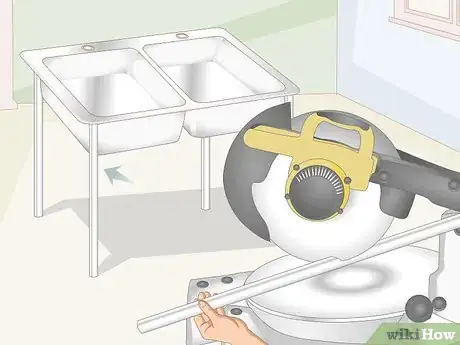
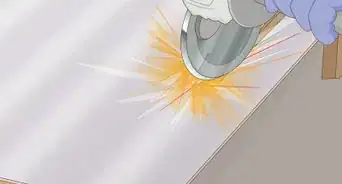
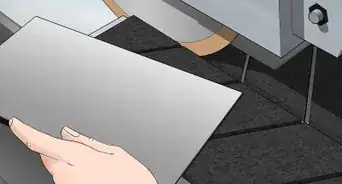
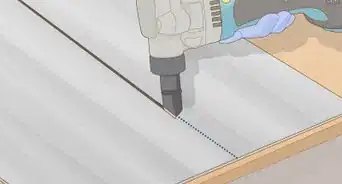
2Build a metal stand to hold the forge in place. Buy a set of steel pipes from your local hardware store or get some online. You should get 10 steel pipes that are each about 6 feet (1.8 m) long. The width of the steel pipes will be enough to support the 2 sinks. Cut the steel with a power saw so that you end up with 4 legs of equal length and 4 more pieces of steel to wrap around the legs and hold them together. Make each leg 2 feet (0.61 m) in length. Be sure to wear gloves and goggles when you do this, as you don’t want the excess steel to get in your eyes.[2]
- The legs should be high enough off the ground so that the forge itself is about hip-high.
Advertisement -
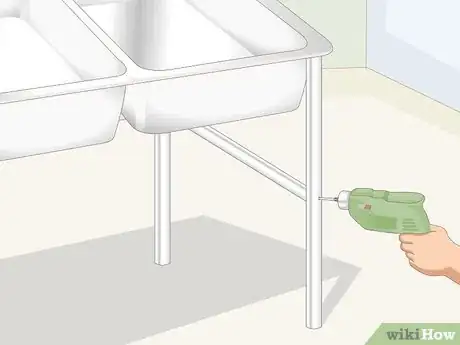
3Drill holes into the middle of the 4 steel pipes used as legs. Use your power drill to make a hole in the middle of each steel pipe that will be used as a leg. Then, take the other 4 steel pipes and drill holes into each end of them. Place these steel pipes in between the legs to create an “H” shape and line up the holes you’ve drilled into these pipes. Run a 6 in (15 cm) screw through the legs and screw on an end cap to connect the legs with the support pipes.[3]
- Wear gloves and goggles during this part of the process as well.
-
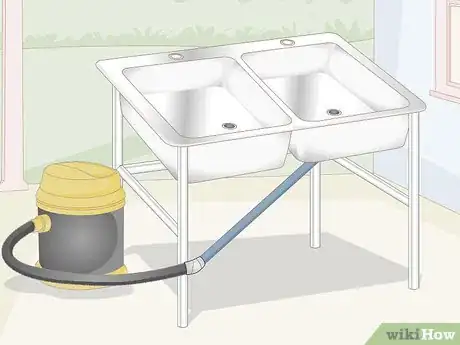
4Run a PVC pipe from the drain to the output port on a shop vacuum. PVC is a common substitute for metal piping due to its strength and durability. Use a Y joint to connect the PVC pipe and a separate plastic pipe. Then, screw the PVC pipe onto the bottom of the drain underneath one of the sinks so you can funnel air into the forge to feed the fire. Place the other pipe off to the side, as it is used to siphon smoke away from the work area.[4]
- You can pick up a shop vacuum, which supplies the air for the fire, at any home improvement store or buy one online.
-
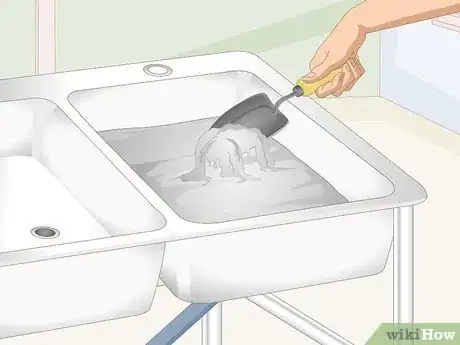
5Trowel refractory cement into one of the sinks to help it withstand heat. This is the same kind of cement used in furnaces and kilns, so it’s perfect for a forge. Spread the cement across the surface of the sink, making sure to evenly coat the forge. Let the machine sit overnight to allow the cement to cure. [5]
- You can pick up cement at a local home improvement store or order some online.
Putting Together a Gas Forge
-
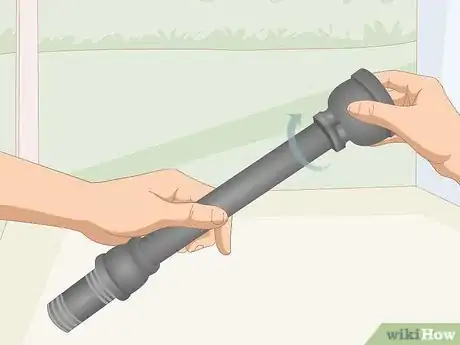
1Assemble the cast-iron pieces of your gas forge. Screw the cast-iron pipe onto a 1 in (2.5 cm) reducer. Then, screw a 9 in (23 cm) piece of ¾ pipe and attach a 1.5 in (3.8 cm) reducer onto the other end of the pipe. This forms the body of the burner. Finally, screw the end cap onto the 0.125 in (0.32 cm) pipe. You can use a wrench to tighten the fit.[6]
- The two reducers can also be 0.75 inches (1.9 cm) in width.
-
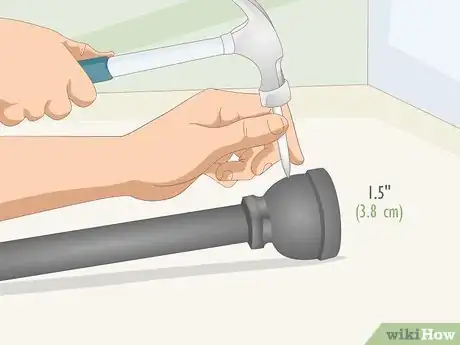
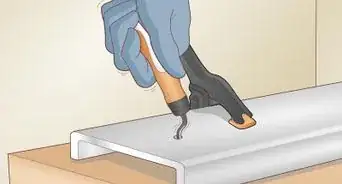
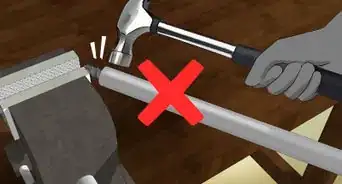
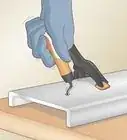
2Punch a reference point into the 1.5 in (3.8 cm) reducer. The end cap and 0.125 in (0.32 cm) pipe will go through the hole you create. Place a center-punch on the reducer and hammer it into the reducer to make the hole. Repeat the same motion on the other side of the reducer to give you 2 references points for your end cap and pipe.[7]
- Make sure the body of the burner is completely still when you hit it with the hammer. Otherwise, the hole is going to end up in the wrong place.
-
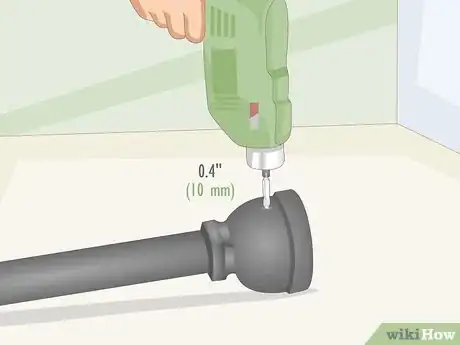
3Drill a 0.4 in (10 mm) hole into the burner. Use multiple drill bits until you get a hole that can fit the 0.125 in (0.32 cm) pipe. Increase the size of the drill bit you use until you have a hole big enough to fit the pipe and end cap. The drill should be able to enter through one hole and exit through the other. Put the pipe and end cap into the hole.[8]
- Clear all the extra metal shaving off your work table before you move on to the next step.
-
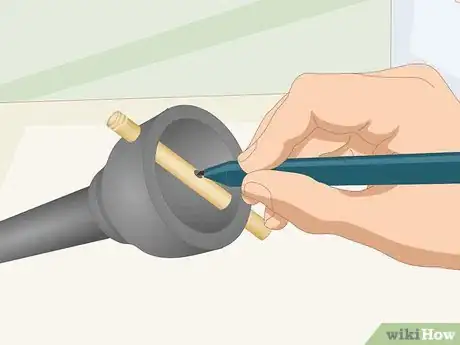
4Mark the center line of the pipe when it’s in the burner. Take a pen and mark the middle of the pipe. This is where you’ll be drilling the hole for the gas to exit. Make sure to remove the pipe from the burner before you drill the hole.[9]
- The reason you put the pipe in the burner at first is to see if it fits tightly.
-
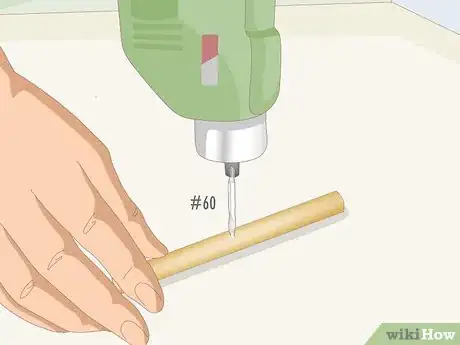
5Use a number 60 drill bit to make a hole in the pipe. These are small drill bits made of wire gauges that are thin enough to make a hole in the 0.125 in (0.32 cm) pipe without splitting it open. Apply light pressure to the pipe and work slowly, making sure not to bend the drill bit.[10]
- Make sure to center-punch the hole on the pipe like you did for the burner.
Tip: Place the drill bit farther back in the drill so that it won’t break as easily.
-
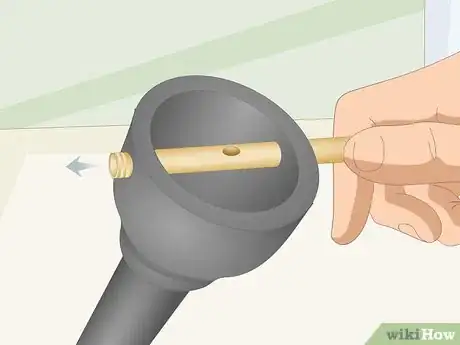
6Put the pipe back in the burner so that the hole faces downward. The hole in the middle of the pipe should be facing down towards the 9 in (23 cm) pipe. This allows the gas to flow directly through the burner.[11]
- If the pipe is spinning in the burner and doesn’t fit tightly enough, you can add wrap some wire around the end cap to keep it from moving.
-
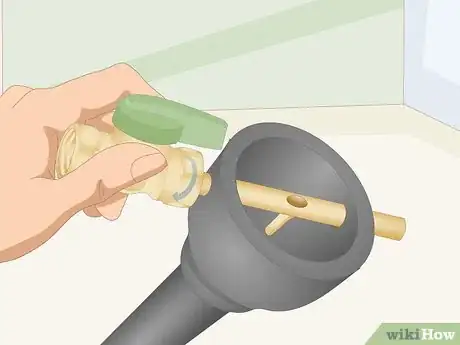
7Attach the ball valve and bushing to the pipe. Put the 0.25 in (0.64 cm) ball valve on one end of the pipe and use a wrench to screw it tightly onto the pipe. Then, attach the 0.25 in (0.64 cm) bushing to the other end of the pipe and screw it on tight.[12]
- You can use a 0.125 in (0.32 cm) bushing if you’d like.
Things You'll Need
Coal Forge
- Kiln bricks
- Steel
- Power saw
- Power drill
- Refractory cement
- PVC pipe
- Y joint
- Shop vacuum
- Stovepipe
- Pipe connectors
Gas Forge
- 1 in (2.5 cm) Cast-iron pipe
- 1 in (2.5 cm) Reducer
- 1.5 in (3.8 cm) reducer
- 9 in (23 cm) piece of ¾ pipe
- 0.125 in (0.32 cm) end cap
- 0.125 in (0.32 cm) pipe
- Power drill and drill bits
- Pen
References
- ↑ https://insights.globalspec.com/article/5596/tips-for-building-your-own-blacksmith-forge-at-home
- ↑ https://www.popularmechanics.com/home/how-to-plans/how-to/a4087/how-to-make-a-forge/
- ↑ https://insights.globalspec.com/article/5596/tips-for-building-your-own-blacksmith-forge-at-home
- ↑ https://www.popularmechanics.com/home/how-to-plans/how-to/a4087/how-to-make-a-forge/
- ↑ https://www.popsci.com/diy/article/2009-11/build-your-own-propane-forge
- ↑ https://www.youtube.com/watch?v=thNOSEhcQog#t=55s
- ↑ https://www.youtube.com/watch?v=thNOSEhcQog#t=2m
- ↑ https://insights.globalspec.com/article/5596/tips-for-building-your-own-blacksmith-forge-at-home
- ↑ https://insights.globalspec.com/article/5596/tips-for-building-your-own-blacksmith-forge-at-home
About This Article
To build a coal forge, you’ll need 2 stainless steel sinks to use as the base and 10 steel pipes to build a metal stand. When you have these supplies, use a power saw to make 4 legs of equal length out of the steel pipes as well as 4 pieces of steel to hold the legs together. Drill holes into the middle of each leg and in the ends of the other 4 pieces to create an “H” shape. Get a piece of PVC pipe and screw it into the bottom of one of the sink’s drains so you can funnel air into the forge. To complete your forge, evenly spread refractory cement into one of the sinks so it can withstand the heat. Don’t forget to wear gloves and goggles when working to stay safe! For more information, including how to put together a gas forge, keep reading.

