wikiHow is a “wiki,” similar to Wikipedia, which means that many of our articles are co-written by multiple authors. To create this article, 10 people, some anonymous, worked to edit and improve it over time.
wikiHow marks an article as reader-approved once it receives enough positive feedback. In this case, 100% of readers who voted found the article helpful, earning it our reader-approved status.
This article has been viewed 283,072 times.
Learn more...
Copper is a brightly colored metal often used for decorative purposes, including furniture, artwork, and jewelry. Over time, the surface of copper will react with oxygen, heat, or other aspects of the environment to create a coating of color, or patina. While most naturally occurring copper patinas are green, it is possible to create a dark brown or even black patina on your copper. Each treatment produces a somewhat different color, so you may wish to try several on your copper items to see which result you like best.
Steps
Darkening Copper with Hard Boiled Eggs
-
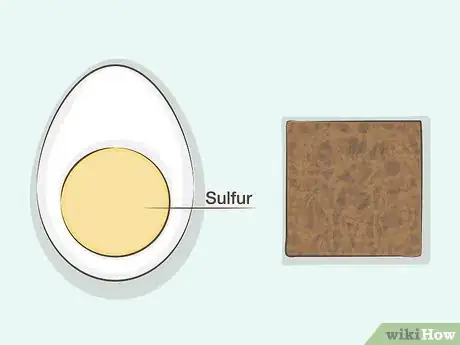
1Use this method for easy, relatively minor adjustments. The yolks of hard boiled eggs can produce sulfur and related chemicals that react with the copper to change the color to a darker brown or black. While this method will take longer and may not produce as dramatic results as using liver of sulfur, you do not need any equipment other than hard boiled eggs and a sealed container.
-
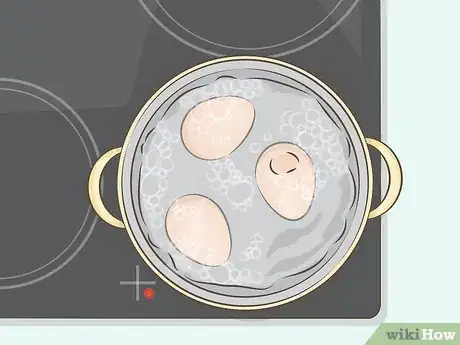
2Hard boil two or more eggs. Use two or three eggs for copper jewelry, or more if you have larger or multiple items. Place the eggs in a pot of boiling water and let them sit for at least ten minutes. The over-boiled sulfurous smell and greenish ring around the yolk are good indicators that the eggs will darken your copper.Advertisement
-
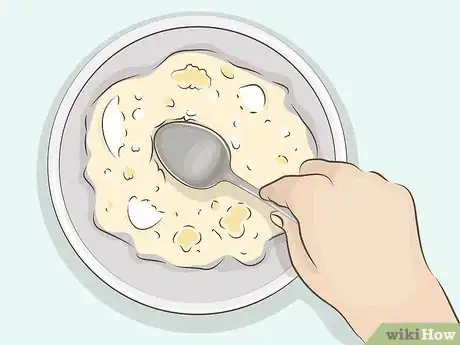
3Mash the eggs to pieces. Use a spoon or other utensil to break the eggs into pieces. If the container you will be using is a bag, it may be tidier to place the eggs inside it first.
-
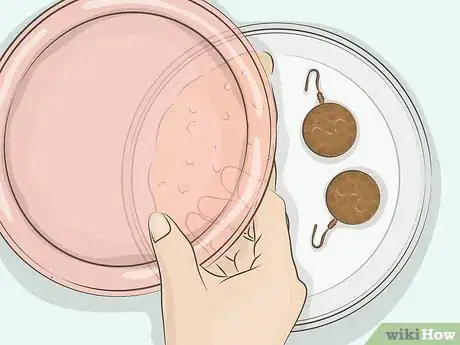
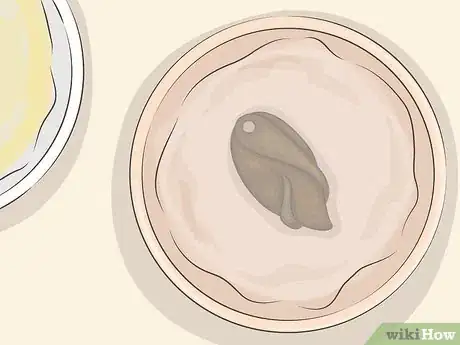
4Place the copper and eggs inside a container. Try not to have the eggs touch the copper if you want to avoid colored spots on your copper.[1] Instead, place the copper objects on a small dish or on the other side of the container.
-
5Seal the container. Fasten the lid or seal the plastic bag. The container must be airtight in order for the gases produced by the egg to become concentrated enough to affect the copper.
-
6Check back regularly. Depending on the freshness of the eggs and the quantity of eggs used, you could start to see results within twenty minutes or several hours. Check back every half hour to an hour, or if you want your copper to become much darker, leave it overnight.
-
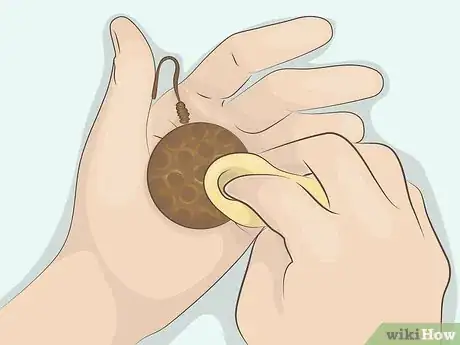
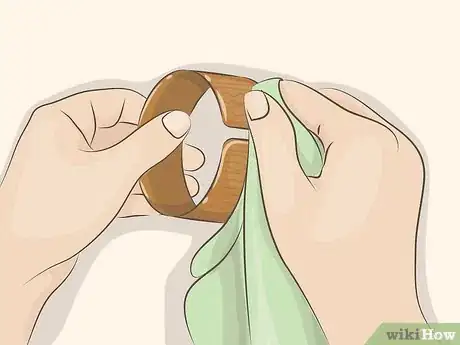
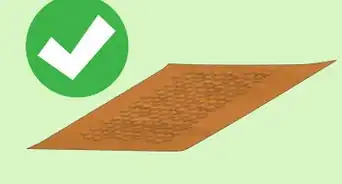
7Polish off excess tarnish if necessary. Use a clean cloth to wipe off excess color if the copper became too dark, or if you want to create a more variable, less even effect.
Darkening Copper with Liver of Sulfur
-
1Follow these instructions for significant changes. Liver of sulfur, composed of potassium sulfide and related chemicals, reacts with copper to create different colors. While this material is more expensive and potentially more dangerous than the substances used in other methods, this method has the best chance to create a much darker patina.
-
2Clean the copper. Wash the copper clean with warm, soapy water. Relatively clean copper items, with no oily sheen or stuck-on dirt, may instead by wiped with a clean cloth or treated with a clear household cleaner.
-
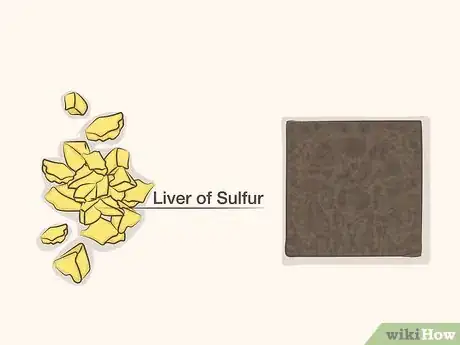
3Acquire liver of sulfur in liquid, gel, or dry form. Liver of sulfur can be purchased in several forms. Liquid liver of sulfur is pre-diluted, but may have a shelf life of only a few weeks. The gel form and dry form must be mixed with water before use, but if stored properly, they can last much longer. Note that the dry form, also sold as "lump" or "nugget' liver of sulfur, may release dust that can cause harm when inhaled.
-
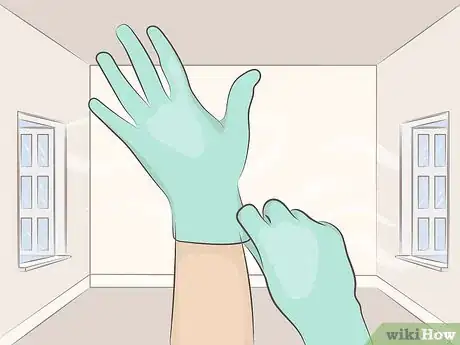
4Work with gloves in a ventilated area. Put on latex or rubber gloves before handling the liver of sulfur, as it can irritate skin. Work outside or in an area with good air flow, especially if you are working with dry liver of sulfur. Liver of sulfur has a strong, unpleasant smell, which the ventilation will also reduce. If you have safety goggles, wear them.
- If liver of sulfur gets on your skin remove clothing to expose the affected area and rinse in running water for fifteen minutes.
- If this substance gets on your eyes, rinse in running water for fifteen minutes, occasionally moving your lower and upper eyelids apart to expose more of your eye to the water. Seek medical attention.
- If you swallow liver of sulfur, induce vomiting immediately and seek medical attention.
-
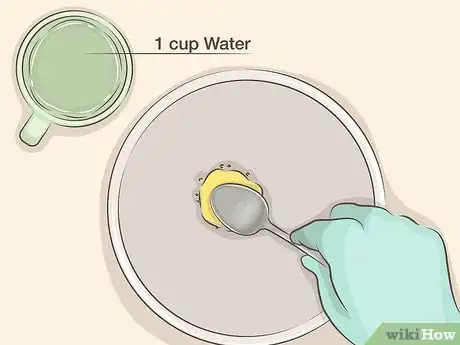
5Dilute the liver of sulfur. Dry liver of sulfur should be gently tapped until you break off a pea-sized nugget; the darker material from the interior of the lump will be more effective. Mix this pea sized nugget with approximately 1 cup (240 mL) of water. Gel or liquid solution should be diluted according to the instructions, as different brands may contain different concentrations of liver of sulfur or already be pre-diluted to the correct strength.
- Cold water and more dilute solutions should work fine when treating copper, and allow more control over the exact color.[2] Using warm water or hot water may darken your copper faster, but never mix liver of sulfur with boiling water, as this produces harmful gas.
-
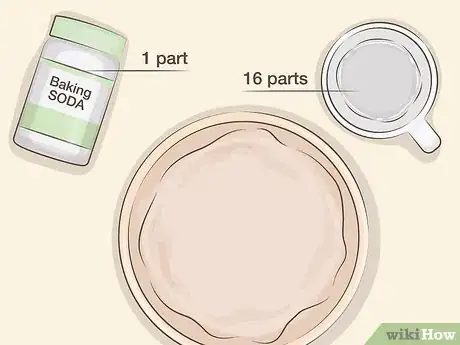
6Prepare a baking soda bath in advance. Baking soda will neutralize the liver of sulfur, preventing it from darkening your copper more than you desire. Prepare a mixture of baking soda and water in advance so you can stop the color change as soon as you desire. In a separate container than the liver of sulfur, stir together approximately one part baking soda with sixteen parts water. Use a container large enough to soak your copper object in.
-
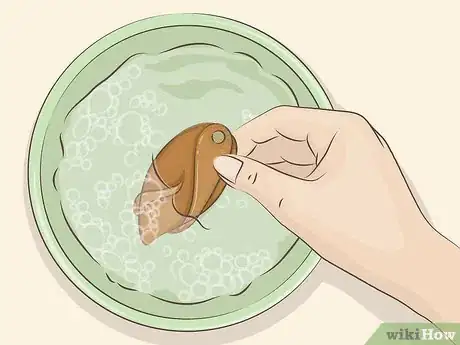
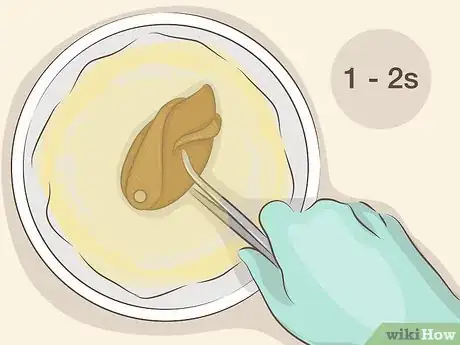
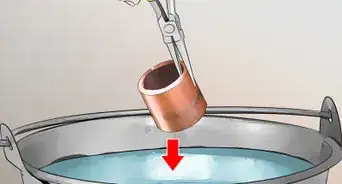
7Use tongs to dip the copper into the liver of sulfur solution for a second or two. Using gloves and tongs, or tweezers for small items, hold the copper under the surface of the liver of sulfur and water solution for a short time.
- If your copper object is too large to dip into the solution, use a brush to apply the solution, or transfer the solution to a wider, shallower container.
-
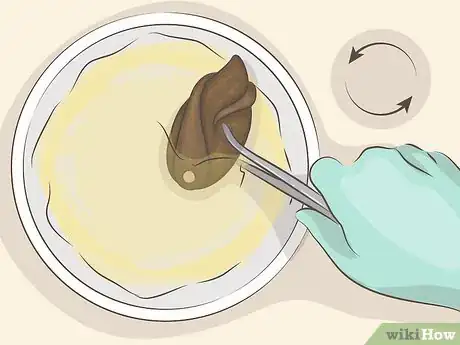
8Repeat until the desired color is reached. Remove the copper from the solution and examine it for color changes, taking care not to hold it near or above unprotected eyes. Depending on the concentration of the solution, and the temperature of your copper, you may see any color from pink to black. Dipping it into the solution additional times should produce darker colors, ending in a black or grey patina.
- If the color changes are minor, try heating the copper in a pan of hot, but not boiling, water. Higher temperature should produce a more dramatic color change.
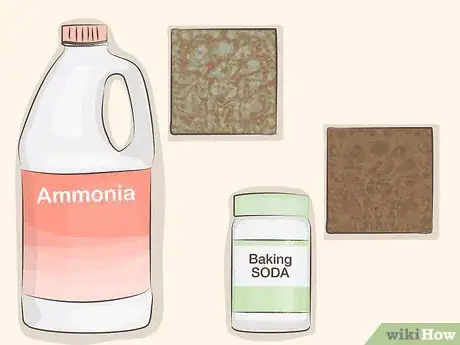
- If the color is not dark enough, try mixing in 1 teaspoon (5 milliliters) pure ammonia into the solution. Adding additional ammonia may result in a reddish color, rather than black.[3]
-
9Clean the copper with baking soda to stop the color change. Once you've reached the desired color, let your copper item soak in the baking soda bath for a few minutes. Remove and wash in warm, soapy water.
- If the color change has progressed too far, or if you would like to create a more uneven, antique look, gently scrub the patina with steel wool or a paste made from baking soda and a few drops of water.
- Baking soda may also be added to the liver of sulfur solution after you're done. This will neutralize the liver of sulfur and allow you to safely dispose of it down the sink.
-
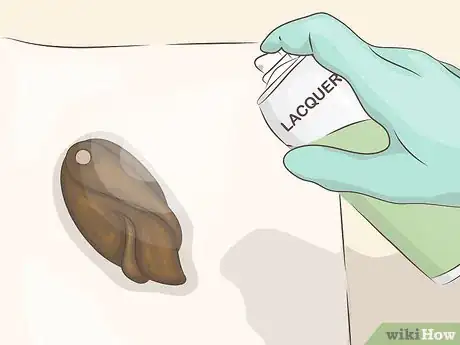
10Treat your copper with a wax or lacquer to preserve the color. Any wax or lacquer intended for metals can be applied over the new patina according to the product's instructions. This will prevent or slow down further color change as long as the wax or lacquer is kept clean and not rubbed off.
Coloring Copper Green or Brown by Mixing Your Own Solution
-
1Mix your own solutions to achieve specific colors. The natural green copper patina can be mimicked with an ammonia solution, while the slightly darker color of an American penny can be created with baking soda and water. Because the application of these solutions are so similar, they are both described in this section.
-
2Clean your copper. Wipe the item clean with a dry cloth. Grimy copper items should be washed in warm, soapy water instead, then dried thoroughly.
-
3Follow safety procedures if working with ammonia. If you are trying to create a green patina, you'll need to use ammonia. Work outside or in an area with a powerful ventilation system or fan. Ammonia fumes can be toxic, so ammonia should never be handled in an enclosed space. Rubber gloves and safety glasses are recommended.
- If creating a brown patina with baking soda and water, no safety precautions are required.
-
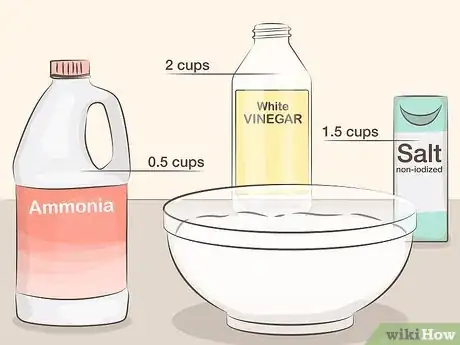
4Use ammonia for a green patina solution. Stir together 2 cups (or 500 mL) white vinegar, 0.5 cups (or 125 mL) non-iodized salt, and 1.5 cups (or 375 mL) clear ammonia.[4] Ammonia can be found at some grocery stores and drug stores, but take care not to purchase the weaker "detergent" variety.
- The more salt you add, the greener the patina will be.
-
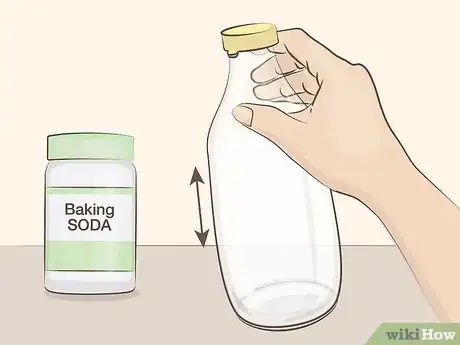
5Mix a brown patina solution instead. This solution will turn your copper a darker brown, roughly the color of an American penny. Simply shake baking soda in a bottle of hot water one spoonful at a time, until additional baking soda does not dissolve.
-
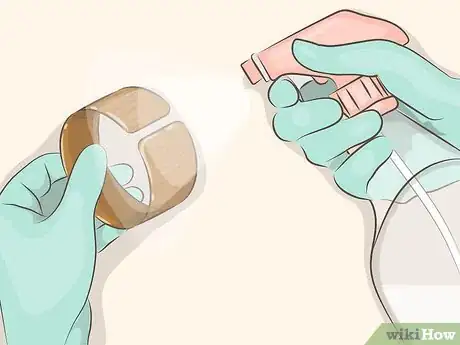
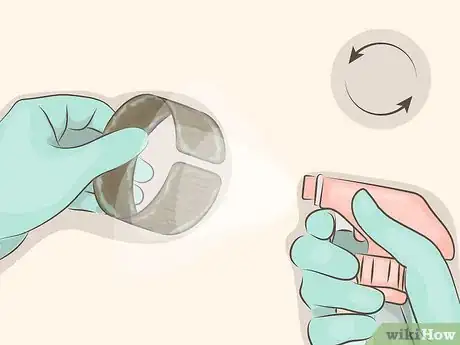
6Spray the copper with the solution. Use a spray bottle to apply the patina onto the surface of the copper. Spray more heavily if you want a more even result rather than streaks or patterns.
-
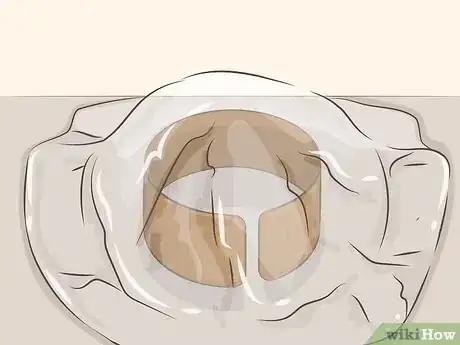
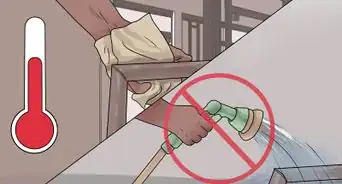
7Keep in a humid area for one to eight hours. This patina may take a few hours to develop, but keeping it in moist air will speed this process up. If the copper is kept in a dry environment, use a plastic bag or plastic sheeting to cover the copper without touching its surface. This will help retain moisture.
-
8Reapply the solution if the patina fades. Depending on the environment the copper is kept in, and how often it is handled, the patina may wear off or fade before it sets permanently. If this occurs, reapply as before, either to the entire surface or to the area wear the patina has rubbed off.
- The green patina tends to be more powdery and easier to rub off than the brown one.
Community Q&A
-
QuestionWe are making a copper vent hood for our cooktop. We want to use the baking soda method to age it to a brown color. Is this safe to use over a cook top? Do we need to put some kind of finish after aging it?
 Community AnswerBaking soda is food safe. The patina from the baking soda should act as a finish and protect it from oxidization.
 -
QuestionA "friend" without my approval, scrubbed off the patina of my beautiful copper kitchen sink until it looked like a new penny, then waxed it. I'm so angry! Is there a way to bring it back? I fear he ruined the factory finish forever.
 Community AnswerScrape off any wax or other foriegn materials. Once this is done, plug up the sink and put ammonia in it. You may want to water the ammonia down. Leave the ammonia to sit until the copper reaches a dark color, then drain the sink. Another option is to simply to let time take over.
 -
QuestionI am creating jewelry and will be aging copper by hand. The jewelry will have natural stones and bones with wood beads on them. What process would be ideal for these materials?
 Community AnswerYou will need to age your metal before you start working on it. When you do work with it, use pliers that are covered with some form of plastic to avoid making marks on the already-formed patina. Once you have created your piece with aged copper, you can then cover it by dipping it in something like Protecta Clear (Everbrite). If you don't want a shine to appear on your woodwork or bones, you can paint the coating on, avoiding the stones.
Warnings
- Metal darkening solutions can be dangerous to eyes, skin, and respiratory system; have first aid and emergency measures in place.⧼thumbs_response⧽
- Lump form liver of sulfur is flammable and an inhalation hazard.⧼thumbs_response⧽
- Metal darkening solutions, waste, and clean-up rags are hazardous wastes and must be disposed up according to regulation.⧼thumbs_response⧽
- Wear safety equipment, including work gloves, goggles, and masks, and minimize skin exposure to avoid negative effects these products can cause.⧼thumbs_response⧽
Things You'll Need
- Clean, lint-free cloth
Eggs method:
- Hard boiled eggs
- Sealed container
Liver of sulfur method:
- Liver of sulfur
- Water
- Gloves
- Well ventilated workspace
- Tongs or tweezers
- Baking soda
- Safety goggles (recommended)
Homemade solution:
- Spray bottles
- and either White vinegar
- plus Non-detergent ammonia
- plus Non-iodized salt
- or Baking soda
- plus Hot water
References
- ↑ http://jewelrymakingjournal.com/how-to-oxidize-sterling-silver-and-copper-with-boiled-eggs/
- ↑ http://www.kernowcraft.com/jewellery-making-tips/jewellery-making-techniques-product-advice/creating-a-patina-with-liver-of-sulphur/
- ↑ http://www.hodgepodgerie.com/liver-of-sulfur-patina.html
- ↑ http://www.fxl.com/lighting-basics/how-patina
- ↑ https://www.ganoksin.com/article/liver-of-sulfur-101/
About This Article
For an easy way to darken copper, start by putting 2 or more eggs in boiling water and letting them sit for at least 10 minutes in order to hard boil them. Next, mash the eggs to pieces and place them in an airtight container. Then, place the copper objects on a small dish inside the container, next to the eggs. Once the copper and eggs are inside, seal the container and allow the gases produced by the eggs to darken the copper, which could take 20 minutes to several hours. To learn how to darken copper with sulfur, keep reading!
