Draw over a picture in Photoshop to practice drawing
This article was co-authored by wikiHow staff writer, Kyle Smith. Kyle Smith is a wikiHow Technology Writer, learning and sharing information about the latest technology. He has presented his research at multiple engineering conferences and is the writer and editor of hundreds of online electronics repair guides. Kyle received a BS in Industrial Engineering from Cal Poly, San Luis Obispo.
The wikiHow Tech Team also followed the article's instructions and verified that they work.
This article has been viewed 1,111,005 times.
Learn more...
Do you want to trace over an image in Adobe Photoshop? Tracing a picture is a great, easy way to improve your line drawing skills for a variety of subjects. To trace an image, you'll want to create separate layers for the background, image, and trace to keep organized. Then, you can use the pen, brush, or pencil tool to draw over the image. This wikiHow teaches you the easiest way to use Adobe Photoshop to trace the lines of an image in Windows or on Mac.
Things You Should Know
- Set up 3 layers: a white background, the original image, and a tracing layer.
- Set the image to 50% opacity to make it easier to draw over.
- Use the Pencil, Brush, or Pen Tool to trace over the image.
Steps
Setting Up the Image for Tracing
-
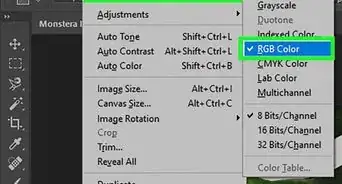
1Open the image you want to trace in Photoshop. Tracing images is an easy way to get good at drawing and practice your line art skills. You can use any image file on your computer. To open the image:
- Click File in the menu bar.
- Click Open.
- Select the image you want to trace.
- The image will open in a Photoshop file with one layer called “Background.”
-
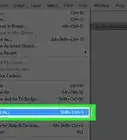
2Click Layer in the menu bar.Advertisement
-
3Click Duplicate Layer…, then click OK.
- You can give your new layer a different name. Otherwise, it will be called "[Name of your first layer] copy."
- If this option is grayed out, click the layer in the layers panel and click Layer again.
-
4Click the duplicate layer in the "Layers" window. It's in the lower-right part of the screen. This will select the layer.
-
5Set the opacity of the duplicate layer to 50%. You can do this by clicking the "Opacity" menu at the upper-right corner of the Layers menu and selecting 50%.
-
6Click the padlock icon at the top of the Layers window to lock the layer. This will prevent unwanted edits to the layer. If you want to change its opacity again, you’ll need to unlock it first.
-
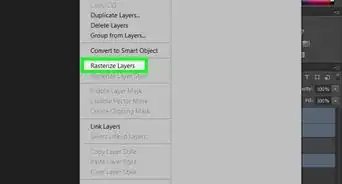
7Create a new layer. To do this, click the Layer menu, select New, and then click Layer. This will open a new layer options window.
-
8Name the layer "Tracing" and click OK. This will create a new blank layer at the top of your layers list.
-
9Click the layer called "Background" in the Layers window. This selects the Background layer.
-
10Press Ctrl+← Backspace (PC) or ⌘+Delete (Mac). This fills the background layer with white. You should now have three layers in the layer tab:
- A "Tracing" layer at the top.
- A locked layer with your image in the middle.
- A locked, white background layer at the bottom.
- If the layers are not in this order, drag them to arrange them as such.


Tracing the Image
-
1Click the Tracing layer at the top of the window. This switches to your Tracing layer.
-
2Click the View menu and select a zoom option. Here, you can select a Zoom option to make it easier to trace the image:
- Click 200% to enlarge the image to 200%.
- Click Zoom In or Zoom Out to adjust the zoom incrementally.
- Click Fit on Screen to fit the entire image canvas to your workspace window.
-
3Choose a color to trace in. To do so:
- Click one of the overlapping squares in the bottom-left corner of the window (below the tool options).
- Select a color in the spectrum.
- Change the tone of the color using the left-side square.
- Click OK to confirm the color.
-
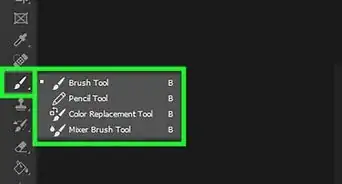
4Choose a tool in the tool menu at the left-side of the window. Photoshop has plenty of tools for artwork. There are a few tools in particular that would work well for tracing:
- Pencil Tool: This tool makes hard-edged lines. The trace will have a “sketch” look to it. The Pencil Tool is a pencil-shaped icon. If you see a paintbrush icon but not a pencil icon, long-click on the paintbrush icon, then click Pencil Tool.
- Brush Tool: This tool makes softer strokes. The edges of the lines will look smoother than the pencil tool. The Brush Tool is a paint brush-shaped icon. If you see a pencil icon but not a paintbrush icon, long-click on the pencil icon, then click Brush Tool.
- Pen Tool: This tool makes editable paths with anchor points that can be moved or adjusted. The Pen Tool works well for tracing objects that you'd like to change when you're done tracing. Click the fountain pen icon to select the Pen Tool.
-
5Adjust the Pencil and Brush Tool settings. They're in the upper-left part of the window.
- Click the drop-down next to the tool's icon in the tool settings bar to adjust the size and hardness of the stroke.
- Click the folder icon to the right of the size drop-down to adjust the shape and qualities of the brush or pencil.
-
6Adjust the Pen Tool settings. They're in the upper-left part of the window.
- If you want to use the Pen Tool to create paths as you trace, click on the drop-down to the right of the icon and click on Path.
-
7Begin tracing. Drawing a good picture takes time! Don’t rush as you use your mouse, trackpad, or drawing stylus to move the tool over the lines you want to trace.
- To use the Pencil and Brush Tools, click and hold as you drag the tool over the lines. Release the click to move the tool and start a new stroke.
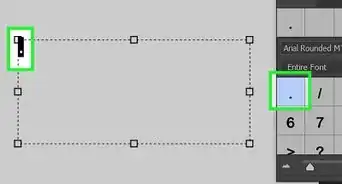
- To use the Pen Tool, click and release along the lines of the image you're tracing and a line will appear between each set of points. To make curved lines, click and drag the next point in the path.
-
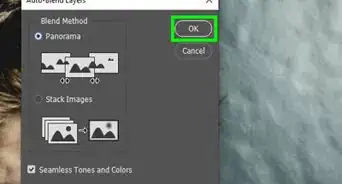
8Change the path to a shape or stroke (Pen Tool). If you use the Pen Tool to trace the image, you can use the path to create a shape or stroke that fills or follows the path. This will actually replace your pen paths with the lines of your drawing. To do so:
- Click the Paths tab.
- With the path selected, click the filled circle at the bottom of the Paths tab to fill the path with the foreground color.
- Or, select the Brush or Pencil tool. Adjust the stroke settings. Then press the unfilled circle to create an even stroke along the path.
-
9Hide the original image. To see how your work is progressing, click the eye icon next to the middle layer that contains the original image. The image will disappear and you'll see your tracing on a white background.
- When you're finished, click View in the menu bar, then click 100% to view your image at its actual size.
- You can flip the image to check for mistakes.
- Resize the image as needed when you’re done with the trace.
-
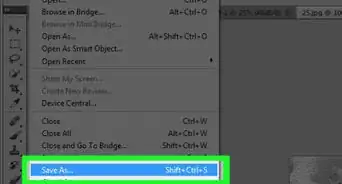
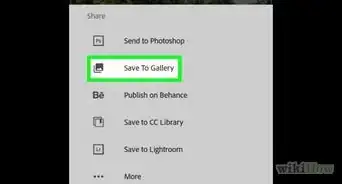
10Save your image. To do so:
- Click File in the menu bar.
- Click Save or Save As….
- Name your file and click Save.


Community Q&A
-
QuestionHow do I erase pencil strokes in Photoshop?
 Community AnswerUse CTRL + Z if you want to undo a recent mistake or press E for the eraser tool and drag across the marks you want to erase.
Warnings
- Know and respect the copyrights of the original artwork owners.⧼thumbs_response⧽
- Don't just copy other people's work (where's the fun in that?).⧼thumbs_response⧽


About This Article

1. Create a new duplicate layer.
2. Reduce the opacity to 50%.
3. Lock the layer.
4. Create a layer called "Tracing."
5. Select the background layer.
6. Press Ctrl + Backspace (PC) or Command + Del (Mac).
7. Zoom in to 200%.
8. Select a color and tool.
9. Trace the image.
10. Hide the background to check your work.