This article was co-authored by wikiHow staff writer, Darlene Antonelli, MA. Darlene Antonelli is a Technology Writer and Editor for wikiHow. Darlene has experience teaching college courses, writing technology-related articles, and working hands-on in the technology field. She earned an MA in Writing from Rowan University in 2012 and wrote her thesis on online communities and the personalities curated in such communities.
This article has been viewed 1,791,270 times.
Learn more...
Are the built-in fonts in Photoshop a little boring for your taste? Maybe you've been using the same ones for years and feel like you want to use something else. Luckily, you can install new fonts easily after you've downloaded them. Be aware of licensing, though, since some fonts aren't meant to be used commercially if you haven't paid for them. This wikiHow article walks you through the process of adding fonts to Photoshop using a Windows or Mac computer.
Things You Should Know
- If you're using Windows, right-click the installed font and select "Install" and it'll be ready for you the next time you open Photoshop.
- Mac users should double-click the font and "Install" to have the font installed and ready in Photoshop the next time they open it.
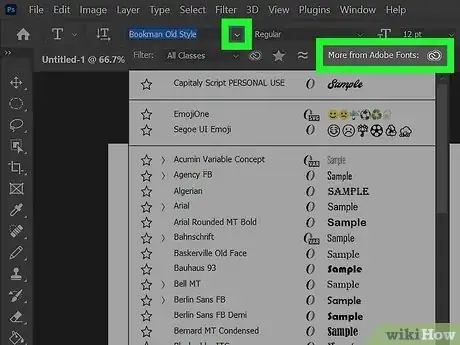
- Avoid licensing problems with Adobe Fonts, which is part of the Creative Cloud subscription. You can install fonts by clicking "More from Adobe Fonts" and toggling the "Activate font" switch.
- If you're not using Adobe Fonts, double-check that any font you find doesn't require commercial licensing if you're using it for a business or organization.
Steps
Windows
-
1Download fonts from the internet. You can search online for "free fonts," then simply click on "download" to get the ones you want. There are hundreds of sites that offer fonts online, and usually, the first page of your search should have safe and plentiful options.
-
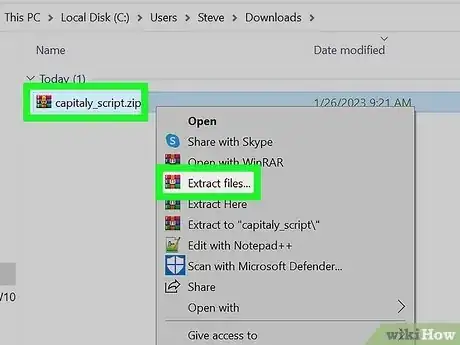
2Open a window to view the fonts. If they are in a .ZIP file, right-click and choose extract. If they are in a .7zip or .rar file, you can also easily extract them with other software. Then find the font itself by looking at the extension. Photoshop fonts come with the following extensions:
- .otf
- .ttf
- .pbf
- .pfm[1]
Advertisement -
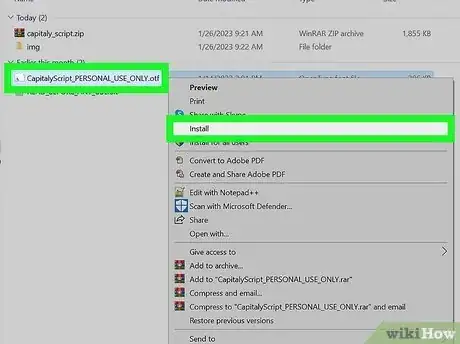
3Right-click the font and select Install. To install multiple files, press Shift as you click to select more than one file at once.
- Use the Control Panel to add fonts if you don't have an "Install" option. Some computers will not allow easy installation, but it is still simple to add a new font. Open Control Panel, then go to Appearance and Personalization > Fonts and select your fonts by clicking Install New Font and OK.
- You've added the font to every application on your computer that has fonts, not just Photoshop.
-
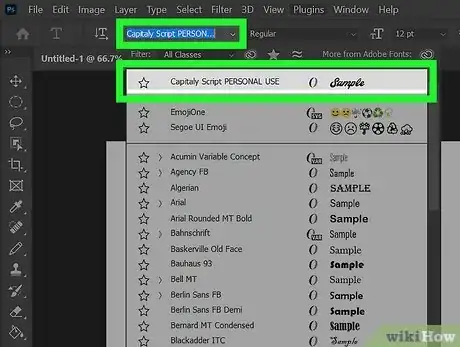
4Find the new font in Photoshop. In Photoshop, go to the Character tab and choose your new font.
Mac
-
1Find and download your new fonts. Search online for "Free Photoshop Fonts Mac." This will bring up hundreds of options, all of which can be easily downloaded and added. Save them to a new folder on your desktop, such as "Temporary Fonts," for safekeeping.[2]
-
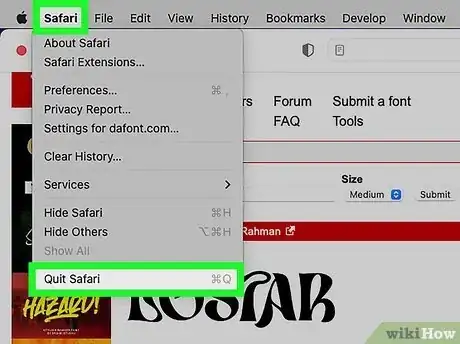
2Close all active applications. Most applications have font support, which means they will be checking your Mac for fonts to use. You want to install the fonts before the programs go looking for them, so make sure everything is closed before you begin working.[3]
-
3Double-click on the actual font to bring up Font Book. The fonts may be in a ZIP folder, which you can double-click to open. If they are in a .7zip or .rar file, you can also easily extract them with other software. From there, simply double-click on the actual font to open it in your Font Book. Fonts have the following extensions at the end:
- .ttf
- .otf
-
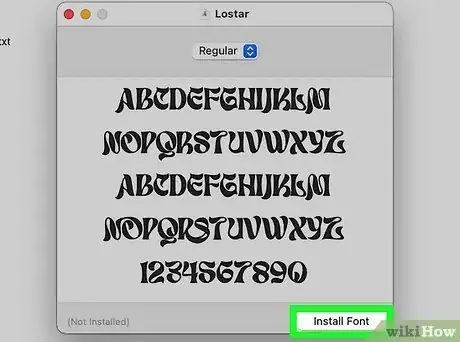
4Click Install Font when the Font Book appears. Your new .ttf or .otf file should open in Font Book. From there, simply click "Install Font" in the lower left corner to install it to your Mac. Photoshop will then find it and take care of the rest.[4]
- You've not only added the font to Photoshop, but added it to every program on your Mac that has fonts.[5]
-
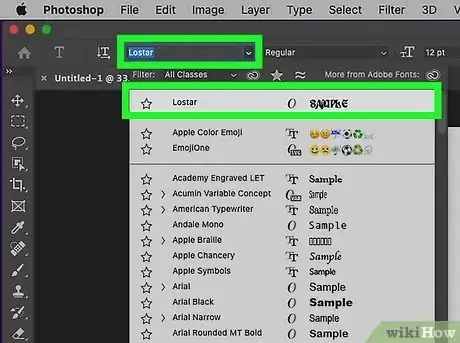
5Find the new font in Photoshop. In Photoshop, go to the Character tab and choose your new font.
Using Adobe Fonts
-
1Open Adobe Fonts. You'll find this by clicking open the text tool in Photoshop, then selecting More from Adobe Fonts. Or you can click the Creative Cloud icon on your taskbar (Windows) or menu bar (Mac) and select Fonts in the "Resource Links" section.
- Both options will open the same Adobe fonts website.
- You must have a Creative Cloud account and paid subscription to use this method. However, all the fonts are for you to use personally and commercially.
-
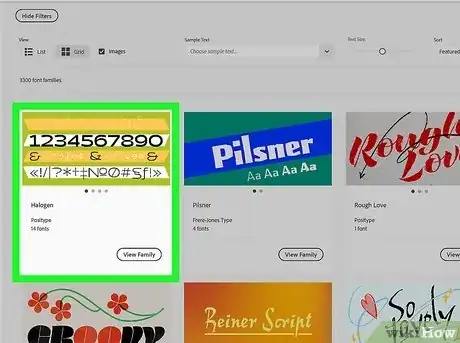
2Select a font. Browse through the library or use the keywords to filter what appears on the page.
- Once you find a font that you like, click it to bring up more options.
-
3
Community Q&A
-
QuestionWhy won't my font work in Photoshop?
 Community AnswerMake sure Photoshop is not running when you are adding the fonts. Not all fonts support Photoshop, so you will have to experiment a bit to see which work and which don't. Look for True Type or Open Type fonts to be sure they will work.
 -
QuestionIs there any way to install a font file without having administrative privileges?
 Community AnswerNo, you need access to the Control Panel and other system settings. To fully access these, you need admin privileges.
 -
QuestionIs the process the same for Windows 8.1?
 Community AnswerYes, the process of installing fonts is the same in all versions of Microsoft Windows.
References
- ↑ http://www.adobe.com/products/type/install-instructions.html
- ↑ https://www.adobe.com/products/photoshop/add-fonts.html
- ↑ http://www.adobe.com/products/type/install-instructions.html
- ↑ http://www.guidingtech.com/6437/how-to-install-new-fonts-in-mac-os-x/
- ↑ https://www.adobe.com/products/photoshop/add-fonts.html

