This article was co-authored by wikiHow Staff. Our trained team of editors and researchers validate articles for accuracy and comprehensiveness. wikiHow's Content Management Team carefully monitors the work from our editorial staff to ensure that each article is backed by trusted research and meets our high quality standards.
There are 8 references cited in this article, which can be found at the bottom of the page.
This article has been viewed 135,096 times.
Learn more...
Building models is a fun hobby that requires lots of time and patience. It is a rewarding experience, with a cool model to show off at the end. There is a trick to building models correctly, however. The included instructions can only teach you so much, but with more guidance and additional information, you can create a truly impressive model!
Steps
Inspecting and Painting the Parts
-
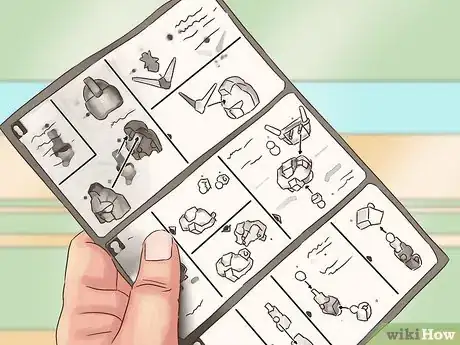
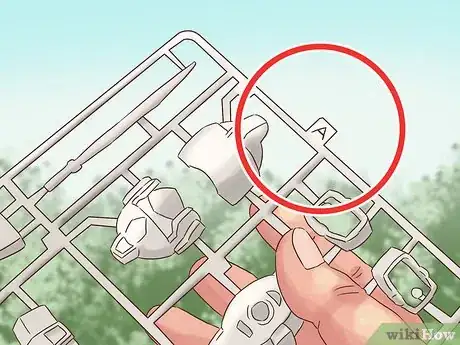
1Read through the instructions. Chances are, you'll see a bunch of boxes, like in a comic strip, with illustrations inside them. Each of these boxes refers to a part that you have to build first, using smaller pieces. Once you assemble all of the parts, you can put them together to complete the model.[1]
- Take note of the numbers next to the illustrations. These numbers will appear on the plastic frame that the pieces are attached to.
- It would be a good idea to check your kit and make sure that all of the pieces are present. If you're missing a part, return the model and get a new one.[2]
- Pay attention to the painting process. In most cases, you'll have to paint the model first, but sometimes, you may have to save it for last.
-
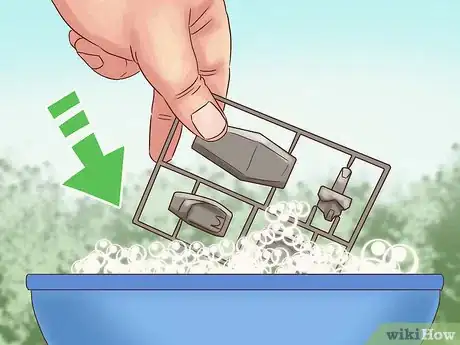
2Clean the parts with soapy water while they're still attached to the frame. Fill a plastic tub with warm water, then stir in a pump of dish soap. Dunk the frames into the water, then lift them out. Rinse them with fresh water, then set them aside to dry.[3]
- Alternatively, pat the parts dry with a lint-free cloth.
- This step is important because it will remove any dirt or oils that may prevent the paint from sticking.
- If you already assembled your model, you can wipe it down with a damp cloth instead.
Advertisement -
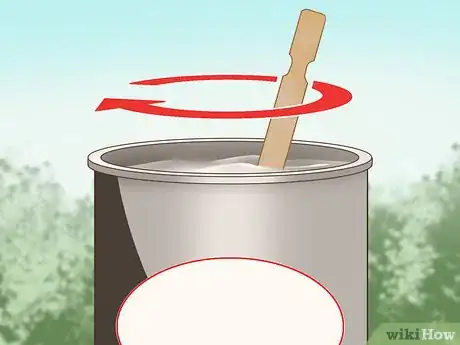
3Choose your lightest color, then stir the paint for 1 minute. Decide what colors you want to paint your model, then buy the paints from the modeling section of a craft store. Choose the lightest color, open it, and stir it with a toothpick or skewer for 1 minute.[4]
- Use actual model paint. It comes in tiny bottles.
-
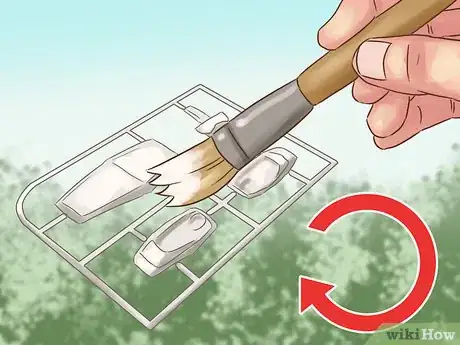
4Apply thin coats of paint using overlapping strokes. Make all of the strokes go in the same direction. Apply a single, thin coat of paint dry. Don't worry if you can still see the plastic under it.[5]
- For best results, use small, natural hair paintbrushes in sizes 0, 2, and 4.
- Consider practicing on a spare piece of plastic. The frame that the parts were attached to is a great choice.
- Don't apply thick coats of paint, and don't go over areas that are still wet.
-
5Let the first coat dry, then apply more thin coats. How many coats you end up doing depends on how light the paint color is. Lighter paints need more coats than darker ones. Once you have applied all of the lighter colors, you can move onto the darker ones.[6]
- If you have metallic paint, use a separate brush, even if you cleaned the brush well.
-
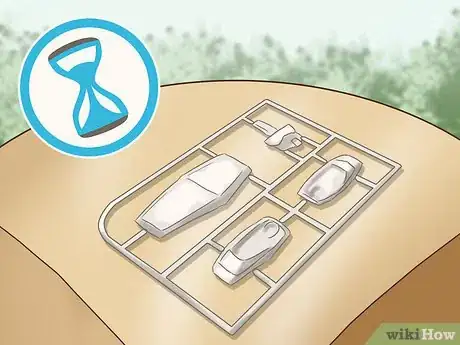
6Let the paint dry for 1 day. This is especially important if you are painting parts before assembling them; otherwise, the paint might peel. It would be a good idea to check the paints themselves for more specific drying times.[7]
Trimming and Assembling the Parts
-
1Find the pieces for the first part that you have to build. Open up your instructions, and find the first box with the first part. Note the numbers on the illustration, then find the pieces on the frame with the same numbers.
- Your model kit may have multiple frames.
-
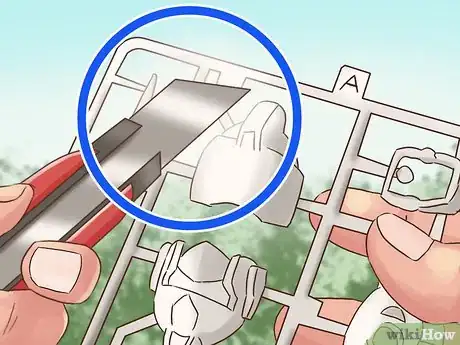
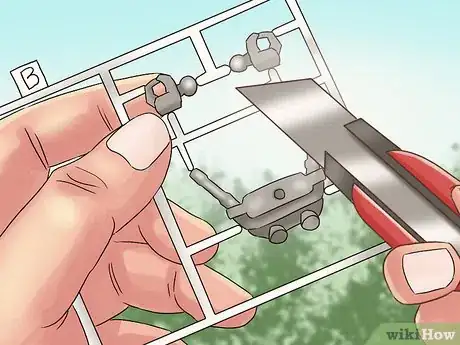
2Cut the pieces off with clippers or a craft blade. Hold the frame in your hand, and snip the required pieces off with clippers. Alternatively, set the frame down on a cutting mat, and cut them off with a No. 11 craft or hobby blade.[8]
- Don't cut right next to the piece, or you may end up getting a hole in the piece. Don't break the pieces off either.
- Only cut off the pieces for the part that you are building. Don't cut the other pieces off just yet.
-
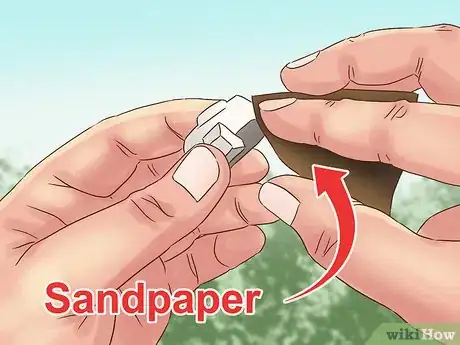
3Smooth the spurs down with a craft blade or file. When you cut the pieces off, you might end up with little stubs. Sand these down with a file or scrape them off at a 90-degree angle with a craft blade. Go slowly and carefully.[9]
- If you painted the parts, the sanding will remove some of that paint. Touch up the bare areas using a small brush.[10]
- If your part has seams on it, you can sand them down with a small file, or you can scrape them off with a craft blade.
-
4Dry fit the parts, then adjust them if needed. Take the first 2 pieces that you need to glue together, and place them together. If they fit, you can move on. If they don't fit, trim down anything that gets in the way with a file or a craft blade.[11]
- Model kits don't always fit together perfectly, especially the cheaper ones.
- Don't worry about small gaps. You can fill these in with putty later.
-
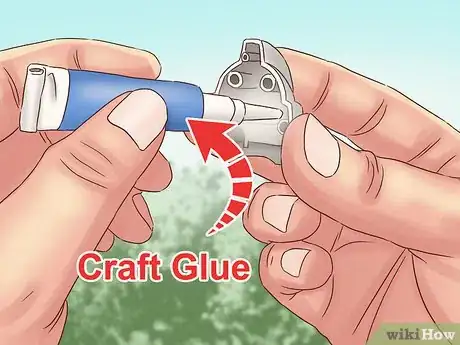
5Apply model glue to both parts. An even better option would be to use plastic model cement. This is a solvent that actually melts the plastic and welds it together. Make sure that you only apply the solvent/glue to the parts that are touching.[12]
- You only need a thin layer of glue. If you use too much, the glue will leak between the parts.
- If there are small gaps between the parts, fill them in with extra glue or cement. Don't worry about the bigger parts just yet.
-
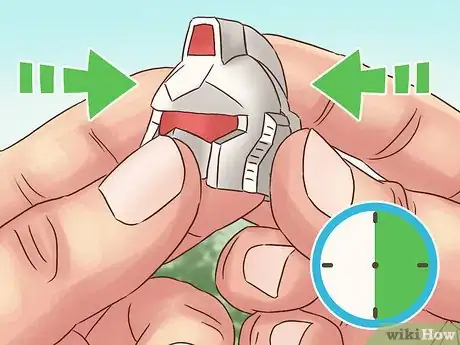
6
-
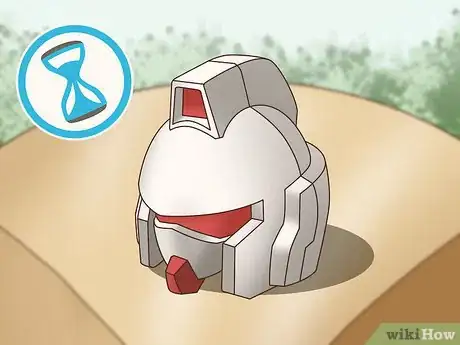
7Let the piece dry completely. How long this takes depends on the type of glue that you are using. Most glues will have at least 2 drying times: a handling time and a curing time. The handling time is usually 15 to 30 minutes, while the curing time is typically several hours.
- Refer to the handling time. This means that you can handle the part without it coming apart.
-
8Cut and assemble more parts. Once you have finished building your first part, it's time to work on the other parts. To save time, cut and sand new parts while the previous set is drying.
- If you want to, you can set the completed parts on top of their respective illustrations.
Finishing the Model
-
1Fill in the gaps or sand off the excess glue. Remove any tape, clothespins, or rubber bands first. Sand excess glue off with a file or a craft blade. Fill in any remaining gaps with modeling or epoxy putty. Use a mini metal spatula to smooth the putty down.[15]
- Wait until the putty cures before moving on. If the putty still is not smooth, you can sand it down with a file.
- If you painted your model previously, you will need to paint over the putty so that it blends in.
-
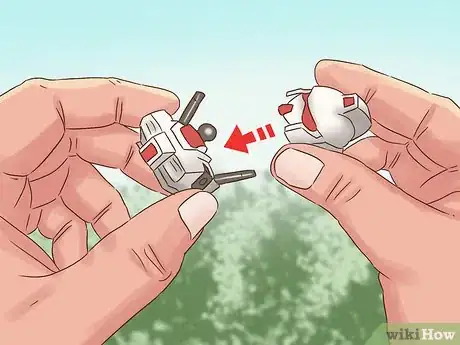
2Assemble the parts to complete your model. Take out the instructions that came with your kit. Read through the instructions once more, then glue the individual parts together to build the model. Remember to apply the glue or cement to both parts before pressing them together.
- You may have to do this in several stages by completing smaller parts first, then assembling them into larger parts.
-
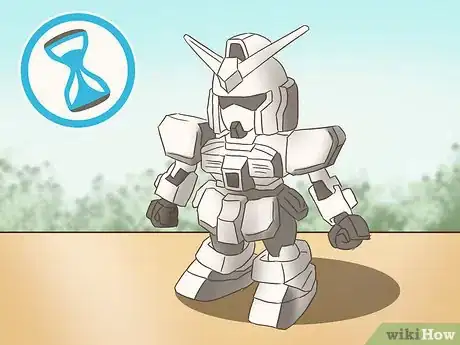
3Wait for the glue to dry and cure. How long this takes depends on the product that you are using, so read the instructions label carefully. Most model glues and cements will have 2 drying times: a handling time and a curing time. In this case, you should refer to the curing time.
- If you handle your model before the glue or cement is done curing, the model may fall apart.
-
4Paint the model, if needed, or make any touch-ups. If you didn't paint your model earlier, now is the time to do so. If you already painted your model, inspect it carefully and note any areas with chipped or scratched paint. Fill these areas in using a small brush and matching paint.
- Allow the paint to dry completely before moving on.
-
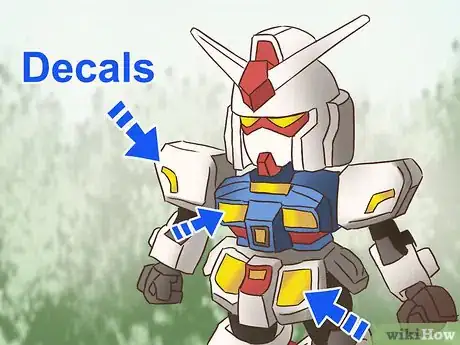
5Apply any decals, if needed. How you do this depends on the brand that you are using, so read the instructions carefully. In most cases, you'll need to dip the decal in water, then set it aside for 20 seconds. After that, you'll slide the decal off with tweezers, and place it onto the model.[16]
- Trim the decals down with scissors before you begin. This will make them easier to work with and reduce seams and borders.
Things You'll Need
- Model kit
- No. 11 craft or hobby blade
- Flush cutters
- Small files or nail files
- Plastic modeling glue or cement
- Modeling putty or epoxy putty
- Model paints
- Natural hair paintbrushes
- Making tape, wooden clothespins, or rubber bands
References
- ↑ https://www.youtube.com/watch?v=QmV_8dkqR28&feature=youtu.be&t=2m50s
- ↑ http://www.stormthecastle.com/diorama/Plastic-models/how-to-build-plastic-models-tips-and-techniques.htm
- ↑ http://www.stormthecastle.com/diorama/Plastic-models/how-to-build-plastic-models-tips-and-techniques.htm
- ↑ https://www.revell.de/contentpages/en/best-tips/index-en.html
- ↑ https://www.revell.de/contentpages/en/best-tips/index-en.html
- ↑ https://www.revell.de/contentpages/en/best-tips/index-en.html
- ↑ https://www.revell.de/contentpages/en/best-tips/index-en.html
- ↑ https://www.youtube.com/watch?v=QmV_8dkqR28&feature=youtu.be&t=3m10s
- ↑ https://www.youtube.com/watch?v=QmV_8dkqR28&feature=youtu.be&t=4m30s
- ↑ https://www.revell.de/contentpages/en/best-tips/index-en.html
- ↑ http://www.stormthecastle.com/diorama/Plastic-models/how-to-build-plastic-models-tips-and-techniques.htm
- ↑ https://www.youtube.com/watch?v=QmV_8dkqR28&feature=youtu.be&t=6m30s
- ↑ https://www.youtube.com/watch?v=QmV_8dkqR28&feature=youtu.be&t=7m45s
- ↑ https://www.revell.de/contentpages/en/best-tips/index-en.html
- ↑ https://www.youtube.com/watch?v=QmV_8dkqR28&feature=youtu.be&t=9m30s
- ↑ https://www.revell.de/contentpages/en/best-tips/index-en.html
- ↑ http://www.stormthecastle.com/diorama/Plastic-models/how-to-build-plastic-models-tips-and-techniques.htm
- ↑ http://www.stormthecastle.com/diorama/Plastic-models/how-to-build-plastic-models-tips-and-techniques.htm
