This article was co-authored by Chai Saechao and by wikiHow staff writer, Amber Crain. Chai Saechao is the Founder and Owner of Plant Therapy, an indoor-plant store founded in 2018 based in San Francisco, California. As a self-described plant doctor, he believes in the therapeutic power of plants, hoping to keep sharing his love of plants with anyone willing to listen and learn.
There are 10 references cited in this article, which can be found at the bottom of the page.
This article has been viewed 3,851 times.
Donkey's tail (Sedum morganianum), is a gorgeous tropical succulent known for its distinctive trailing stems and plump blue-green leaves. If you're a succulent newbie looking for guidance, you're in the right place! In this article, we'll walk you through everything you need to know about donkey's tail (also commonly called burro's tail), including basic plant care, ideal growth conditions, and how to propagate this unique succulent. Read on for our complete guide to growing donkey's tail.
Steps
Plant Care
-
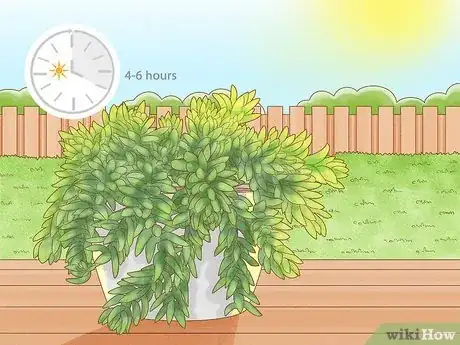
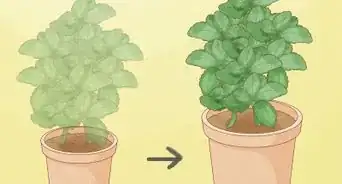
1Position the plant to get 4-6 hours of direct sunlight daily. As a tropical plant, donkey’s tail loves plenty of bright light. If you're growing donkey's tail outdoors in the summer, morning light is best since the stronger midday rays can burn the leaves.[1]
- If the leaves start looking spaced out on the stems (rather than densely packed together), your plant isn’t getting enough light. Reposition it to a sunnier spot.
- If the blue-green leaves turn yellowish, the light is too intense for your plant. Find a spot that gets bright morning light or move the pot into partial shade.[2]
-
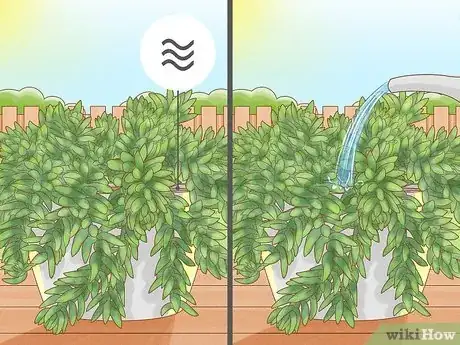
2Let the soil dry out between waterings. Like most succulents, donkey’s tail is drought tolerant and prone to root rot, so it's important to limit how much water you give it. During the growing season (spring/summer), water your succulent when the soil feels dry to the touch (1-2 times per month). Then, gradually reduce the frequency in the fall.[3]
- In winter, you'll only need to water donkey’s tail once a month.
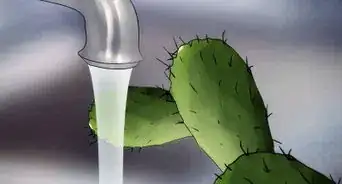
- Cold water may shock your donkey’s tail, so it’s best to use tepid water.[4]
Advertisement -
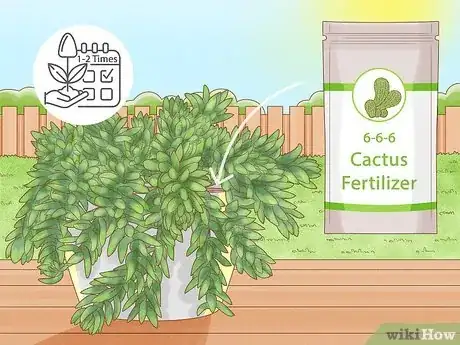
3Feed your plant 1-2 times per growing season with cactus fertilizer. Donkey’s tail doesn’t necessarily need fertilizer to survive, but feeding it once or twice during the growing season (spring/summer) can boost the plant's health. A basic 6-6-6 cactus fertilizer will do the trick.[5]
- Spring/summer is donkey tail's natural growing season. Growth slows down in the fall and the plant goes dormant in the winter.
- If you use a liquid fertilizer, be careful not to oversaturate the plant! Too much liquid can cause root rot.
Growth Environment
-
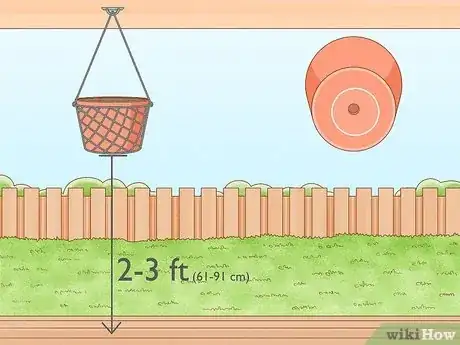
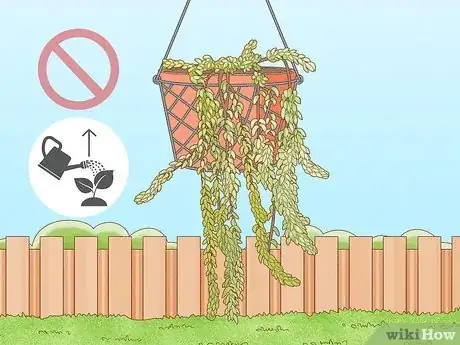
1Grow donkey’s tail in a shallow hanging container with drainage holes. This succulent grows upright at first, but the stems eventually flop over and get 2–3 ft (61–91 cm) long. Pick a shallow container that allows the trailing stems to hang down vertically. Hanging containers work best, but a tall planter could work in a pinch.[6]
- No matter what container you choose, make sure it has at least one drainage hole in the bottom so water doesn't get trapped inside the pot.[7]
- Place your succulent in an area with light foot traffic since the leaves are delicate and break off easily.[8]
- Donkey's tail is a great houseplant for pet owners since it’s non-toxic to cats and dogs.[9] Just make sure your pet can’t get to the plant (since the leaves and stems are quite fragile).
-
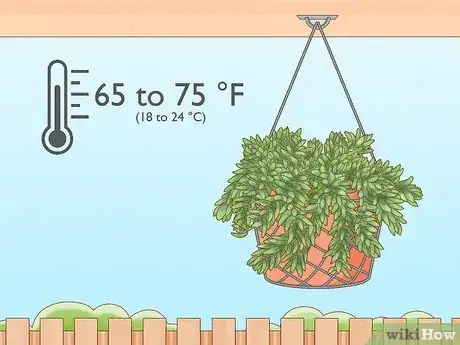
2Maintain a temperature of 65 to 75 °F (18 to 24 °C). Donkey's tail is native to Mexico and the Dominican Republic, so it thrives in warm climates. This plant can’t tolerate temperatures below 40 °F (4 °C), so be sure to bring potted succulents indoors in the fall when the temperatures start to dip.[10]
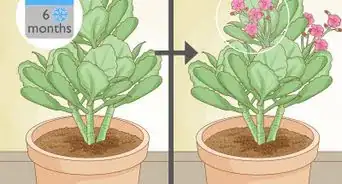
- Growing potted donkey’s tail outdoors in summer and indoors in winter can encourage flowering.[11]
-
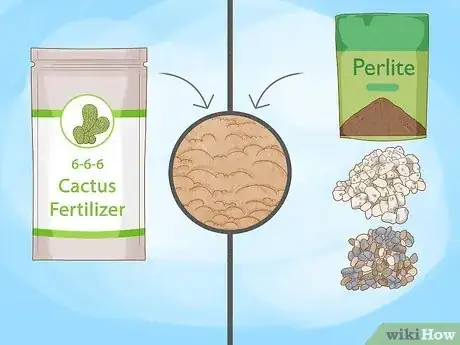
3Use well-draining growing medium. Store-bought cactus mix works well, but you can also make your own growing medium by mixing perlite, pumice, or pea gravel into regular potting soil.[12]
- If you’re planting donkey’s tail outdoors, it will do just fine in rocky soil.[13]
- Avoid planting in regular potting soil and sandy soil since both types tend to hold onto moisture (which promotes root rot).
-
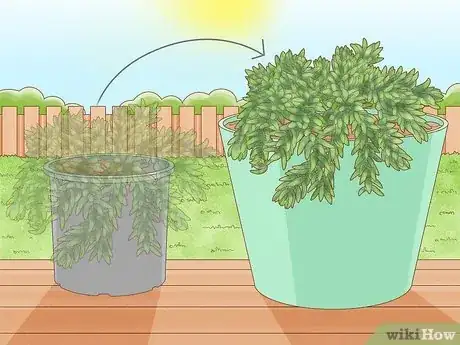
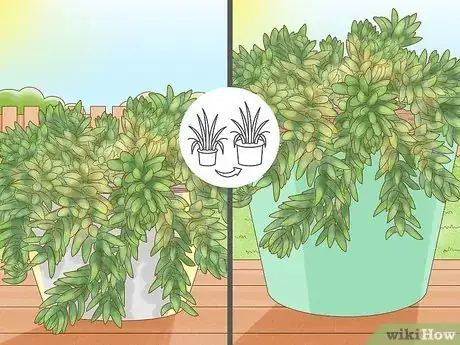
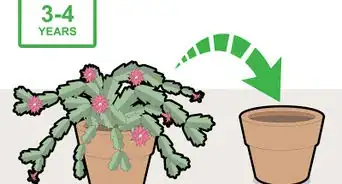
4Repot in the spring if your donkey's tail outgrows its container. Donkey’s tail likes to feel a little crowded in its container, so wait until the plant completely fills its pot before upgrading to a new container. You probably won’t need to repot donkey’s tail every single spring.[14]
- Hold off on watering for about a week after repotting donkey’s tail. Then, water sparingly until the plant is reestablished.
Propagation
-
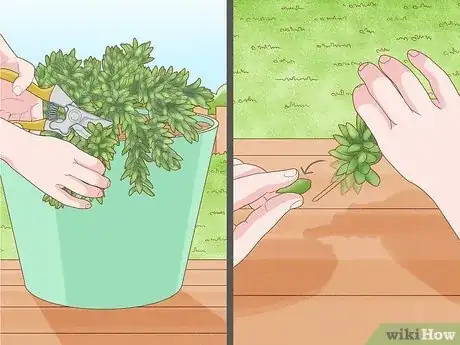
1Trim off a healthy stem and strip away the lower leaves. If you’d like additional succulents, donkey’s tail is extremely easy to propagate from stem cuttings. Just trim off a healthy-looking stem and strip the leaves from the lower end of the stem.[15]
- Use a sterile knife to make your cuts so bacteria won't get in the wound.[16]
- You can also choose to propagate new plants from fallen leaves using the same process, but the leaves will take longer to grow roots and establish themselves.
-
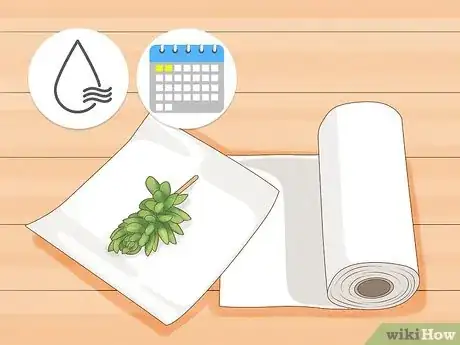
2Place the cut stem on a paper towel and let it air-dry for 1-2 days. This gives the wound time to dry out and develop a callous. Once the fresh cut looks dry and sealed, it's ready to be transplanted.[17]
-
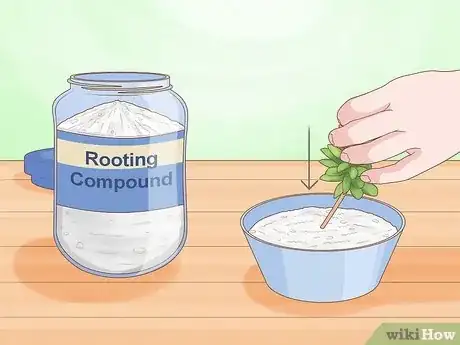
3Dip the cut end of the stem in rooting medium. Rooting medium (also known as rooting hormone) is a powder that helps accelerate root growth so the cutting can establish itself more quickly.[18]
- You can also use a liquid root hormone. Just dilute it according to the product's instructions and pour it into the growing medium after planting the cutting.[19]
-
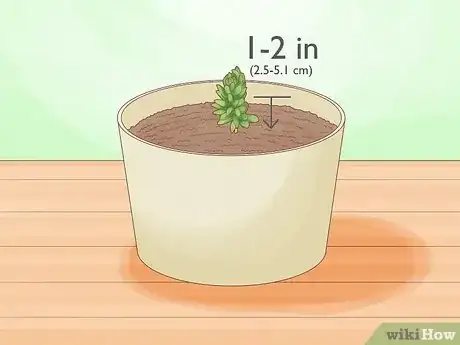
4Plant the cut end of the stem 1–2 in (2.5–5.1 cm) deep in light soil. Fill the container or pot with a lightweight, well-draining growing medium or cactus mix. Nestle the cutting into the soil, wound side down.[20]
-
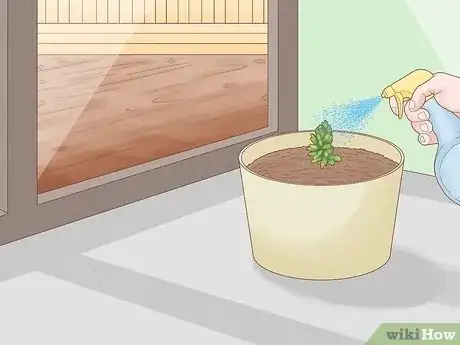
5Position the plant in bright, indirect light and keep the soil moist. Avoid direct sunlight, which is too harsh for cuttings. Mist the soil with water, as needed, to keep it moist until the new plant establishes itself. After 2 weeks, use a thin tool to part the soil and check that roots are growing.[21]
- Once roots are established, cut back watering to 1-2 times a month.
- Repot your established succulent in a more permanent container, if you'd like.
Troubleshooting Common Problems
-
1Cut back on water if you notice wilting or soft leaves. Soft, wilted leaves that fall off easily are one of the first signs overwatering. Immediately stop watering the plant and let the soil dry out completely before watering it again.[22]
- If you notice gnats gathering around your plant, this is another common sign that the soil is too moist.
-
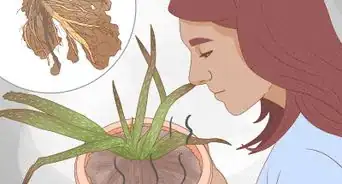
2Repot your succulent if the lower leaves are yellow or mushy. These symptoms indicate a more serious moisture problem. To nip it in the bud before root rot takes hold, remove the plant from the pot and toss out the old soil. Let the plant dry out for a few hours, then repot it in fresh, lightweight growing medium.[23]
- Use a new container, or clean the inside of the old container thoroughly with soap and water before reusing it.
- Avoid watering the plant for the first week after repotting. Then, resume watering 1-2 times per month.
-
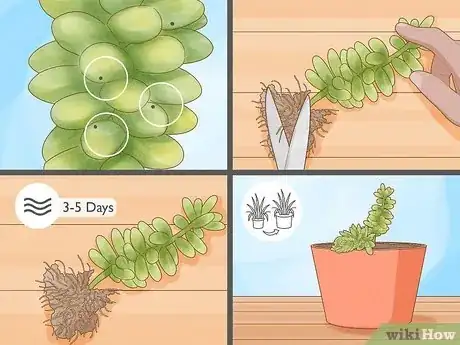
3Trim the plant immediately and repot it if you see black spots. If you notice dark spots, root rot is setting in. To save it, remove any leaves with dark spots, pull the plant out of its pot, and remove the wet soil around the roots. Trim off roots that look dead or rotten (healthy roots are white). Let the plant dry out for 3-5 days before replanting it in fresh soil and a new pot.[24]
- If the base of the plant is mushy or dark, the plant can't be saved. If there are any healthy leaves or stems left, you can use those to create new plants! Just trim the healthy stem off and follow the instructions for propagation.
- Hold off on watering for about 2 weeks after repotting the plant so it can get reestablished.
References
- ↑ https://libguides.nybg.org/c.php?g=655139&p=4597716
- ↑ https://hort.extension.wisc.edu/articles/burros-tail-sedum-morganianum/
- ↑ https://mastergardener.extension.wisc.edu/files/2016/09/Sedum_morganianum.pdf
- ↑ https://plants.ces.ncsu.edu/plants/sedum-morganianum/
- ↑ https://plants.ces.ncsu.edu/plants/sedum-morganianum/
- ↑ https://mastergardener.extension.wisc.edu/files/2016/09/Sedum_morganianum.pdf
- ↑ https://libguides.nybg.org/succulents
- ↑ https://plants.ces.ncsu.edu/plants/sedum-morganianum/
- ↑ https://www.aspca.org/pet-care/animal-poison-control/toxic-and-non-toxic-plants/burros-tail
- ↑ https://plants.ces.ncsu.edu/plants/sedum-morganianum/
- ↑ https://mastergardener.extension.wisc.edu/files/2016/09/Sedum_morganianum.pdf
- ↑ https://mastergardener.extension.wisc.edu/files/2016/09/Sedum_morganianum.pdf
- ↑ https://plants.ces.ncsu.edu/plants/sedum-morganianum/
- ↑ https://mastergardener.extension.wisc.edu/files/2016/09/Sedum_morganianum.pdf
- ↑ https://hort.extension.wisc.edu/articles/burros-tail-sedum-morganianum/
- ↑ https://ucanr.edu/blogs/blogcore/postdetail.cfm?postnum=25183
- ↑ https://hort.extension.wisc.edu/articles/burros-tail-sedum-morganianum/
- ↑ https://www.nparks.gov.sg/florafaunaweb/flora/3/4/3444
- ↑ https://ucanr.edu/blogs/blogcore/postdetail.cfm?postnum=25183
- ↑ https://libguides.nybg.org/succulents
- ↑ https://ucanr.edu/blogs/blogcore/postdetail.cfm?postnum=25183
- ↑ https://hort.extension.wisc.edu/articles/burros-tail-sedum-morganianum/
- ↑ https://thetilth.com/overwatered-succulent/
- ↑ https://youtu.be/XSG3wlh263Q?t=27
