X
This article was co-authored by wikiHow Staff. Our trained team of editors and researchers validate articles for accuracy and comprehensiveness. wikiHow's Content Management Team carefully monitors the work from our editorial staff to ensure that each article is backed by trusted research and meets our high quality standards.
The wikiHow Tech Team also followed the article's instructions and verified that they work.
This article has been viewed 39,947 times.
Learn more...
To change the date format on a Mac, click the Apple icon → Click "System Preferences" → Click "Language & Region" → Click "Advanced" → Click "Dates"→ Customize your format.
Steps
-
1Click the Apple icon. It's the Apple logo at the top left corner of the menu bar.
-
2Click System Preferences.Advertisement
-
3Click the "Language & Region" icon. It looks like a flag.
-
4Click Advanced.
-
5Click Dates. It's along the top of the window.
-
6Familiarize yourself with the legend. The legend is located near the bottom of the window and serves as a guide to the date formats listed above it.
-
7Type in or click and drag elements to format your "Short" date. You can add elements to the date by dragging them from the legend and putting them into to the format bar.
- Click on the drop-down arrow on the date elements to select more display options.
- Delete a date element from any format bar by clicking on it and pressing Delete.
-
8Type in or click and drag elements to format your "Medium" date.
-
9Type in or click and drag elements to format your "Long" date.
-
10Type in or click and drag elements to format your "Full" date.
- Click Restore Defaults at the bottom left of the window to return to Mac's default date format.
-
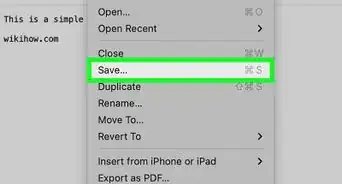
11Click OK.
-
12Click the red "x" button. Your date format changes will be made!


Advertisement


About This Article

wikiHow Staff
wikiHow Staff Writer
This article was co-authored by wikiHow Staff. Our trained team of editors and researchers validate articles for accuracy and comprehensiveness. wikiHow's Content Management Team carefully monitors the work from our editorial staff to ensure that each article is backed by trusted research and meets our high quality standards. This article has been viewed 39,947 times.
How helpful is this?
Co-authors: 3
Updated: February 26, 2018
Views: 39,947
Categories: Mac
Advertisement