This article was co-authored by Bess Ruff, MA. Bess Ruff is a Geography PhD student at Florida State University. She received her MA in Environmental Science and Management from the University of California, Santa Barbara in 2016. She has conducted survey work for marine spatial planning projects in the Caribbean and provided research support as a graduate fellow for the Sustainable Fisheries Group.
This article has been viewed 51,315 times.
While a speck of dirt or dust is small, it becomes dramatically magnified when attached to a 35mm slide. Fortunately, cleaning 35mm slides is easy. Just shake the slide until the debris comes off, or blow it off using compressed photographic gas. For gritty bits that just won’t let go, use a paintbrush with soft bristles to dust the slide free of debris.
Steps
Prepping for Digitization
-
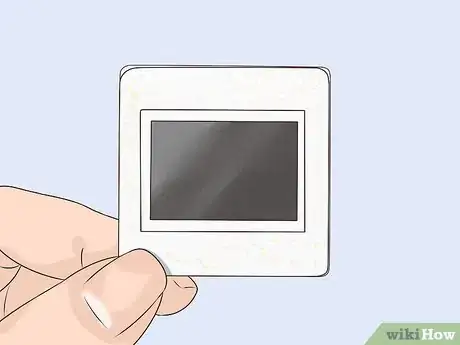
1Check the surface of the slide for abrasive substances. No matter what you use to clean your 35mm slides, it’s important that the surface of the slide is free of sand or other grit. If the surface of the slide has abrasive substances on it, they will scratch the surface when you clean, no matter what sort of cloth or cleaning agent you use.[1]
-
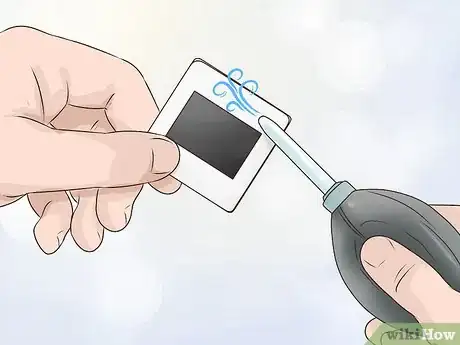
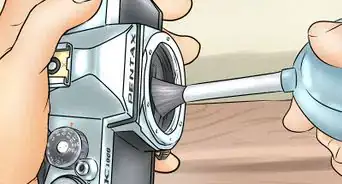
2Remove debris if present. If dirt or sand is present on the slide, turn it upside down so it falls off. If necessary, give the edge of the slide a few gentle taps to get the object to fall off. If a foreign object remains attached to the slides, use a bulb blower or compressed air to get it off the slide.[2]
- The compressed air should be free of moisture and rated at 60 PSI or below. You could also turn your blow dryer to the cold air setting and use it to blow debris from your 35mm slides.[3]
- In rare cases where the debris coating the slide is particularly tenacious, use a soft, clean brush (a paintbrush, for instance) to dust the surface.
Advertisement -
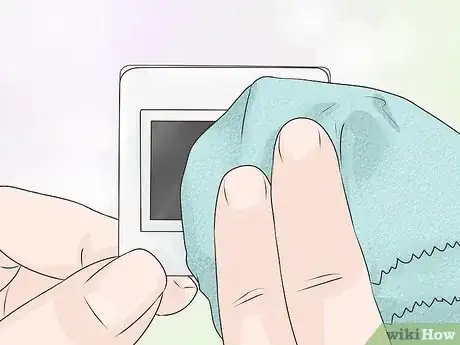
3Wipe the slide with a microfiber cloth. A microfiber cloth is a specially designed fabric made of synthetic polymers. The fibers in microfiber cloth are woven more closely together than those in regular cotton cloths, making the cloth more effective. To wipe the slide with the microfiber cloth, place it over the slide, then gently move the cloth about the surface of the slide in a circular motion.[4]
-
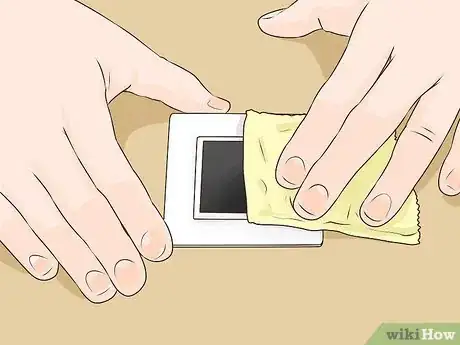
4Clean the surface with an antistatic cloth. Anti-static cloths are actually just a variation of microfiber cloths. Unlike regular microfiber cloths, though, they are designed with conductive fibers that dissipate static charges. Apply the cloth to the slide and gently move it about in a circular motion.[5]
-
5Try a liquid film cleaner. Liquid film cleaner is the least-recommended way to clean 35mm slides as it’s not very effective. However, there are a wide variety of liquid film cleaners available. Each has a unique set of instructions. Consult manufacturer instructions before using a liquid film cleaner. Generally, however, you’ll dab a clean cotton cloth with a bit of the liquid film cleaner, then wipe the slide clean.[6]
- After using the liquid film cleaner, you might need to blow the slide off using compressed photographic gas.
- Some liquid film cleaners dry instantly, while others need to be wiped away.
- Never use a water-based cleaner or water to clean your 35mm slides.
Removing Mold
-
1Wear cotton gloves. When cleaning mold or fungus from 35mm slides, protect your skin from both the cleaning agents and the mold by donning gloves. Gloves will also prevent you from inadvertently touching the slides and leaving behind fingerprints.
-
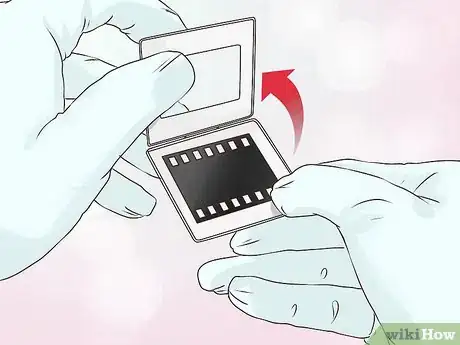
2Remove the slides from their backing. All 35mm slides are housed in a backing (or mount) of plastic, glass, metal, or cardboard. Whatever the backing, remove the slide from it. Usually, the slide is easily removed via a narrow slit in the side or top of the slide. In the case of plastic-backed slides, you’ll probably have to pop the backing open by pulling up at its bottom or top corner.
- Cardboard-backed slides will require more time, as you’ll have to use a razor blade to slit the cardboard open along the top or bottom edges, guessing roughly where the edge of the slide is. Since this method carries with it a risk of slicing into the slide itself, cut small strips off the cardboard so as to avoid cutting the slide itself.[7]
-
3Wipe the slide with isopropyl alcohol. Isopropyl alcohol is a chemical compound widely used as a household cleaning agent. To clean mold from slides using isopropyl alcohol, dab a bit onto a soft cleaning pad, a cotton cloth, or a photo chamois. Wipe the slide with a gentle circular motion until the slide is clean.
- Isopropyl alcohol can also be used to wipe away fungal growth that may have developed on the interior or exterior of slide mount glass.
-
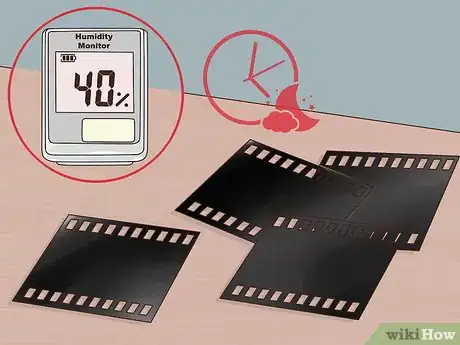
4Moisture-condition the slides. Place the slides in an environment with relative humidity of 40% or less for several hours, or overnight. Alternately, place the slides in an open-frame mount and project them for a minute or two. The high temperatures of the projector (60 degrees Celsius, or 140 degrees Fahrenheit) will kill fungus spores that might have survived.[8]
-
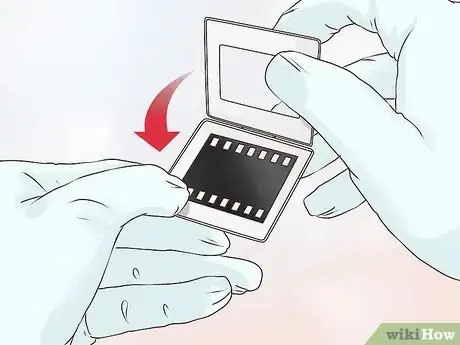
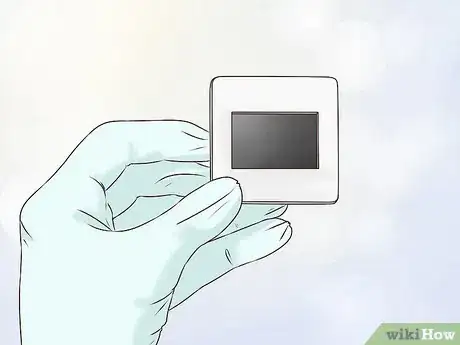
5Re-mount the slides. After projecting the slides in an open-air mount, replace them in an appropriate mount. If you removed mold from slides that were housed in a cardboard mount and the mount is no longer usable, place them in a new plastic, metal, or glass mount.[9]
Protecting and Storing
-
1Handle slides carefully. Slides are easily damaged. The oils on your fingers can cause smudging and deterioration of the slide. Wear disposable gloves to prevent smudging, and place them gently in the projector.[10]
- If you have a particular slide or set of slides that get handled regularly, undertake a digitization project or create duplicates so that the originals can be stored safely, thereby limiting the length of time they are handled and extending their useful life.
-
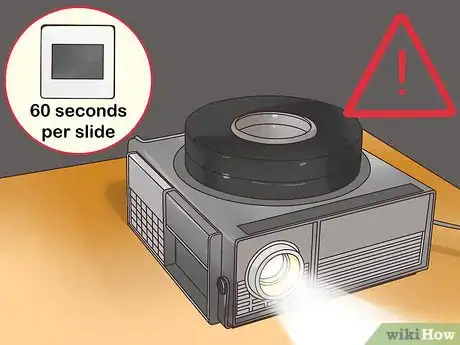
2Limit the slides’ exposure to light. Excessive exposure to light can cause fading. Slides should not be in the projector or on the light table longer than necessary. Generally, exposure time should not exceed more than 60 seconds per slide.[11]
- If you’re working in a museum or archival setting, you should invest in polarized sheeting for windows that are in the viewing room.
- Avoid fluorescent lights in the viewing space. This type of lighting is especially hard on slides and negatives.
-
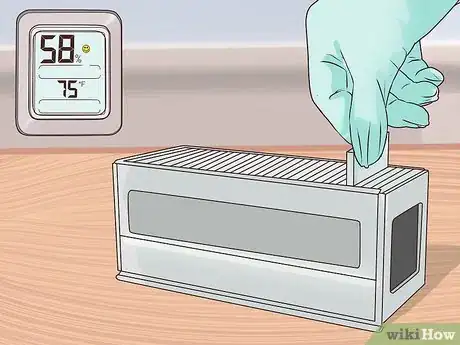
3Store slides under proper conditions. If slides are not in the projector, they should be kept in the elongated slide box along with their counterparts in the set. Additionally, ensure slides are kept at an appropriate temperature.[12]
- Most stable office environments with a temperature of about 75 degrees Fahrenheit (24 degrees Celsius) and 50-60% relative humidity are appropriate for storing slide collections.
- However, if you have the resources, you could invest in a humidity-controlled cold storage unit. Such units are especially useful for slides that are part of museum or archival collections which require indefinite retention.
-
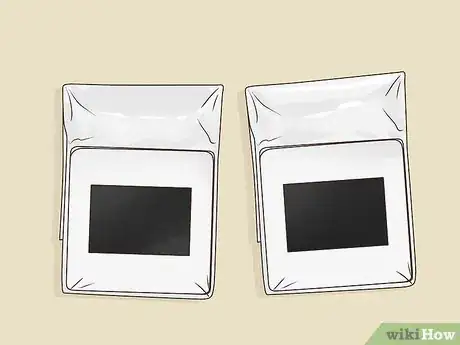
4Protect your slides with slide sleeves. Once your slides are clean, you can protect them by placing them in slide sleeves. Slide sleeves are like small plastic bags that fit snugly around the slides. You can obtain slide sleeves for 35mm slides online or at your local photography store.[13]
Community Q&A
-
QuestionWhen cleaning old slides with Kodak Professional Photo-Flo 200, do I dilute it with water or use it full strength?
 Community AnswerPhoto-Flo should be diluted before use, typically at a ration of one part concentrate to 200 parts water.
References
- ↑ http://www.old-photo.com/pages/35mm-slide-cleaning.htm
- ↑ https://www.townswebarchiving.com/2015/04/how-to-digitise-35mm-slides-film/
- ↑ https://books.google.com/books?id=-2WxVxCe_sUC&lpg=PA11&pg=PA11#v=onepage&q&f=false
- ↑ http://www.old-photo.com/pages/35mm-slide-cleaning.htm
- ↑ http://www.old-photo.com/pages/35mm-slide-cleaning.htm
- ↑ http://www.old-photo.com/pages/35mm-slide-cleaning.htm
- ↑ http://www.old-photo.com/pages/35mm-slide-cleaning.htm
- ↑ http://www.wilhelm-research.com/pdf/HW_Book_18_of_20_HiRes_v1c.pdf
- ↑ http://www.old-photo.com/pages/35mm-slide-cleaning.htm
