This article was co-authored by wikiHow Staff. Our trained team of editors and researchers validate articles for accuracy and comprehensiveness. wikiHow's Content Management Team carefully monitors the work from our editorial staff to ensure that each article is backed by trusted research and meets our high quality standards.
There are 7 references cited in this article, which can be found at the bottom of the page.
The wikiHow Video Team also followed the article's instructions and verified that they work.
This article has been viewed 104,244 times.
Learn more...
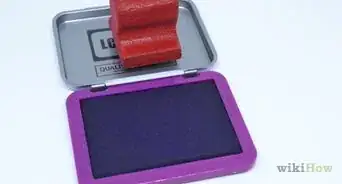
If you use rubber stamps, you need to clean the stamping surface any time you want to change colors or whenever you're finished using it. Luckily, we have the tips and tricks you need to get your stamp clean without damaging the handle or adhesive.
Steps
Blotting with Baby Wipes
-
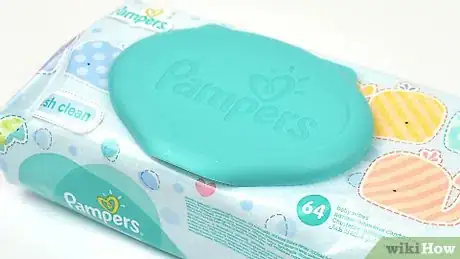
1Choose disposable baby wipes to clean off water-based inks. Any brand of moist baby wipes will be suitable for cleaning pigment or archival inks from your rubber stamps.[1] A plus-side of having these wipes available is that they’re gentle enough to clean the ink off of your hands as well.
- This method won’t be as effective for cleaning off permanent inks.
- Avoid any cleaning wipes containing alcohol, since this will dry out the rubber and you may damage the stamp with repeated use.
-
2Fold up an individual baby wipe to create a small, single-use blotting pad. Take an individual moist baby wipe and fold it in half twice so that the sheet is folded into quarters. The layers will create a bit of depth and cushioning for your stamp. Place the wipe on a paper towel or a plastic surface to catch any drips and ink. Then press the dirty stamp firmly down into the baby wipe a few times until the ink has been removed.[2]
- This technique is perfect for small stamps measuring less than 2 in (5.1 cm) across, and for cleaning just a couple stamps at a time.
Advertisement -
3Use the whole box of baby wipes as a large, multi-use blotting pad. Pick out a box of baby wipes (rather than a tube of wipes) that comes with a removable lid. When you’re ready to clean your stamps, lift off the lid and press a dirty stamp directly into the stack of baby wipes. Blot it a handful of times until the ink transfers from the stamp to the wipe.[3]
- This trick can be especially handy if you do a lot of stamping or if you’re trying to clean larger stamps measuring larger than 2 to 3 in (5.1 to 7.6 cm) across.
-
4Scrub a stamp gently using a single baby wipe. If you can’t get the ink out the stamp’s crevices, it can be helpful to wipe the stamp directly instead of blotting it. Position your stamp rubber-side up and massage a moist baby wipe gently into the stamp using your fingertips. Once part of the wipe gets inky, reposition it so you’re using a clean portion.[4]
- To clean out little areas of detail, try balling up a corner of the baby wipe and pressing it down into the rubber to squeeze some of the wipe’s moisture into deeper crevices.
- Create a more bristly texture by placing an old toothbrush or a manicure brush behind the baby wipe. Work in a circular scrubbing motion and press the bristles into the grooves of the stamp.
-
5Blot the clean stamp dry on an old washcloth or paper towel. This helps prevent any of the loosened-up ink from staining your stamp. Place an old washcloth or a piece of paper towel folded into quarters flat on your work surface. Firmly pat the clean stamp a few times on the dry cloth to soak up the moisture from the baby wipe.
- Higher-pile washcloths work well since they can reach deeper into the grooves of a stamp.
- Try folding up the corner of a piece of paper towel and pressing it into the stamp to absorb any remaining drops of water.
-
6Revive dirty or dry wipes by re-folding them or adding a splash of water. When you notice the baby wipe is starting to get dirty, simply fold it in half or in quarters to expose the clean side. To moisten a dried-out wipe, dampen it slightly with a few drops of tap water.
- Squeeze the dampened wipe gently to distribute the water and it will be ready to use right away.[5]
- Discard a dirty wipe once all sides are inky.
Using a Stamp Cleaner and Scrubber Pad
-
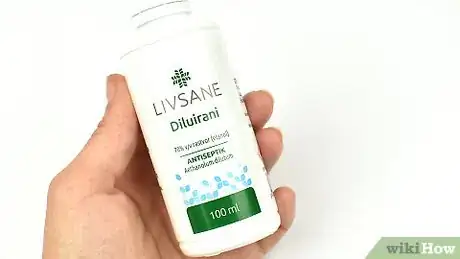
1Choose a stamp cleaning spray that’s compatible with your inks. Stamp cleaning solutions are especially useful, and may even be necessary, for solvent or alcohol-based inks. Try to use a stamp cleaning spray from the same brand as the ink you’re using, or select one that’s designed for use with your chosen ink formula.
- Stamp cleaners are also great for cleaning water-based pigment and archival inks.
-
2Purchase a 2-sided stamp scrubber pad. If you’ll be using and cleaning a lot of stamps, you may want to buy a specialty stamp scrubber pad from a craft supply store.[6]
- Look for one that comes in a rectangular, DVD-like case, featuring bristly scrubbing pads inside on the left and right sides.
-
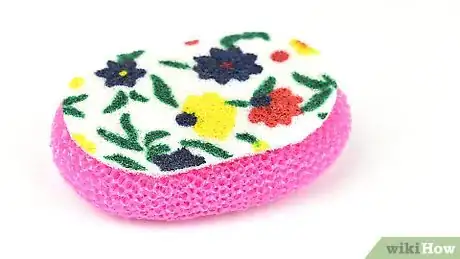
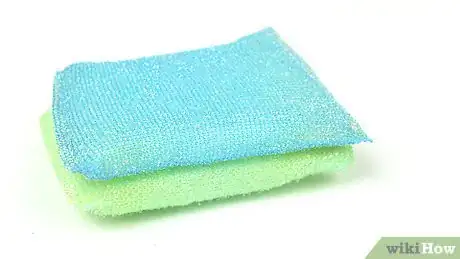
3Create a homemade scrubbing pad instead using an absorbent material. If you don’t want to go out and buy a special stamp scrubber, you can easily make your own scrubbing or blotting pad using an absorbent but sturdy sponge or towel. Just be sure to place the blotting material in a tray to catch any drips.
- Pick up a paint edging pad from a home improvement store. The bristles on the pad will provide lots of texture for deeper stamp scrubbing.
- Try using a dense sponge. Car-washing sponges and scrubbers will hold up better than kitchen sponges to the friction of the stamp.[7]
- Create your own blotting pad with car absorber towels. Cut the towels into squares and stack them in layers within an airtight container.
-
4Spray the solution onto 1 side of the scrubbing pad. Whether you’re using a purpose-built or homemade stamp scrubbing pad, spritz a few pumps of stamp cleaning solution onto 1 half of the case. If you spray the stamp cleaner onto the left side, for instance, you’ll be able to use the right side for drying off the stamp.
- For future usage, try to use the same side for spraying each time.
- Some stamp scrubbers feature a notch in one of the pads to help you remember. Or you could label each side with a piece of tape and a permanent marker so you don’t get them mixed up.
-
5Rub the dirty stamp into the moistened half of the scrubber pad. Work in gentle circular motions to ensure that the cleaning solution and the bristles get deep into the stamp’s grooves.[8]
- Continue wiping the stamp for about 5 to 20 seconds or until the ink loosens up.
-
6Wipe the stamp dry on the dry half of the scrubber pad. Bring the stamp over to the dry half of the pad and press it down once again. Move it around with gentle pressure and the same circular motions to allow the pad to absorb any remaining moisture and ink.
- Once you’re finished, you can test the clean stamp on a piece of scrap paper. There shouldn’t be any ink transferring. If there is, you can repeat the cleaning process 1 more time.
Community Q&A
-
QuestionDoes alcohol remove old ink from a rubber stamp?
 Community AnswerIt can remove dried ink, but it might not get all of the ink off, depending on how deep the stain is.
 -
QuestionCan I remove ink from rubber stamps with alcohol, and if so, how do I do it?
 Community AnswerSimply dip a paper towel into some rubbing alcohol and scrub the bottom of your stamp until it becomes clean.
Warnings
- Avoid using any cleaning wipes or solutions containing alcohol, since the alcohol will dry out and damage the rubber. Other ingredients to avoid include acetone, bleach, and oil-based products.⧼thumbs_response⧽
- Refrain from running or soaking your rubber stamp in hot water. This may warp the stamp or its mount. It’s especially important to avoid soaking wood-mounted rubber stamps since the wood and adhesive are prone to damage.⧼thumbs_response⧽
Things You'll Need
Blotting with Baby Wipes
- Disposable baby wipes
- Old washcloth or paper towel
- Old toothbrush or manicure brush
Using a Stamp Cleaner and Scrubber Pad
- Stamp cleaning solution
- 2-sided scrubber pad
- Homemade scrubbing or blotting pad
References
- ↑ https://thefrugalgirls.com/2013/06/how-to-clean-rubber-stamps.html
- ↑ https://youtu.be/9nTlB2sx4Es?t=109
- ↑ https://thefrugalgirls.com/2013/06/how-to-clean-rubber-stamps.html
- ↑ https://youtu.be/TlyB_33mzzw?t=74
- ↑ https://youtu.be/TlyB_33mzzw?t=69
- ↑ https://youtu.be/85hL8I9mIcU?t=52
- ↑ https://youtu.be/85hL8I9mIcU?t=125
- ↑ https://youtu.be/TlyB_33mzzw?t=182
