This article was co-authored by wikiHow staff writer, Hunter Rising. Hunter Rising is a wikiHow Staff Writer based in Los Angeles. He has more than three years of experience writing for and working with wikiHow. Hunter holds a BFA in Entertainment Design from the University of Wisconsin - Stout and a Minor in English Writing.
There are 7 references cited in this article, which can be found at the bottom of the page.
This article has been viewed 32,805 times.
Learn more...
A pH meter is a common tool in science labs to check a solution's acidity or basicity. The probes on a pH meter need to be clean in order for the meter to give an accurate reading. After cleaning any residue off, you'll have to calibrate the meter to make sure it's precise.
Steps
Maintaining Your pH Probe
-
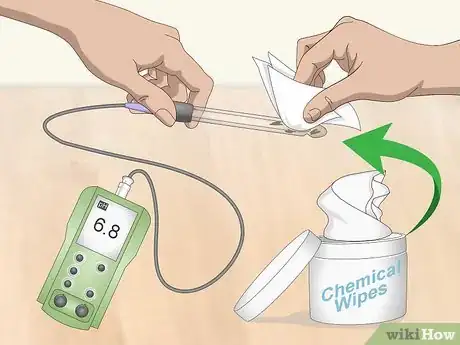
1Blot the debris off the probe with a chemical wipe. Try to blot as much of the contaminant off with a chem wipe as you can. Dab the end of the probe gently.[1]
- Do not wipe the pH probe or else it will generate static and affect future readings from the probe.
-
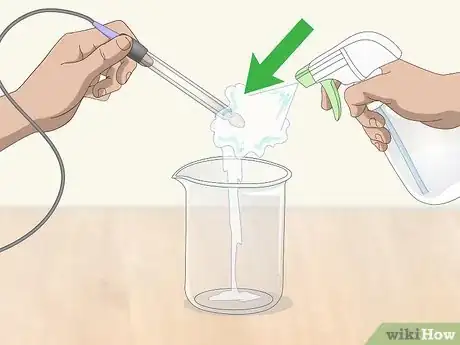
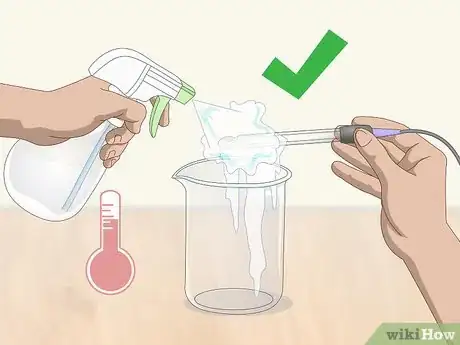
2Place a beaker under the probe and rinse it with warm tap water. Use a spray bottle so you have a gentle and controlled stream. Wet the end of the probe with the glass bulb. The beaker underneath will collect the dirty water.[2]
- Deionized or distilled water will also work for rinsing the probe.
Advertisement -
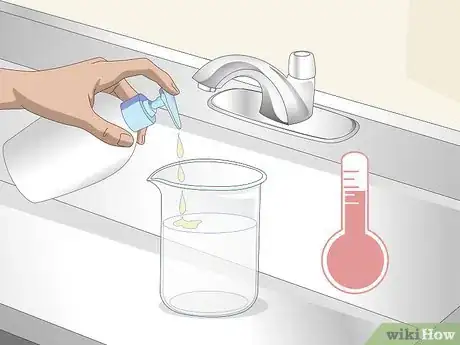
3Mix warm tap water with 3 or 4 drops of dish detergent in a beaker. Use dish detergent without abrasives or lanolin. Dawn or Softsoap should work fine. Stir the tap water and soap solution so it is thoroughly mixed together.
-
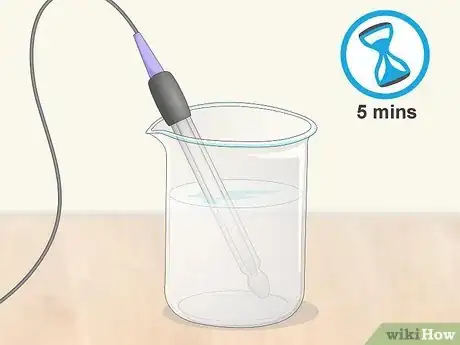
4Soak the sensor in the solution for 5 minutes. Put the end of the sensor with the glass bulb in the solution. The dish detergent should break down any residue that was not removed during the initial rinse.[3]
- Do not stir the probe since it may hit the sides of the beaker and break.
-
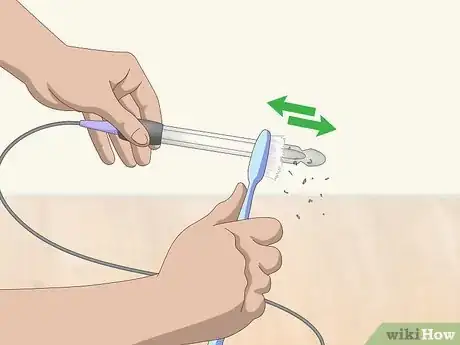
5Scrub the sensor gently with a soft bristle toothbrush if necessary. Use short, gentle strokes with the brush so you do not break the end of the probe. You can do this while the bulb is soaking or after you remove it from the solution.
- Stiff bristles will be more abrasive and could damage the reference area of the probe.
-
6Rinse the probe with warm tap water. Once the probe is clean, use a spray bottle to control the water you use to rinse it. Hold the probe over the waste beaker you used earlier while cleaning.[4]
- Distilled or deionized water can also be used to rinse the probe.
Cleaning Specific Contaminants
-
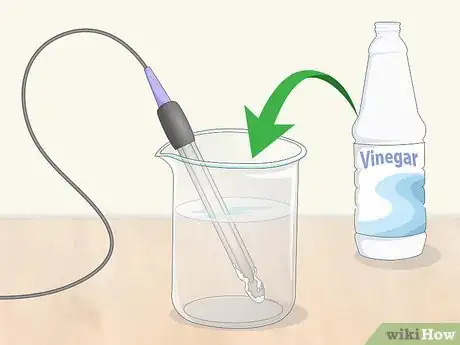
1Use 5% hydrochloric acid (HCl) or vinegar for alkaline contamination. For salt deposits or residue that is more tricky to remove, fill a beaker with enough hydrochloric acid or vinegar to submerge the end of the probe. Keep the probe in the solution for 5 minutes before rinsing it with distilled water.
- Use caution when you work with hydrochloric acid since it is corrosive. Wear protective gear, like an eye shield, lab coat, and gloves.
- Dab the end of the probe dry with a chem wipe after you rinse it.
-
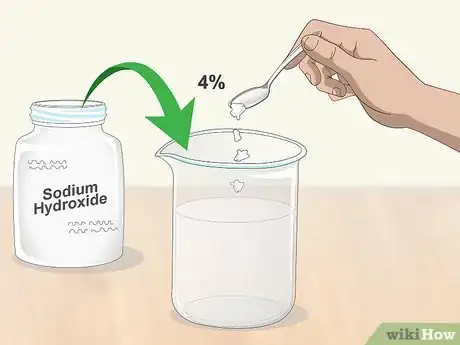
2Make a 4% solution of water and sodium hydroxide for acidic coatings. To make a 250 millilitres (8.5 fl oz) solution, combine 10 grams (0.35 oz) of sodium hydroxide with 250 millilitres (8.5 fl oz) of warm tap water. Stir the solution thoroughly and soak the probe for 5 minutes. Rinse and dab the probe dry once you’ve finished.
-
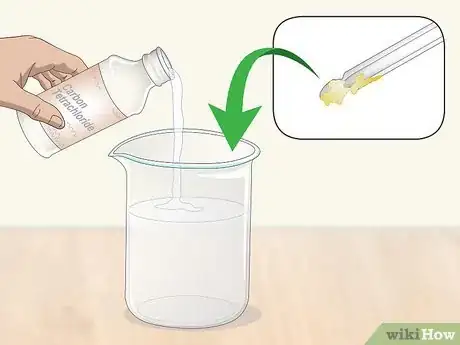
3Mix an organic solvent for oil or grease contaminants. Organic solvents contain carbon in their molecular structure.[5] Make sure you use a solvent compatible with the sensor material you are using. Soak the end of the sensor in the solvent for 5 minutes. You may need to use a soft bristle toothbrush to scrub any residue away. Organic chemical solvents can be purchased online.
- Ether and carbon tetrachloride are 2 examples of organic solvents.
- Detergent should clear up oil contamination, but solvents will give you a deeper clean.
Calibrating a pH Meter
-
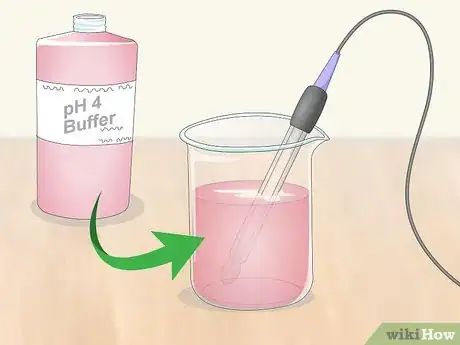
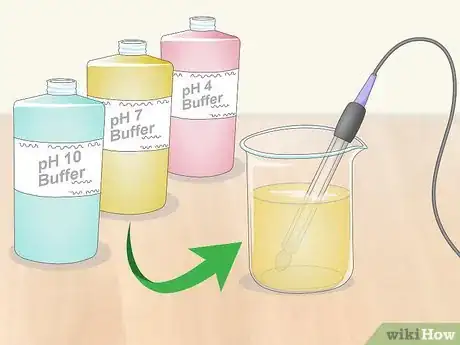
1Dip the probe into a 4.0 buffer solution. Submerge the end of the probe into the solution. The numbers on the meter should read close to 4.0 pH, but it may be off by a little bit.[6]
-
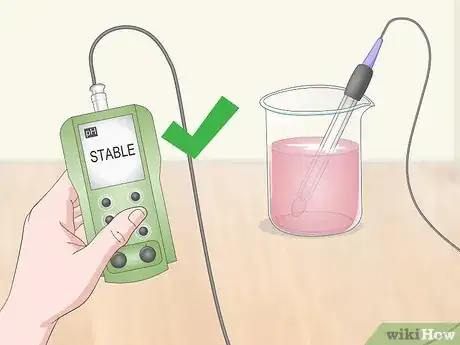
2Standardize the pH meter once it reads stable. The numbers will fluctuate slightly before they stabilize. Once an icon reading “Stable” appears, hit the standardize button to calibrate the meter. Once it’s standardized, you can remove the probe from the solution.[7]
- The calibration is fine if the reading is +/- .05 after you standardize the meter.
-
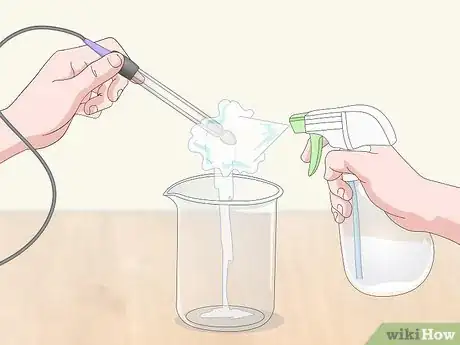
3Rinse the probe with deionized water between solutions. Clean the probe with the spray bottle. Make sure to rinse the entire area that was submerged so it does not contaminate future solutions.[8]
- Blot the probe dry to ensure all the previous solution is removed.
- Tap water could carry contaminants and should not be used to rinse in between tests.
-
4Repeat the process with 7.0 and 10.0 buffer solutions. Calibrate the meter with the other 2 solutions. This helps the meter have accurate reads for acids, bases, and neutral solutions. The meter will standardize to 7.0 pH and 10.0 pH to match the solutions.[9]
- You can skip the 7.0 buffer solution if you want, but including it will give you more accurate reads in the future.
-
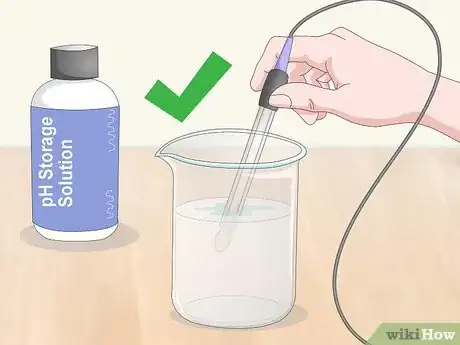
5Store the probe in the storage solution. The probe needs to be submerged when it’s not in use, so place it back into a storage solution. Ensure that the probe is dry before storing it again so water doesn’t contaminate it.[10]
- Do not store the probe in distilled water, deionized water, or tap water since this could contaminate it over time and it will have less accurate reads.
Warnings
- Wear gloves, a lab coat, and eye protection when working with chemicals.⧼thumbs_response⧽
References
- ↑ https://sciencing.com/clean-ph-meter-4812473.html
- ↑ https://youtu.be/0GzrQYOiNJI?t=28s
- ↑ https://sciencing.com/clean-ph-meter-4812473.html
- ↑ https://sciencing.com/clean-ph-meter-4812473.html
- ↑ https://www.cdc.gov/niosh/topics/organsolv/
- ↑ https://sciencing.com/calibrate-ph-meter-4796148.html
- ↑ https://youtu.be/UfdKhja6u2I?t=1m33s
- ↑ https://sciencing.com/calibrate-ph-meter-4796148.html
- ↑ https://youtu.be/UfdKhja6u2I?t=2m4s
