This article was co-authored by Jon Gholian. Jon Gholian is a Cleaning Specialist and the Founder of Cleany, a home and office cleaning concierge service based in New York City, New Jersey & Miami. Cleany specializes in providing quality cleaning and handyman services to all their customers. All Cleany employees are insured, bonded, and professionally trained. Cleany has been featured in the New York Times, Bravo & Redfin.
There are 9 references cited in this article, which can be found at the bottom of the page.
This article has been viewed 31,623 times.
Sponges can quickly gather many germs. Since they are used daily for cleaning, they collect a lot of dirt and grime. For a sponge to be safe, it needs to be both cleaned and sanitized at least once a week. You don't need to throw out a sponge every time it gets dirty. Instead you can clean and disinfect it with a microwave, dishwasher, stove, vinegar, or bleach.
Steps
Using a Microwave
-
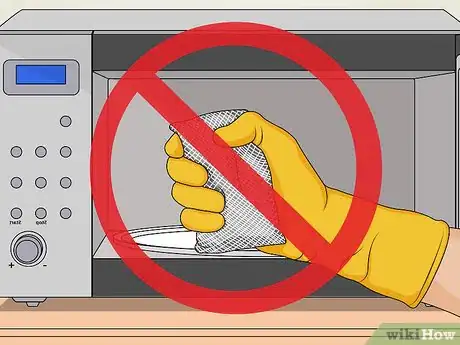
1Make sure your sponge is microwave-safe.[1] Never microwave a sponge that has any metal on it. Metal reflects microwaves, causing them to move around erratically, which can cause sparking, fire, and damage to your microwave. To be safe, don't use a metal scouring pad or anything else that contains metal in your microwave.
-
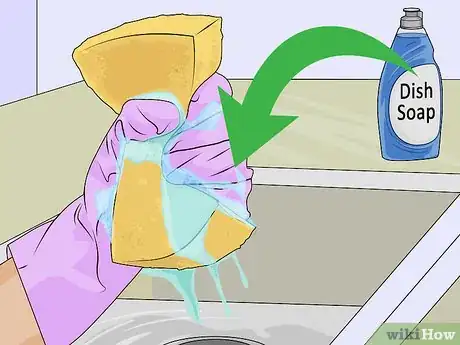
2Rinse your sponge thoroughly.[2] There should be no food or dirt visible in it. You can use a little dish soap to help get it clean. Wring it out to remove excess water.[3]Advertisement
-
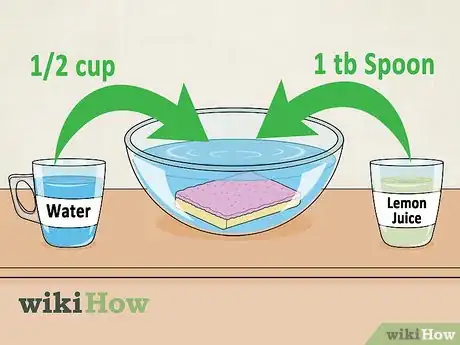
3Place your sponge in a solution of water and lemon juice. Pour about a 1/2 cup of water into a bowl and add a teaspoon of lemon juice. Soak the sponge in the solution until it is drenched. The lemon juice will help your sponge to smell clean and fresh when removing it from the microwave, and the water is necessary so that the sponge doesn't burn.[4]
-
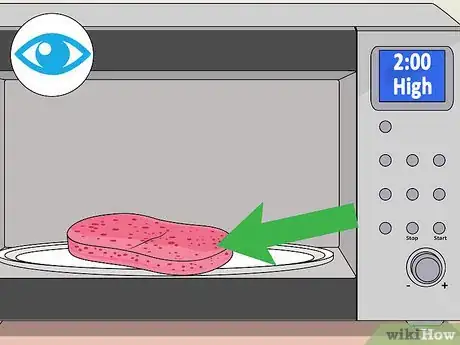
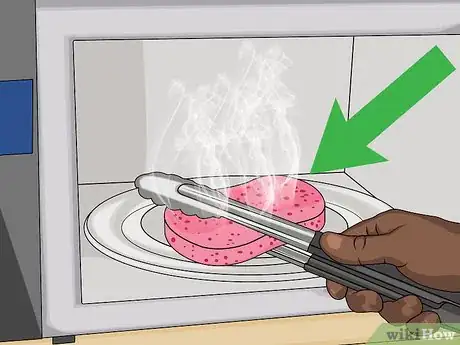
4Microwave the wet sponge while carefully monitoring it. Place the sponge in the microwave for about two minutes on high.[5] Make sure to monitor the sponge vigilantly to watch for any signs of burning. Be sure to only microwave wet sponges and to turn off the microwave immediately if you see any smoke. Microwaves kill over 99% of germs to make your sponge sanitized and clean.[6]
- Because types of microwaves and types of sponges vary, some sponges may only need a minute in the microwave.
- You can put the sponge directly in the microwave or on a small plate if you prefer.
-
5Remove the sponge with tongs. Your sponge will be freshly sanitized and will also be very hot. Let it sit in the microwave for a couple of minutes to cool off.[7] Remove it carefully, using tongs or oven mitts. It is ready to go! Be sure to sanitize your sponges regularly, at least once a week, for best results.[8]
Using a Dishwasher
-
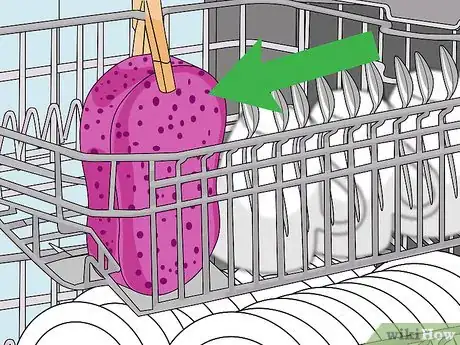
1Put your sponge in the dishwasher. Place it on the top rack or in the utensil section. To secure it on the top rack, you may want to clip it directly to the rack with a clothes pin. You can put it in with a load of dishes. Make sure there aren't any large chunks of food on it, but you don't need to clean it ahead of time.[9]
-
2Run the dishwasher. Make sure to use the heated dry setting for maximum sterilization. Run it through the full cycle on a regular dish setting; just make sure the water is hot. Use the same dish detergent that you normally would, preferably one that is antibacterial.[10]
-
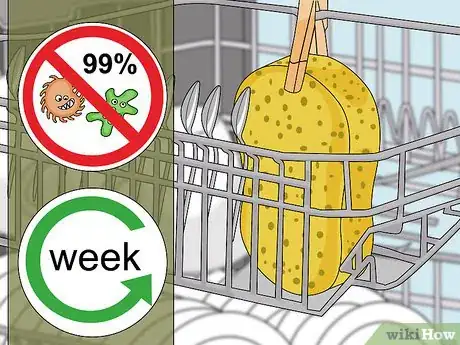
3Repeat weekly. Make sure to do this at least once a week. You can simply throw in your sponge each time you run a load of dishes. The dishwasher will both clean and sanitize your sponge, killing over 99% of germs and removing any grime.[11]
- Wash and sterilize your sponge immediately if you use it to clean a surface that has touched raw meat or fish.
- Sterilized sponges still need to be replaced every 2-8 weeks depending on how frequently they are used.[12]
Using a Stove
-
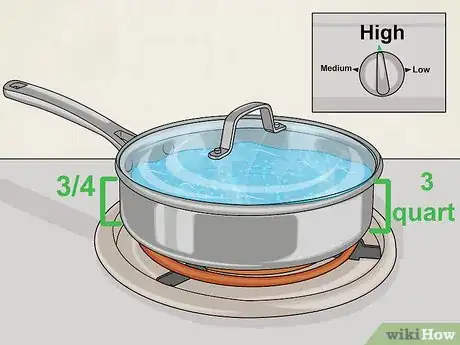
1Boil a pot of water. Use a 3-quart pot and fill it 3/4 to the top with cold water. Bring the water to a boil by placing it on the stove. Turn the burner on high until the water boils. Keep the pot covered to heat the water faster.
-
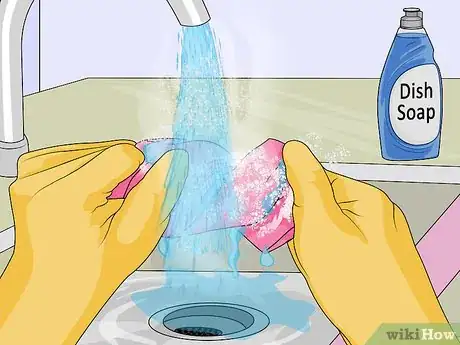
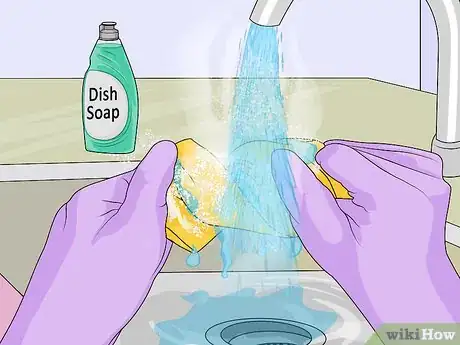
2Rinse your sponge. Clean off any excess food or grime that is sticking to it. You want the sponge to be fairly clean before immersing it in water so that it isn't soaking in anything dirty. Simply run it under warm water and clean it with a little dish soap. Wring out any excess water.
-
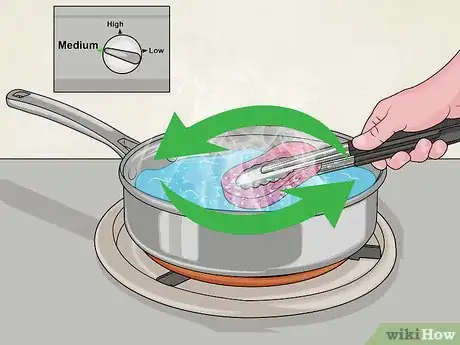
3Place the sponge in the water carefully. Make sure not to burn your hands. Remove the pot's lid and slowly lower the sponge into the water. You can place the sponge in the water using a cooking spoon or tongs to avoid burning your fingers. The sponge should be covered in water. Make sure it doesn't rest on the bottom of the pot or it could melt. To keep it from sticking to the pot, stir it occasionally.
- Turn down the burner down to medium-high so that the water doesn't boil over.
-
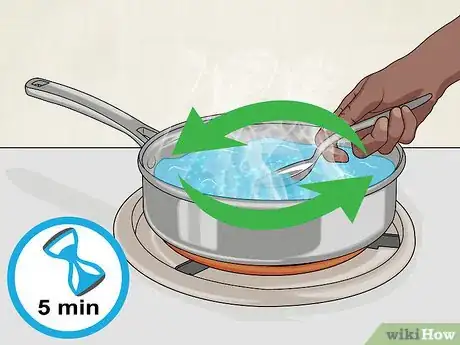
4Keep the sponge in the water for 5 minutes. This is enough time to reduce bacteria from millions to a safe number. Keep the pot uncovered and make sure the sponge isn't sticking to the edges.[13]
-
5Remove the sponge with a spoon or tongs. It will be very hot. Place it on a clean surface to thoroughly air-dry, such as a dish rack. This will keep bacteria from multiplying. After it has cooled for about 10 minutes, you can wring out the sponge to remove excess water and help it to dry faster.[14]
Using Vinegar
-
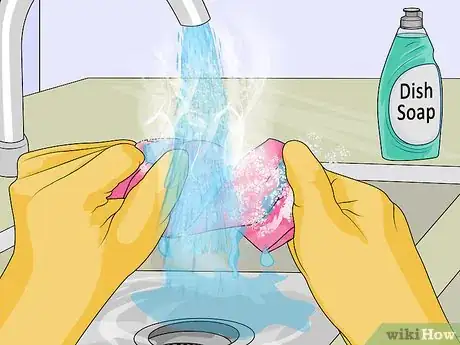
1Rinse the sponge. This will remove any residue or dirt. Simply run under warm water and add a little dish soap to get rid of grease. Make sure to do this prior to placing the sponge in the vinegar.[15]
-
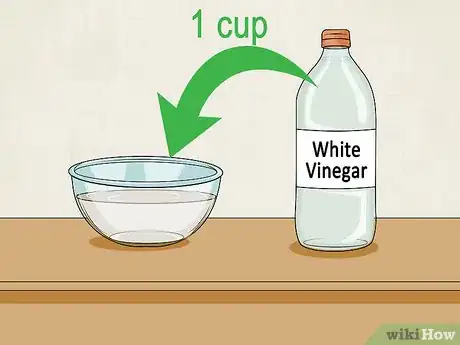
2Fill a small glass bowl with a cup of vinegar. Use white vinegar because it doesn't have any residue and will dry without a scent. Make sure the vinegar is high enough in the bowl to fully cover the sponge.[16]
-
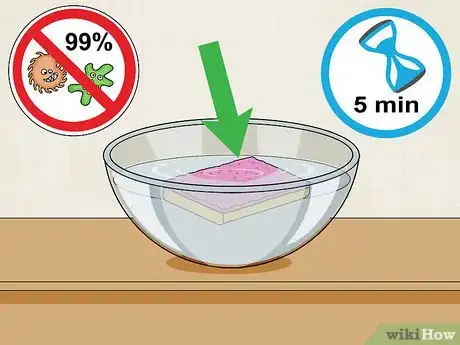
3Keep the sponge in submerged in vinegar for at least 5 minutes. Place the sponge in the vinegar so that it is fully covered. If you have the time, allow it to soak overnight for best results. Vinegar contains acetic acid that effectively kills over 99 percent of germs in five minutes. It also eliminates odors.[17]
-
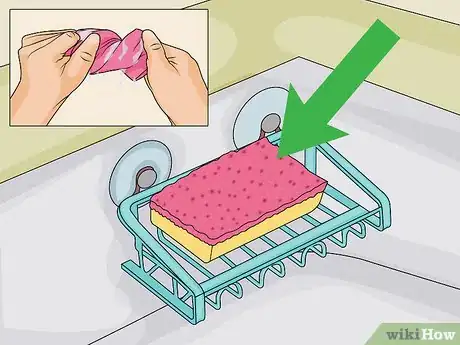
4Squeeze out excess vinegar. Simply remove your sponge from the bowl and wring it out. Allow it to air-dry on a dish rack. There's no need to rinse it. The vinegar will dry without an odor. Your sponge is ready to use! Over 99 percent of germs have been effectively eliminated.[18]
Using Bleach
-
1Rinse out the sponge. Run it under warm water to remove any dirt or food. Add some dish soap and lightly scrub it to remove grease. Wring out the sponge to get rid of excess water.
-
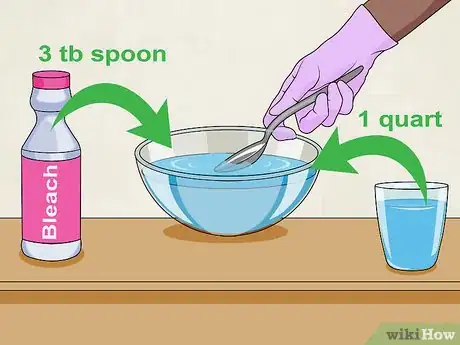
2Mix one quart of water with three tablespoons of bleach. Make this solution in a glass bowl. Bleach is a very harsh chemical, therefore it needs to be diluted. Be careful when handling bleach because it can burn your skin and remove the color from your clothes. Make sure not to touch your face or eyes when handling bleach.[19]
- Consider wearing rubber gloves when using bleach to protect your hands and to avoid getting bleach on your skin.
-
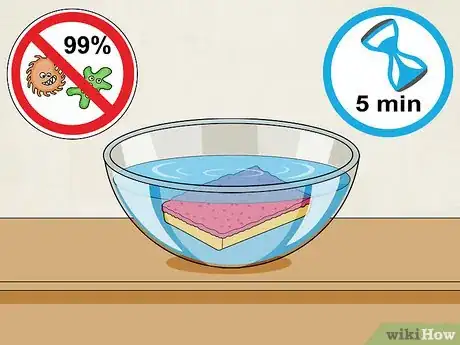
3Submerge the sponge in the solution for five minutes. Make sure it is thoroughly saturated and covered in the solution. Five minutes is enough time for over 99 percent of germs to be removed. Some studies have shown bleach to be the most effective way to kill germs.[20]
-
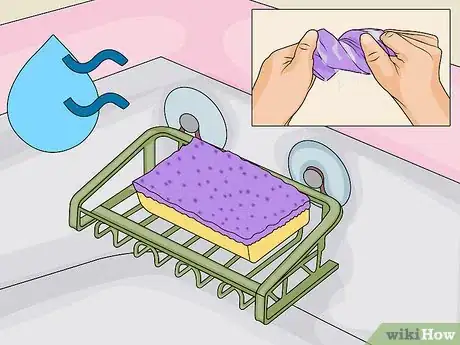
4Allow the sponge to air-dry. Wring out the sponge and place it on a dish rack for a few hours to thoroughly dry. Allowing sponges the time to dry is essential in preventing bacterial growth.[21]
Warnings
- Be careful with the microwave. Sponges can burn. Never microwave a dry sponge. Monitor it closely at all times.⧼thumbs_response⧽
- Bleach can remove the color from your clothes. Handle it carefully and don't get it near your face.⧼thumbs_response⧽
References
- ↑ Jon Gholian. Cleaning Specialist. Expert Interview. 15 December 2020.
- ↑ Jon Gholian. Cleaning Specialist. Expert Interview. 15 December 2020.
- ↑ http://www.howtocleanstuff.net/how-to-clean-a-dish-sponge/
- ↑ http://www.huffingtonpost.com/2012/09/19/how-to-clean-and-deodorize-a-sponge_n_1897114.html
- ↑ Jon Gholian. Cleaning Specialist. Expert Interview. 15 December 2020.
- ↑ http://www.thekitchn.com/kitchen-tip-sanitizing-sponges-47602
- ↑ Jon Gholian. Cleaning Specialist. Expert Interview. 15 December 2020.
- ↑ http://www.howtocleanstuff.net/how-to-clean-a-dish-sponge/
- ↑ http://www.goodhousekeeping.com/home/cleaning/a18731/how-to-clean-a-sponge/
- ↑ http://www.goodhousekeeping.com/home/cleaning/a18731/how-to-clean-a-sponge/
- ↑ http://www.goodhousekeeping.com/home/cleaning/a18731/how-to-clean-a-sponge/
- ↑ http://www.goodhousekeeping.com/home/cleaning/tips/a2551/sanitize-sponges-feb02/
- ↑ http://www.apartmenttherapy.com/the-best-way-to-clean-a-sponge-107972
- ↑ http://www.goodhousekeeping.com/home/cleaning/tips/a2551/sanitize-sponges-feb02/
- ↑ http://www.cleanmama.net/2015/10/goodbye-germs-hello-clean-sponge-3-ways-to-safely-sanitize-your-sponge.html
- ↑ https://www.thebalance.com/how-to-sanitize-sponges-and-scrub-brushes-1387937
- ↑ http://www.goodhousekeeping.com/home/cleaning/a18731/how-to-clean-a-sponge/
- ↑ https://www.thebalance.com/how-to-sanitize-sponges-and-scrub-brushes-1387937
- ↑ https://www.thebalance.com/how-to-sanitize-sponges-and-scrub-brushes-1387937
- ↑ http://www.goodhousekeeping.com/home/cleaning/tips/a2551/sanitize-sponges-feb02/
- ↑ http://www.goodhousekeeping.com/home/cleaning/tips/a2551/sanitize-sponges-feb02/
