This article was co-authored by wikiHow staff writer, Travis Boylls. Travis Boylls is a Technology Writer and Editor for wikiHow. Travis has experience writing technology-related articles, providing software customer service, and in graphic design. He specializes in Windows, macOS, Android, iOS, and Linux platforms. He studied graphic design at Pikes Peak Community College.
This article has been viewed 145,223 times.
Learn more...
It's common to need a transparent background when layering or uploading to the web, but not many people can afford Photoshop or any other professional editor. Luckily, there's a free easy way to create transparent backgrounds. This wikiHow teaches you how to remove a background using a web application called Pixlr.
Steps
-
1Go to http://apps.pixlr.com/editor/ in a web browser. This is the website for the Pixlr Web Editor app. You can use any web browser on PC or Mac.
-
2Click Continue with Pixlr Editor. This opens the free version of Pixlr.
- If you want to try Pixlr X, click Try Pixlr X.
Advertisement -
3Click Create a New Image. It's next to an icon that resembles a plus (+) sign. It's the first option in the opening menu.
-
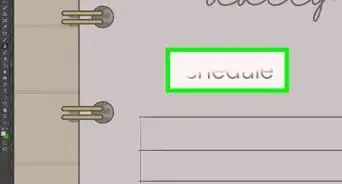
4Type a name for the file. Use the text bar below "Name" to type a name for the file.
- If you know the dimensions of the image you want to edit, you can type them in the boxes below "Width" and "Height". You can also select an image dimension using the "Presets" drop-down menu.
-
5Click the checkbox next to "Transparent" and click Ok. This creates a new image with a transparent background.
-
6Click Layers. It's in the menu bar at the top of the screen.
-
7Click Open Image as Layer. It's the fifth option in the drop-down menu below "Layers". This opens your image as a new layer.
-
8Click on the Wand tool. It's the icon that resembles a magic wand in the toolbar. The wand tool can select parts of an image by color.
-
9Click the background of your image. This selects all pixels of a similar color in the area you click.
- To select multiple areas by holding ⇧ Shift and clicking multiple areas.
- You can adjust the sensitivity of the Wand Tool by clicking the drop-down menu next to "Tolerance" and dragging the slider bar. Decrease the tolerance to select less area, and increase the tolerance to select more area.
- Alternatively, you can also click the Lasso tool, which resembles a lasso in the toolbar. Draw an outline around the object in the image you want to keep to select it. Then click Edit in the menu bar, and click Invert Selection to select all except the shape you traced around.
-
10Press Delete. This removes all selected parts of the image.
- If you delete too much of the image, press Ctrl+Z on PC or ⌘ Command+Z on Mac to undo the delete. Adjust the tolerance of the Magic Wand tool, or use the Lasso Tool to draw an outline around the objects in the image you want to keep. Then try again.
-
11Press Ctrl+D on PC or ⌘ Command+D on Mac. This deselects the selected parts of the image.
-
12Click the eraser tool. It's the icon that resembles a pink eraser in the toolbar.
-
13Erase any remaining background. Use the eraser tool to remove any remaining parts of the background.
- To adjust the eraser size and type, click the drop-down menu next to "Brush" in the upper-right corner and select a new eraser brush.
-
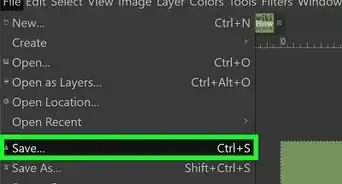
14Click File. It's in the menu bar at the top of the screen. This displays a drop-down menu.
-
15Click Save. It's in the drop-down menu below "File".
-
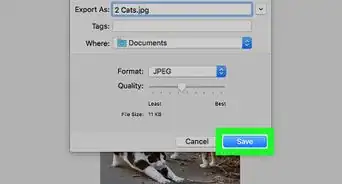
16Type a name for the file. Use the text box below "Name" to type a name for the image.
-
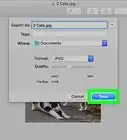
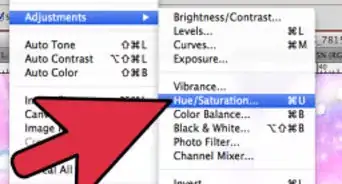
17Select "PNG" as the format. Use the drop-down menu below "Format" to select PNG as the format. PNG is an image format that supports transparent backgrounds.
-
18Click Ok. This opens a file browser you can use to save the image.
-
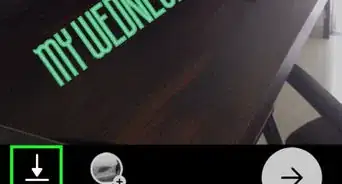
19Select a save location and click Save. This saves the images with the transparent background in PNG format.


Community Q&A
-
QuestionWhen I do this, it gives me a white background. Why?
 Community AnswerIt's probably just the default for your device. Try saving the picture and pasting it somewhere else later.
 -
QuestionCan I do this by selecting a color to make transparent?
 Community AnswerYes. Use the wand tool to select the color you want to make transparent. It should not select the rest of the image.


About This Article

1. Go to https://pixlr.com/editor/ in a web browser and click Continue with Pixlr Editor.
2. Click Create a New Image.
3. Click the checkbox next to "Transparent".
4. Click Open Image as Layer under the "Layers" menu.
5. Use the Wand Tool to select the background.
6. Press Delete to remove the select areas of the background.
7. Use the Eraser tool to remove any remaining backround.
8. Click Save under the "File" menu.
9. Select PNG as the image format and click Ok.
10. Click Save.