This article was co-authored by wikiHow staff writer, Travis Boylls. Travis Boylls is a Technology Writer and Editor for wikiHow. Travis has experience writing technology-related articles, providing software customer service, and in graphic design. He specializes in Windows, macOS, Android, iOS, and Linux platforms. He studied graphic design at Pikes Peak Community College.
There are 10 references cited in this article, which can be found at the bottom of the page.
This article has been viewed 238,975 times.
Learn more...
Adding a background to your Adobe InDesign document can benefit your overall printed project. Backgrounds can add visual impact and emphasize individual design elements anywhere on the page. Whether you want to change an existing background color or use an image as a background, creating a custom background is easy. This wikiHow teaches you three easy ways to add a creative background to your Adobe InDesign project.
Things You Should Know
- You can add an image background by placing an image on a separate layer below your text and other objects.
- Alternatively, you can use the shape tools to draw a background or change the background color.
- If the text is hard to read, lower the opacity of your background.
Steps
Using an Image as a Background
-
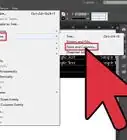
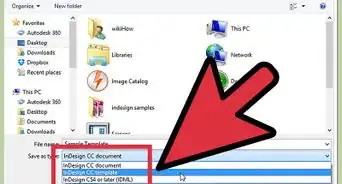
1Create a new document in InDesign. To do so, open InDesign. Then click Create New to the left. Enter the height and width of your document or select one of the document templates. Then click Create.[1]
- You can create a new document at any time by clicking File in the menu bar at the top, followed by New.
- You need a subscription to Adobe InDesign or Creative Cloud to download and install Adobe InDesign. You can try a free trial of Adobe InDesign at https://www.adobe.com/products/indesign.html
-
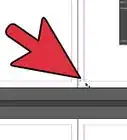
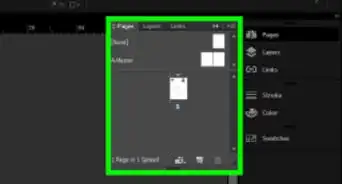
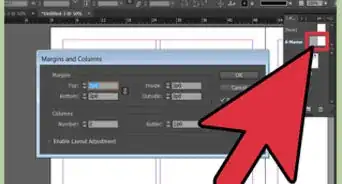
2Create a new layer. When working in InDesign, it's a good idea to have a separate layer for your background, text, and additional images. Go ahead and create a layer for your background. To do so, open the Layers panel. Then click the icon that resembles a sheet of paper with a folded corner at the bottom of the Layers panel.[2]
- If you don't see the Layers panel to the right, click Window in the menu bar at the top, followed by Layers.
Advertisement -
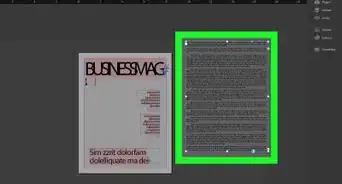
3Place your background image. To do so, click File in the menu bar at the top. Then click Place. Select the image you want to use as a background. Then click and drag over your entire page or background area to place the image.
- Make sure the image you select has a high enough resolution to match the size of your page. Alternatively, you can design a background image in Photoshop or Illustrator.
-
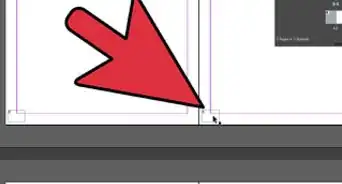
4Adjust the image frame. If the image is larger than your entire page, you can crop the image by clicking and dragging the edges of the image frame inward. Then click the Direct Select tool. It's the icon that resembles a white mouse cursor in the toolbar. Then click and drag the image to adjust the image position inside the frame.
- The keyboard shortcut for selecting the Direct Select tool is "A."
-
5Lower the image opacity (optional). Text placed on top of an image background can be hard to read. Lowering the opacity of the image can make it easier. To lower the opacity of the image, click the Selection tool in the toolbar and click the image frame. Then open the Effects menu and lower the opacity to 50% or lower.[3]
- To open the Effects panel, click Window in the menu bar at the top. Then click Effects. Use the box next to "Opacity" in the upper-right corner to lower the opacity.


Add a Background Color to an Image
-
1Create a new document in InDesign. To do so, open InDesign. Then click Create New to the left. Enter the height and width of your document or select one of the document templates. Then click Create.
- You can create a new document at any time by clicking File followed by New.
-
2Create a new layer. When working in InDesign, it's a good idea to have a separate layer for your background, text, and additional images. Go ahead and create a layer for your background. To do so, open the Layers panel. Then click the icon that resembles a sheet of paper with a folded corner at the bottom of the Layers panel.
- If you don't see the Layers panel to the right, click Window in the menu bar at the top, followed by Layers.
-
3Place an image. To do so, click File in the menu bar at the top. Then click Place. Navigate to the file you would like to import and double-click the file name. Move your cursor to the location where you want to place your graphic and click your mouse. This will place the image on your page.
- To place the image as a particular size, click and drag a box that is your desired size when placing the image. You can adjust the size by selecting the picture using the Select tool (press "V" to select the Select tool) and dragging one of the corners of the image frame while holding the Control + Shift keys (Command + Shift on a Mac). This will adjust the graphic's size proportionally.
-
4Expand the graphic frame. To do so, click and drag a corner of the image while holding the Shift + Alt keys (Shift + Option on a Mac). This will expand the size of the frame around the image without adjusting the size of the image.
-
5Open the Swatches panel. The Swatches panel has an icon that resembles 6 shaded squares in the menu to the right. Click the Swatches icon to open the Swatches menu.
- If you don't see the Swatches icon, click Window in the menu bar at the top. Hover over Color and click Swatches. You can also press F5 to open the Swatches panel.
-
6Select the Fill color box. You should see two boxes in the upper-right corner of the Swatches panel. One is a solid color box, and the other is a box with a border. Click the solid color box to select the fill color.
-
7The Box with the border is the Stroke color box. This box can be used to add an outline around your image frame.
-
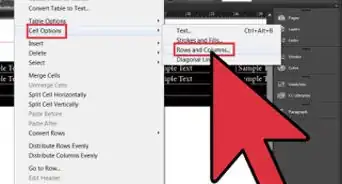
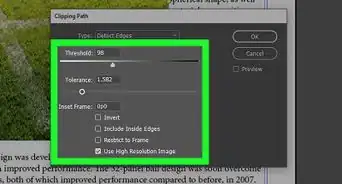
8Create a new color to use as the background for your image. To do so, click the icon with four horizontal lines in the upper-right corner of the Swatches menu. Then click New Color Swatch in the fly-out menu. Use the CMYK slider bars to adjust the color of the swatch and click Ok.
- Alternatively, you can select the eyedropper tool (by pressing "I"). Then hold Alt (or Option on Mac) and click a color within the image to select that color as the background. This allows you to find a color the compliments your image.
-
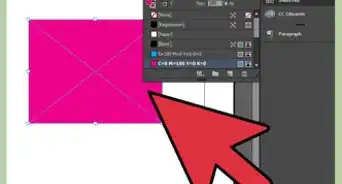
9Apply the swatch color to your image frame. To do so, press "V" on your keyboard to select the Select tool and click your image frame. Then click your colored swatch in the Swatches panel to apply the color.


Drawing a Background Using the Shape Tools
-
1Create a new document in InDesign. To do so, open InDesign. Then click Create New to the left. Enter the height and width of your document or select one of the document templates. Then click Create.
- You can create a new document at any time by clicking File followed by New.
-
2Create a new layer. When working in InDesign, it's a good idea to have a separate layer for your background, text, and additional images. Go ahead and create a layer for your background. To do so, open the Layers panel. Then click the icon that resembles a sheet of paper with a folded corner at the bottom of the Layers panel.
- If you don't see the Layers panel to the right, click Window in the menu bar at the top, followed by Layers.
-
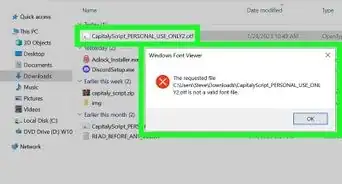
3Select an object tool. To do so, click and hold the rectangle tool in the toolbar to the right. Then select the Rectangle tool, Ellipse tool, or Polygon tool.
- Alternatively, you can press M to select the Rectangle tool, or press L to select the Ellipse tool.
-
4Click and drag your mouse to draw your desired background shape. Adjust your background shape's size by clicking one of your shape's handles with your Select tool and dragging it until your shape is the correct size.
- The Select tool has an icon that resembles a black mouse cursor in the toolbar to the left. You can also press "V" on your keyboard to select the Select tool.
- If you just want to change the background color, use the Rectangle tool to create a rectangle that covers your entire page.
-
5Open the Swatches panel. The Swatches panel has an icon that resembles 6 shaded squares in the menu to the right. Click the Swatches icon to open the Swatches menu.
- If you don't see the Swatches icon, click Window in the menu bar at the top. Hover over Color and click Swatches. You can also press F5 to open the Swatches panel.
-
6Select the Fill color box. You should see two boxes in the upper-right corner of the Swatches panel. One is a solid color box, and the other is a box with a border. Click the solid color box to select the fill color.
- The Box with the border is the Stroke color box. This box can be used to add an outline around your image frame.
-
7Create a new color swatch. To do so, click the icon with four horizontal lines in the upper-right corner of the Swatches menu. Then click New Color Swatch in the fly-out menu. Use the CMYK slider bars to adjust the color of the swatch and click Ok. You can create as many swatch colors as you need.
- If the majority of your publication uses a single background color, you may want to consider printing on colored stock paper instead of printing a background color for each page. You can use the "Paper" swatch to simulate the color of your paper in InDesign. The Paper swatch is not a printable swatch. Double-click the Paper swatch in the Swatches panel and use the CMYK slider bars to adjust the color of the Paper swatch.[4]
-
8Apply color to your shapes. To apply color to your background shapes, first, click the Select tool. Click a shape you want to apply color to. Then click a color swatch in the Swatches panel to apply that color to the shape.


References
- ↑ https://helpx.adobe.com/indesign/how-to/new-document-in-indesign.html
- ↑ https://helpx.adobe.com/indesign/using/layers.html
- ↑ https://helpx.adobe.com/indesign/using/adding-transparency-effects.html
- ↑ https://graphicdesign.stackexchange.com/questions/109467/paper-vs-color-white
- http://help.adobe.com/en_US/InDesign/6.0/WSa285fff53dea4f8617383751001ea8cb3f-715aa.html
- http://help.adobe.com/en_US/InDesign/6.0/WSa285fff53dea4f8617383751001ea8cb3f-6f27a.html
- http://help.adobe.com/en_US/InDesign/6.0/WSa285fff53dea4f8617383751001ea8cb3f-6c1fa.html
- http://help.adobe.com/en_US/InDesign/6.0/WSa285fff53dea4f8617383751001ea8cb3f-6ca8a.html
- http://help.adobe.com/en_US/InDesign/6.0/WSa285fff53dea4f8617383751001ea8cb3f-6eb5a.html
About This Article

1. Create a new document in InDesign.
2. Create a new layer for your background image.
3. Click File followed by Placed.
4. Select your background image.
5. Click and drag over your entire page.
6. Open the "Effects" menu in the "Window" menu at the top.
7. Lower the opacity of your background image to 50% or lower.