Explore this Article
X
wikiHow is a “wiki,” similar to Wikipedia, which means that many of our articles are co-written by multiple authors. To create this article, volunteer authors worked to edit and improve it over time.
The wikiHow Tech Team also followed the article's instructions and verified that they work.
This article has been viewed 145,329 times.
Learn more...
Text-wrapping is a dynamic design technique that can greatly enhance page layout. Designers use text-wrapping to complement the organic shape of illustrations and other art elements. Follow these steps to effectively wrap text in Indesign.
Steps
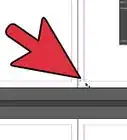
1
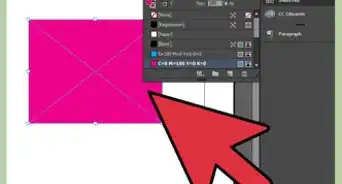
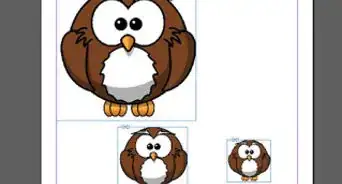
Select an object around which to wrap text.

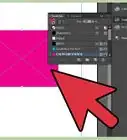
2
Open the Text Wrap palette.

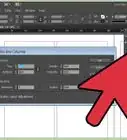
3
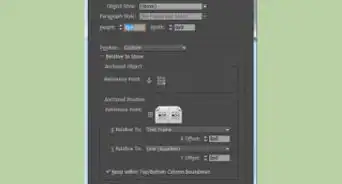
Select a wrap design.
-
The icons at the top of the palette contain text wrapping options. Once you choose one of the layouts, the text will wrap around the object in that design.
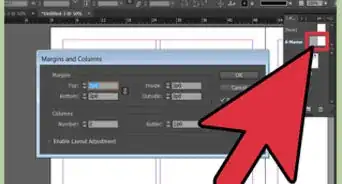
- Click Wrap Around Bounding Box to wrap text around all sides of the photo or graphic frame. A dialog box will open, prompting you to enter how far off the frame you want the text to run. You can enter different values for each edge of the frame.
- Click Wrap Around Object Shape (the circle surrounded by text) to use contour wrapping, which creates a text wrap boundary that's the same shape as the selected object.[1] X Research source
- Click Jump Object to prevent text from showing up in any space to the left or right of the frame.
- Click Jump to Next Column to force the surrounding text or paragraph to the next column or text frame. This option prevents undesired text wraps along the sides of the frame.

Advertisement
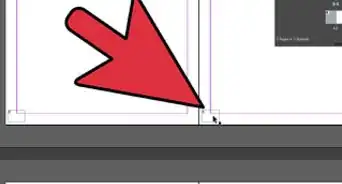
4
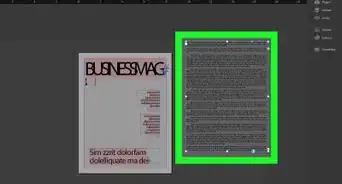
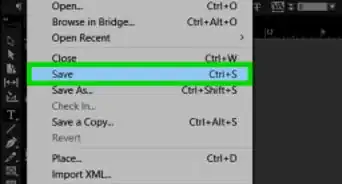
Wrap text around the edges of an imported image.
-
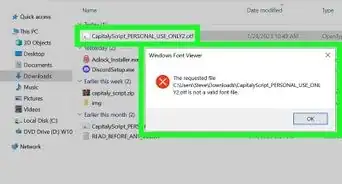
If you imported an image and want to wrap text around an object within it, try a clipping path. To get started, choose an imported image with a solid background as your object, and then:
- From the main toolbar, click Object, select Clipping Path, and then Options.
- Drag the Threshold setting to the desired level to help create the path. The higher the setting you choose, the wider the range of pixel removal.
- Manipulate the Tolerance setting to dictate the path's detail. Higher settings make the path less accurate but smoother.
- Enter a single offset value in the "Inset Frame" field.
- Choose Include Inside Edges command to make paths inside the image. You might need to adjust the Tolerance setting for the program to select these spaces.
- Click OK and then click to select the object.
- Choose Wrap Around Object Shape on the Text Wrap panel.
- Select Show Options from the palette menu and choose Same As Clipping.
- Enter the value you want the text to bounce off the object.

You Might Also Like
How to
Add Page Numbers in InDesign
How to
Add Swatches in InDesign
How to
Add Columns in InDesign
 How to Add Fonts in Adobe InDesign
How to
Convert a Word File to Indesign
How to
Unlock Objects in InDesign
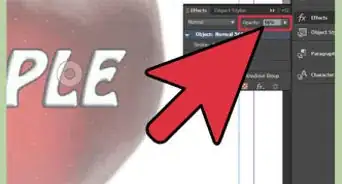
How to
Adjust Opacity in InDesign
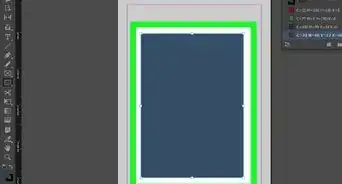 How to Create a Background in InDesign
How to
Set up an InDesign Template
How to
Add Pictures in InDesign
 How to Show Paragraph Marks in InDesign (2021)

How to
Add a Drop Shadow in InDesign
How to
Anchor Objects in InDesign
How to
Add Borders in InDesign
Advertisement
About This Article
Tested by:
wikiHow Technology Team
wikiHow is a “wiki,” similar to Wikipedia, which means that many of our articles are co-written by multiple authors. To create this article, volunteer authors worked to edit and improve it over time. This article has been viewed 145,329 times.
How helpful is this?
Co-authors: 5
Updated: February 7, 2022
Views: 145,329
Categories: Adobe InDesign
Advertisement