X
This article was co-authored by wikiHow staff writer, Jack Lloyd. Jack Lloyd is a Technology Writer and Editor for wikiHow. He has over two years of experience writing and editing technology-related articles. He is technology enthusiast and an English teacher.
The wikiHow Tech Team also followed the article's instructions and verified that they work.
This article has been viewed 168,090 times.
Learn more...
This wikiHow teaches you how to create a border around content in InDesign. Borders in InDesign are called "strokes". You can add a stroke to your content on both Windows and Mac versions of InDesign.
Steps
-
1Open InDesign. Its app icon resembles a pink "Id" on a black background. The InDesign startup window will appear.
-
2Click Start. This tab is in the upper-right corner of the window. A drop-down menu will appear.
- If you're using a computer that has a touch screen, you'll instead click Touch here.
Advertisement -
3Click Typography. It's in the Start drop-down menu. This will change your InDesign layout to a more edit-friendly appearance.
-
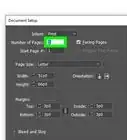
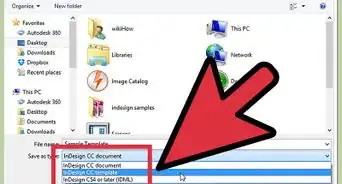
4Open a project. Click File, click Open…, and select your project.
- You can also click File, select New, and click Document…, then click Create in the lower-right side of the window to create a new project.
-
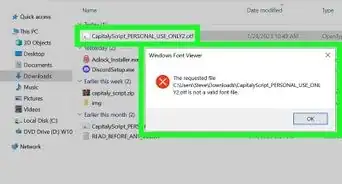
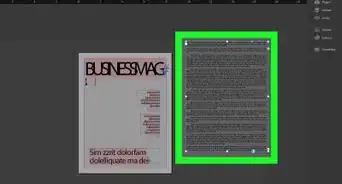
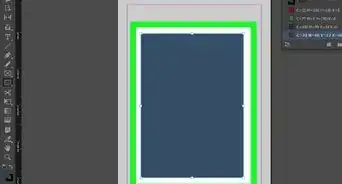
5Select an item in your project. Click the image around which you want to place a border. Doing so selects it.
-
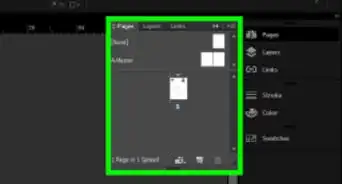
6Click Swatches. This tab is in the upper-right side of the window. A small pop-out window will appear.
-
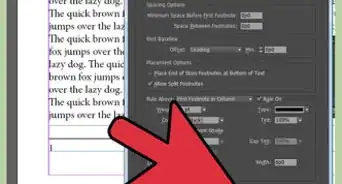
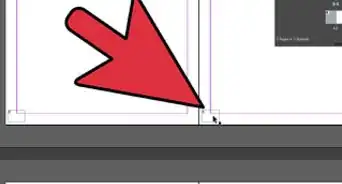
7Click the "Stroke" icon. It resembles a box with a border around it in the upper-left side of the "Swatches" window. Clicking this will prompt a drop-down menu.
-
8Select a color. Click a color that you want to use for your border in the drop-down menu.
- If you double-click a color, a separate window in which you can customize the color will open.
-
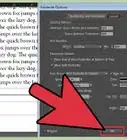
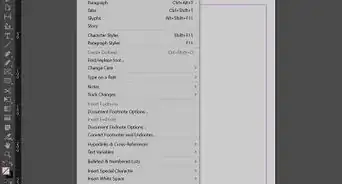
9Click the Window menu item. It's at the top of the window (Windows) or screen (Mac). A drop-down menu will appear.
-
10Click Stroke. This option is near the bottom of the Window drop-down menu. The Stroke window will open.
-
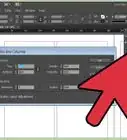
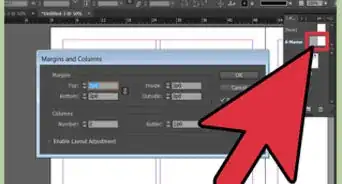
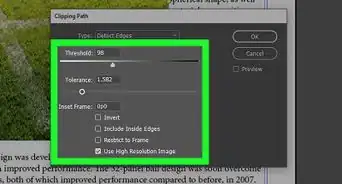
11Edit your border. In the Stroke window, you can change several aspects of the border design:
- Thickness - Increase border width by clicking the upward-facing arrow to the right of the "Weight" heading in the Stroke window.
- Shape - Click the "Type" drop-down box, then click a border format.
- Gap color - If you choose a border type that has a gap between two elements of the border, click the "Gap Color" drop-down box and select a color to fill in the gap with a different color.
-
12Save your work. Click File, then click Save to save your border.
- You can also click Save As… in the File drop-down menu to save your work as a new project.


Advertisement
Warnings
- Always save your work after making a big change like adding a border.⧼thumbs_response⧽
Advertisement


About This Article
Jack Lloyd
wikiHow Technology Writer
This article was co-authored by wikiHow staff writer, Jack Lloyd. Jack Lloyd is a Technology Writer and Editor for wikiHow. He has over two years of experience writing and editing technology-related articles. He is technology enthusiast and an English teacher. This article has been viewed 168,090 times.
How helpful is this?
Co-authors: 7
Updated: November 14, 2017
Views: 168,090
Categories: Adobe InDesign
Advertisement