This article was co-authored by wikiHow staff writer, Nicole Levine, MFA. Nicole Levine is a Technology Writer and Editor for wikiHow. She has more than 20 years of experience creating technical documentation and leading support teams at major web hosting and software companies. Nicole also holds an MFA in Creative Writing from Portland State University and teaches composition, fiction-writing, and zine-making at various institutions.
This article has been viewed 45,316 times.
Learn more...
Although there's no way to convert a Word document to InDesign's format, you can import the contents of the Word document into an existing InDesign project. This wikiHow teaches you how to properly import the content of your Word document, including its styles and special formatting, into Adobe InDesign.
Steps
-
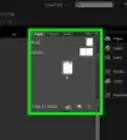
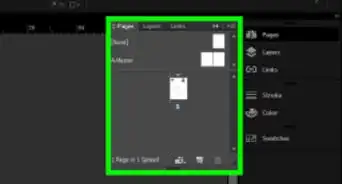
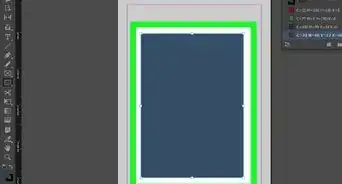
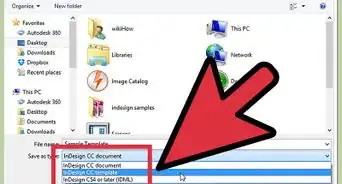
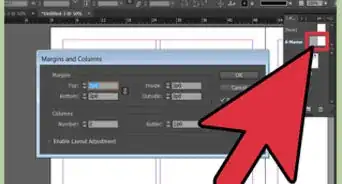
1Open your InDesign project. To properly import your Word document into InDesign while preserving as much of your formatting as possible, you'll need to start with an existing InDesign document. If you haven't already created one, open InDesign and click Create New to do so now.[1] Then, select a category (Print, Web, or Mobile), choose a preset, set any specific details in the Preset Details panel, and then click Create.
-
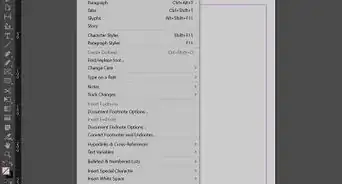
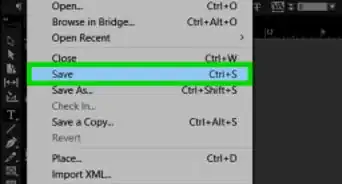
2Click the File menu and select Place. The File menu is at the top-left corner of InDesign on a PC, or at the top-left corner of the screen on a Mac.Advertisement
-
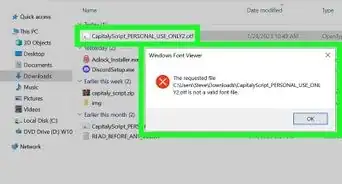
3Select the Word document you want to import. It should end with the .DOCX or .DOC file extension.
-
4Check the box next to Show Import Options. This setting allows you to choose aspects of the Word document to preserve.[2]
-
5Click the Open button. This displays a new window that lets you customize your import options.[3]
-
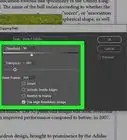
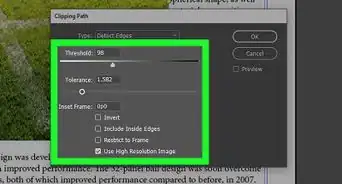
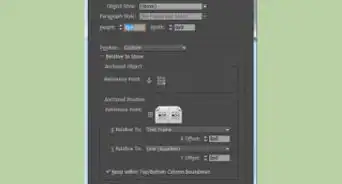
6Select Preserve Styles and Formatting from Text and Tables. It's the second option in the "Formatting" section. Using this option ensures that you can keep any styles and layout settings in your Word document, including bold/italicized text.[4]
- If you only want to import the text from the document and don't care about paragraph formatting, headers, text styles, etc., you can choose Remove Styles and Formatting from Text and Tables instead—this option will simply take the unformatted contents and incorporate them into the InDesign document's style.
-
7Select Customize Style Import. It's at the bottom of the window.[5]
-
8Click the Style Mapping button. It's at the bottom-right corner of the window.
-
9Map each Word style to a corresponding InDesign style. Select a style in the Microsoft Word section (on the left), and then click the corresponding InDesign style on the right to select the one that best matches the Word style. For example, Word's "Heading 1" might match best with the InDesign "Title" property.
- If there is no appropriate style match, select New Paragraph Style or New Character Style on the InDesign side to create one.
- If you see a message that says a style has a name conflict, you have three options:
- Select Redefine InDesign Style to change the InDesign style with that name to the Word style.
- or select Auto Rename to create a new style in InDesign based on that Word style with a new name that won't cause a conflict.
- or select another InDesign style to allow InDesign to reformat that area.
-
10Click OK and then OK again. This closes the Style Mapping and Import Options windows and returns you to your project.
-
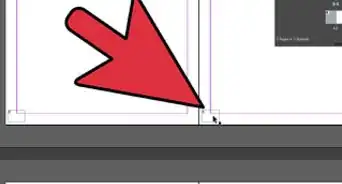
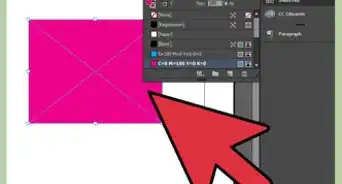
11Draw a text frame to place your Word document. The contents of your Word document will appear inside the frame.
- You may have to make some additional tweaks to make the Word formatting look correct with any existing InDesign formatting you've already added to the document, such as font styles, alignment adjustments, and text-wrapping preferences.


References
- ↑ https://helpx.adobe.com/indesign/how-to/new-document-in-indesign.html
- ↑ https://helpx.adobe.com/indesign/using/importing-files-applications.html
- ↑ https://accessible-digital-documents.com/blog/importing-structured-content-from-word-into-indesign/
- ↑ https://creativepro.com/retaining-important-formatting-when-importing-word-documents/
- ↑ https://helpx.adobe.com/incopy/using/paragraph-character-styles.html
About This Article

1. Open your InDesign project.
2. Click File > Place.
3. Select your Word doc.
4. Select Show Import Options.
5. Click Open.
6. Select Preserve Styles and Formatting from Text and Tables.
7. Select Customize Style Import and click Style Mapping.
8. Map Word styles to InDesign styles.
9. Click OK twice.