X
This article was co-authored by Lois Wade. Lois Wade has 45 years of experience in crafts including sewing, crochet, needlepoint, cross-stitch, drawing, and paper crafts. She has been contributing to craft articles on wikiHow since 2007.
This article has been viewed 172,142 times.
Do you have more yarn than you can handily store? Perhaps you might be interested in crocheting a storage box from and/or for that yarn. Here are several methods of crocheting a box that you may find interesting enough to use.
Both of these methods use "Single Crochet" (American term).
Steps
Method 1
Method 1 of 3:
Separate sides
-
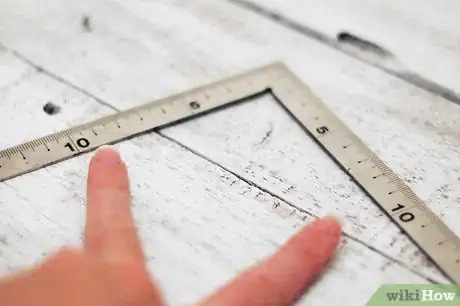
1Determine the dimensions of your finished box. This can be square or rectangle.
-
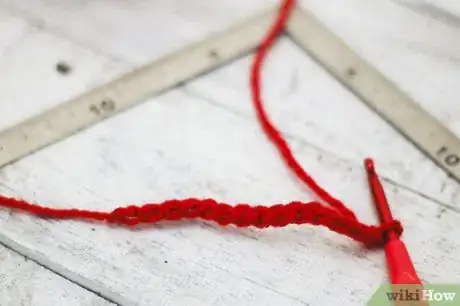
2Chain the length of your desired side.Advertisement
-
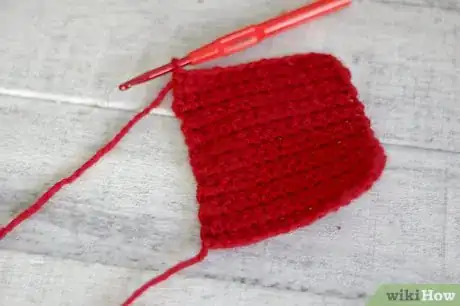
3Single crochet to the desired height.
-
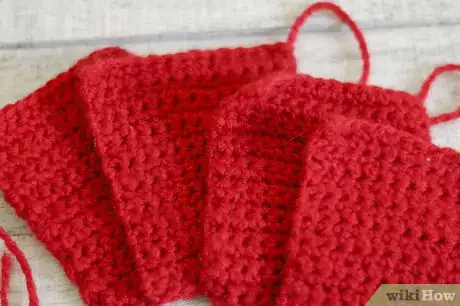
4Repeat for each side.
-
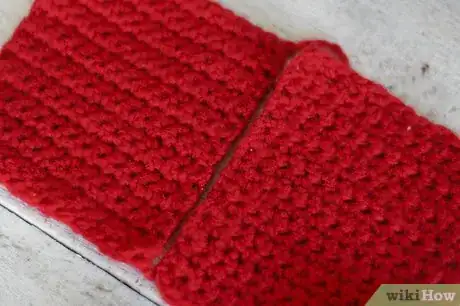
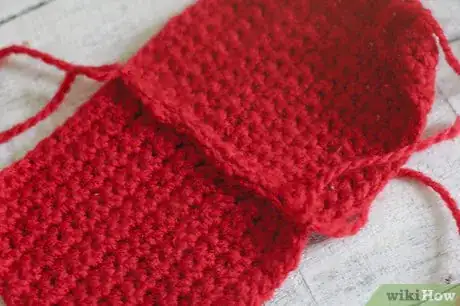
5Arrange the completed sides so that adjacent sides touch.
-
6Slip stitch the 5 sides together at the edges to form the corners.
Advertisement
Method 2
Method 2 of 3:
Using stiffener
-
1Crochet a square or rectangle the size of the bottom of your desired box.
-
2Single crochet around the edges, taking care to place only one SC per loop or row.
-
3Continue up the sides, decreasing the stitches at or near the corners if your sides seem too splayed or loose.
-
4Tie off.
-
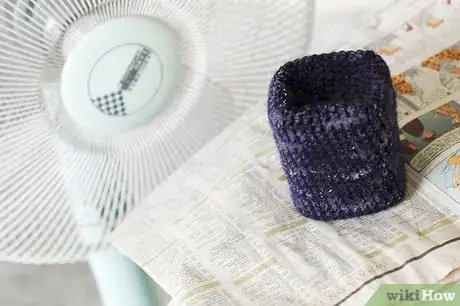
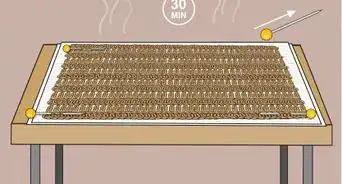
5Stiffen with starch, glue, wallpaper paste, etc. You can use a heater or fan to hasten the drying process if you like.
Advertisement
Method 3
Method 3 of 3:
Using stiffener
-
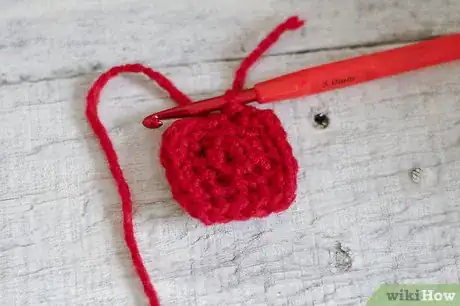
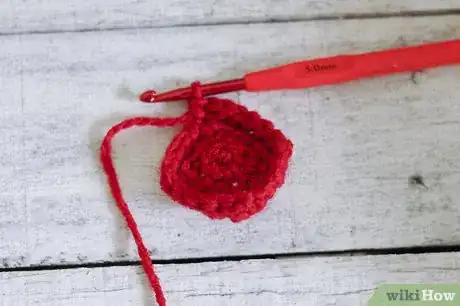
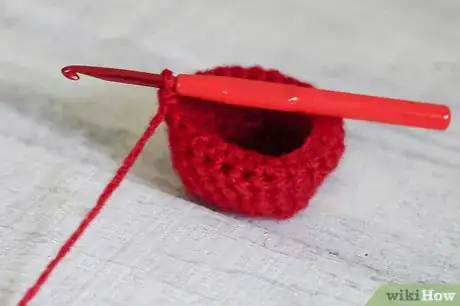
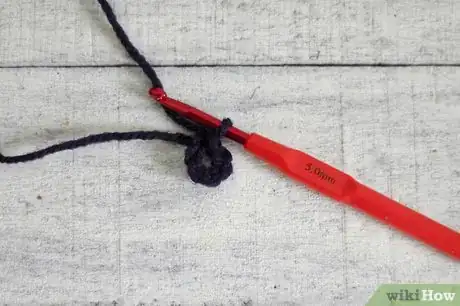
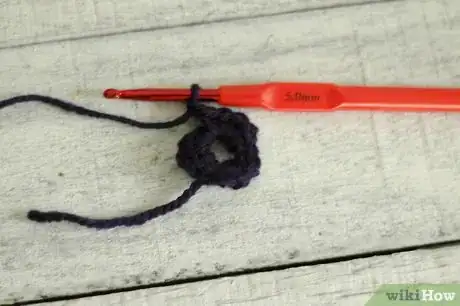
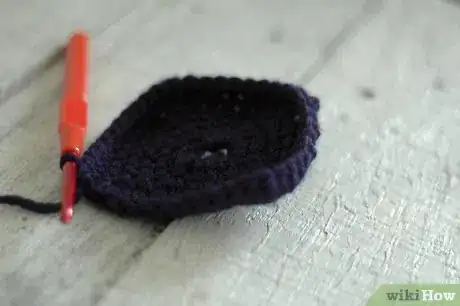
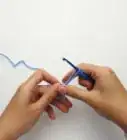
1Begin to crochet in the round.
-
2From your starter loop, single crochet 3, chain one, single crochet 3, chain one, single crochet 3, chain one, single crochet 3, chain one so that you have four "sides" of 3 SC each.
-
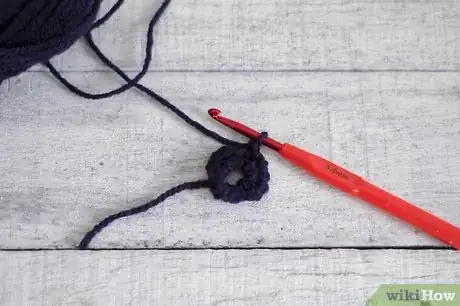
3Slip stitch the row closed and Chain up one to begin the next row.
-
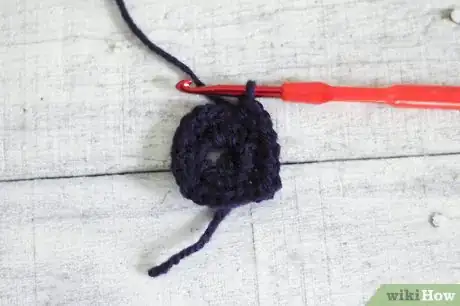
4In the next row, SC into each SC from the row below. When you reach the "end" or "corner", SC 1, chain one to form the turn and SC 1 to begin the next side; then, repeat for the remaining three sides. The effect is to increase each side by two SC each round.
-
5Continue until you have a SC square of the size you wish your completed box bottom to be.
-
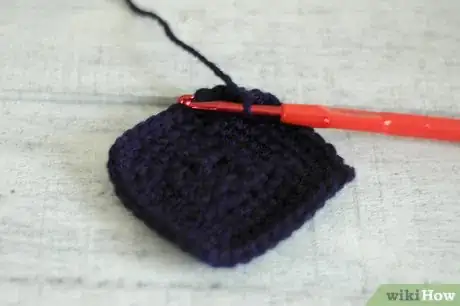
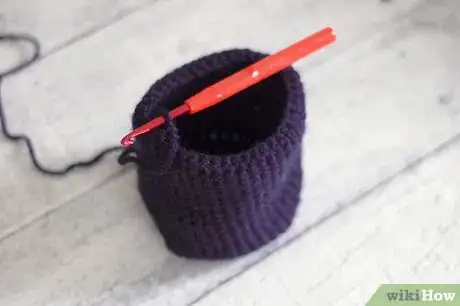
6Form the sides by eliminating the extra two SC and chain at the corners. Do this till turn the sides up. If the sides seem a bit too splayed out, decrease at the corners.
-
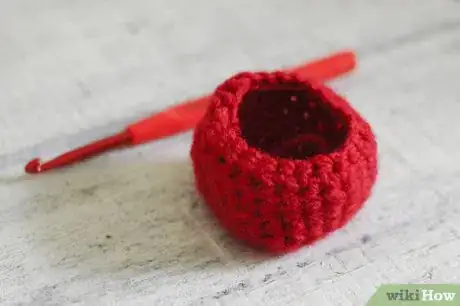
7Continue SC until your box is the desired height.
-
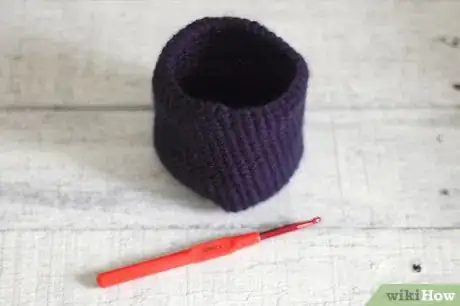
8Tie off.
-
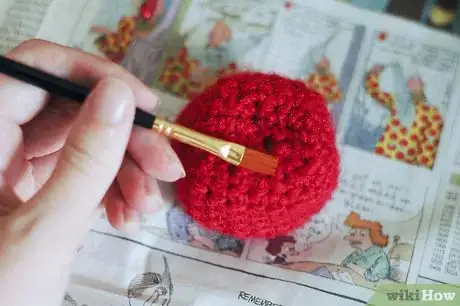
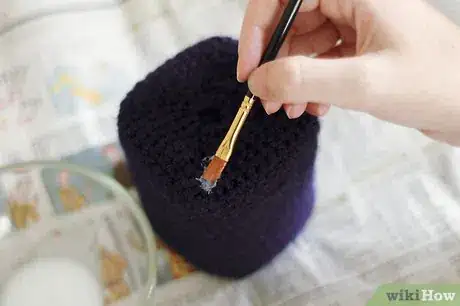
9Stiffen your box with either liquid starch. Some artisans use wallpaper glue.
-
10Use a stiff plastic or cardboard form to help hold the box in shape as it dries if necessary. You may also wish to place it in front of a fan or heater to speed up the drying/stiffening process.
Advertisement
Community Q&A
-
QuestionI don't have any of the "stiffeners." Is there anything else I could use?
 T. ChinsenTop AnswererAn alternative to stiffners is to crochet around a core. It is similar to basket making, where material is wrapped around a more solid or larger cane. Use a cotton yarn, paracord, or even a double strand of yarn as the core. Crochet around this material so that it forms a horizontal strand wrapped by crochet stitches. Avoid pulling the core too tight, as that will result in a warped surface on the next row. Sugar stiffening is most effective on cotton fibers, but will lose its shape if it gets wet. It also requires blocking - forming the item to the desired shape before allowing it to dry.
 -
QuestionHow do I square off the corners of an oval crocheted rug?
 Community AnswerIf you mean taking off the corners so it will become oval instead of square, all you need to do is learn to decrease your stitches. In most cases, this is done by making a stitch, but not pulling the last loop through your starting loop, and then starting the next stitch and finishing the both of them together. That way, the two stitches you start with will be under the single loop you ended the new stitch with. Do this at the beginning and the end of every line.
Advertisement
Things You'll Need
- Crochet hooks
- Yarn
- Liquid starch or wallpaper glue for stiffening
- Stiff plastic or cardboard for stiffening
About This Article
Advertisement
