This article was co-authored by wikiHow staff writer, Nicole Levine, MFA. Nicole Levine is a Technology Writer and Editor for wikiHow. She has more than 20 years of experience creating technical documentation and leading support teams at major web hosting and software companies. Nicole also holds an MFA in Creative Writing from Portland State University and teaches composition, fiction-writing, and zine-making at various institutions.
wikiHow marks an article as reader-approved once it receives enough positive feedback. In this case, several readers have written to tell us that this article was helpful to them, earning it our reader-approved status.
This article has been viewed 1,755,756 times.
Learn more...
Want to take a break from Facebook? Deactivating your account temporarily deletes your profile, posts, and videos for as long as you need. You can reactivate your Facebook account at any time just by signing back in with your username and password. Read on to learn how to temporarily disable your Facebook account using a computer, phone, or tablet.
Steps
Deactivating on Mobile
-
1Tap the menu in the Facebook app ☰. It's the three horizontal lines at the top-right (Android) or bottom-right (iPhone/iPad) corner of the screen.[1]
-
2Scroll down and tap Settings & Privacy. You'll see it toward the bottom of the menu. Another menu will expand.Advertisement
-
3Tap Settings. It's right below "Settings & Privacy."
-
4Tap Personal and Account Information. It's near the top of the screen.
- If you don't see this option, just skip to the next step.
-
5Tap Account Ownership and Control. It'll be under "Personal and Account Information."
- If you don't see this option, tap Profile Access and Control instead.
-
6Tap Deactivation and deletion. It's the second option.
-
7Select Deactivate account. This is the option that will preserve your account name and data in case you want to reactivate again in the future.
- If you'd rather permanently delete your account, you can select Delete account here. This action, unlike deactivating, is permanent.
- Deactivating your Facebook account will not deactivate Facebook Messenger.
-
8Tap Continue to account deactivation. It's the blue button at the bottom of the screen.
-
9Enter your Facebook password and tap Continue. This confirms that you are the owner of the account.
-
10Choose why you want to deactivate and tap Continue. This is just for Facebook's own records. If you're coming back later, just select This is temporary, I'll be back.
-
11Choose when to reactivate your account. If you still want to deactivate, scroll down to the bottom and choose when you want Facebook to automatically reactivate your account. If you'd rather reactivate it yourself by signing back in when you want to, choose Don't reactivate automatically from the menu.
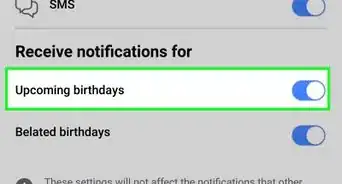
- To stop email notifications while your account is deactivated, check the box next to Opt out of receiving future emails from Facebook.
-
12Tap the blue Deactivate my account button. This deactivates your account and signs you out of Facebook.
- You can re-activate your account by logging back into Facebook the next time you open the app.


Deactivating on Mac and PC
-
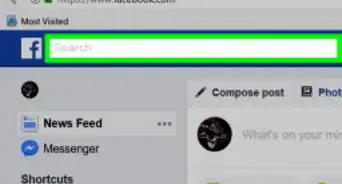
1Click the down-arrow at the top-right corner of Facebook ▼. A menu will expand.
-
2Click Settings & privacy on the menu. Another menu will expand.
-
3Click Settings. This opens all of your Facebook settings.
-
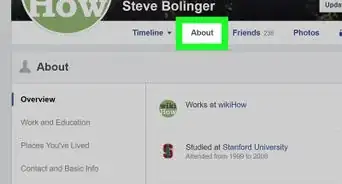
4Click Your Facebook Information. This option is in the upper-left corner of the page.
-
5Click View next to "Deactivation and deletion." It's near the bottom of the right panel.
-
6Select Deactivate account. This is the option that will preserve your account name and data in case you want to reactivate again in the future.
- Deactivating your Facebook account will not deactivate Facebook Messenger.
- If you'd rather permanently delete your account, you can select Delete account here. This action, unlike deactivating, is permanent.
-
7Click Continue to account deactivation. It's the blue button at the bottom of the screen.
-
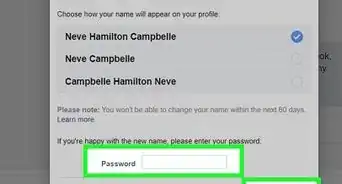
8Type your Facebook password and click Continue. This is to confirm your identity.
-
9Choose a reason why you're deactivating your account. You have several options here:
- If you want to keep your account deactivated until you decide you want to log back in, choose I don't find Facebook useful or I spend too much time on Facebook. When Facebook tries to get you to make changes to your account instead, click Cancel to continue.
- If you want Facebook to automatically reactivate your account for you in anywhere from 1 to 7 days, you can select This is temporary, I'll be back. Then, choose how many days you want to wait until your account is automatically reactivated. There's no option for manually reactivating if you choose this option.
-
10Opt out of email notifications (optional). If you don't want Facebook to send you emails about what you're missing while you're gone, check the box next to "Opt out of receiving future emails from Facebook" near the bottom of the page.
-
11Click the blue Deactivate button. It's at the bottom of the page. A confirmation message will appear.
-
12Click Deactivate now. This deactivates your account and signs you out of Facebook.
- When you want to sign back in, you can do so by going to Facebook.com and logging in with your username and password.


References
About This Article

1. Tap the menu and go to Settings & Privacy.
2. Tap Settings.
3. Tap Personal and Account Information.
4. Tap Account Ownership and Control.
5. Tap Deactivation and deletion.
6. Tap Deactivate account.
7. Tap Continue to account deactivation.
8. Follow the on-screen instructions.
For more tips, including how to deactivate your Facebook account on a web browser, read on!