X
wikiHow is a “wiki,” similar to Wikipedia, which means that many of our articles are co-written by multiple authors. To create this article, 16 people, some anonymous, worked to edit and improve it over time.
This article has been viewed 36,818 times.
Learn more...
Deploying an RPG Maker MV game to Android can be tricky. There is no need to feel helpless though, because this wikiHow can help.
Steps
Part 1
Part 1 of 3:
Preparing the Files
Part 2
Part 2 of 3:
Creating the APK
-
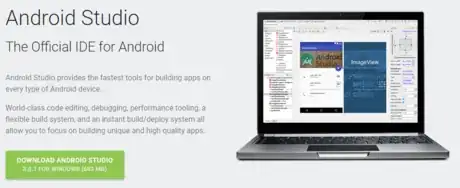
1Download Android Studio if you don't have it already. You can find it at https://developer.android.com/studio/.
-
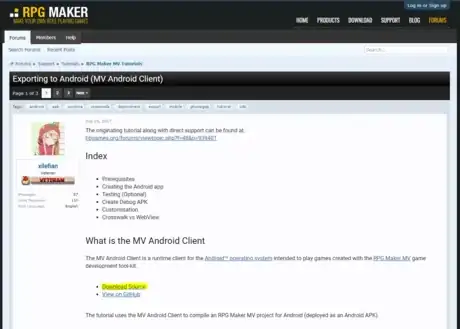
2Download the MV Android Client.
- Get the MV Android Client from the offical RPGMV site.
- Make sure you hit the "Download Source" link.
-
3Launch Android Studio once downloaded.
-
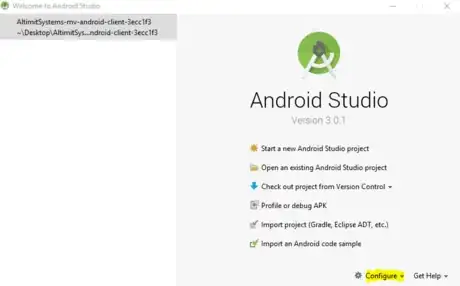
4Select Configure on the title screen.
-
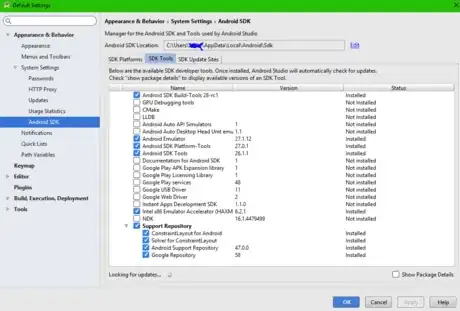
5Pick any SDK platforms you need.
- If you don't know, just pick from Android 8.0 down to Android 6.0.
-
6Select the Android SDK tools tab. Make sure you have these selected:
- Android SDK Build Tools
- Android SDK Platform-Tools
- Android SDK Tools
- Intel x86 Emulator Accelerator (HAXM installer)
- Support Repository
-
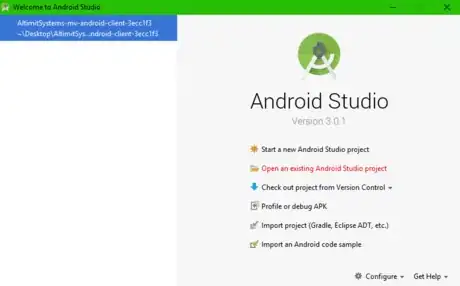
7Open the MV Android Client.
- Click "Open existing Android Studio Project".
- Simply select the folder.
-
8Import your game files.
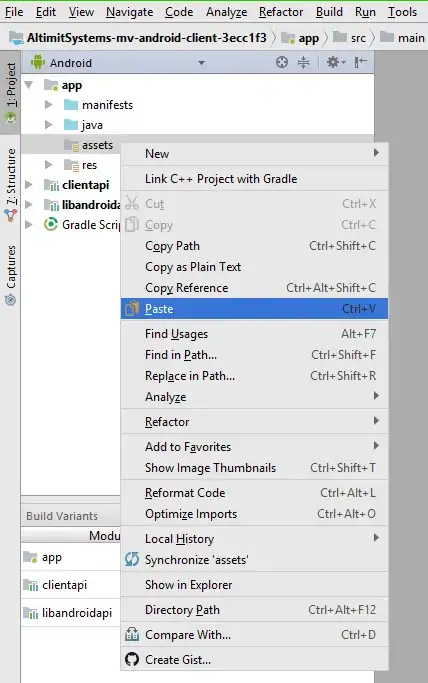
- Right click on the "app" folder and select New > Folder > Assets folder.
- Once done, find the "www" folder from your exported game and copy it (Ctrl+C).
- Paste this folder into the newly created assets folder (right-click and select paste on the folder.)
-
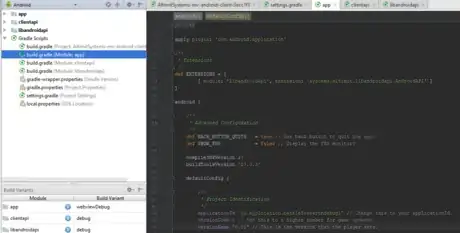
9Change the applicationId, versionCode, and versionName.
- Select the Gradle scripts folder.
- Select the build.gradle file (Module: App).
- You should change the applicationId to something unique.
- Change the versionCode if you are uploading to the Google Play Store. +1 Each time you update the app.
- The versionName is more for development purposes. When you release it, this should be set to 1 in most cases.
- You should see a sync option at the top of your screen. You need to click this.
-
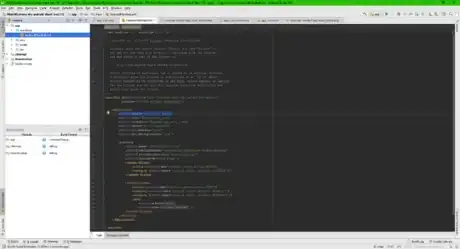
10Change your APK name.
- Select the manifests folder.
- Open the AndroidManifest.xml file.
- android:label="Name"
- Change the above line of code for your APK name.
Advertisement
Part 3
Part 3 of 3:
Customizing the Package
-
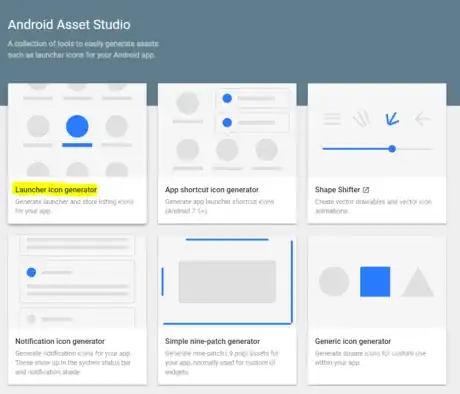
1Change your app icon, if you want to.
- Head to Android Asset Studio to create your icon.
- Name your first icon set to "app_icon".
- Download and unzip your images.
- In Android Studio, go to "res > mipmap > app_icon".
- Copy each icon into its correct folder. Be careful to make sure you are copying to the right folder.
- Repeat the process with "app_icon_round", and "icon_foreground".
- When making "app_icon_round", make sure to change the icon shape to round.
-
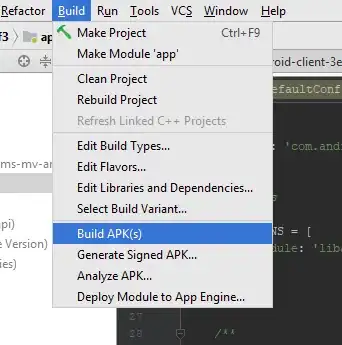
2Build your APK.
- Select Build at the top of your screen.
- Click Build APK(s).
-
3Enjoy the APK. You're all done.
Advertisement
Warnings
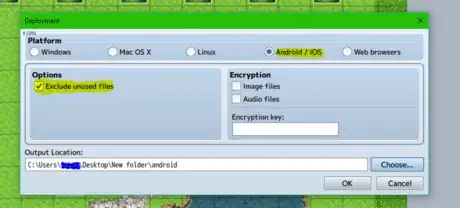
- When using add-ons that require non-default images, they will not be included when the "Exclude unused" box is ticked. Make sure to copy such files to their directories in the "www" folder.⧼thumbs_response⧽
- The Google Play Store limits APKs to 100mb[1] , in order to submit larger applications, you need to use APK Expansion Files[2] and upload them alongside your APK[3] .⧼thumbs_response⧽
- If you don't have a self-signed signature you may have trouble uploading to the Google Play Store.[4]⧼thumbs_response⧽
Advertisement
References
- ↑ https://developer.android.com/google/play/expansion-files
- ↑ https://developer.android.com/google/play/expansion-files
- ↑ https://support.google.com/googleplay/android-developer/answer/2481797?hl=en
- ↑ https://developer.android.com/studio/publish/app-signing.html
- https://forums.rpgmakerweb.com/index.php?threads/exporting-to-android-mv-android-client.84971/
About This Article
Advertisement
