This article was co-authored by James Sears. James Sears leads the customer happiness team at Neatly, a group of cleaning gurus based in Los Angeles and Orange County, California. James is an expert in all things clean and provides transformative experiences by reducing clutter and renewing your home environment. James is a current Trustee Scholar at the University of Southern California.
wikiHow marks an article as reader-approved once it receives enough positive feedback. This article has 76 testimonials from our readers, earning it our reader-approved status.
This article has been viewed 2,199,342 times.
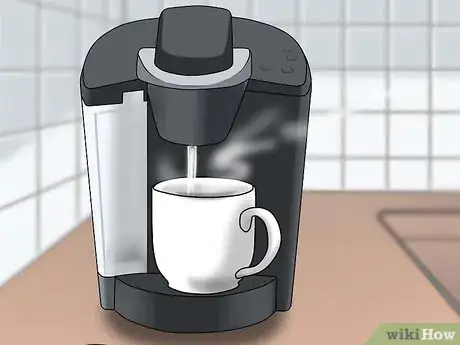
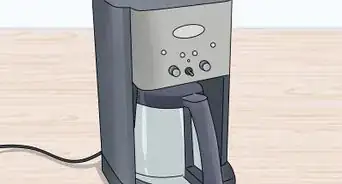
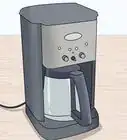
Over time, Keurigs can develop lime scale that affects the machine’s performance and the taste of the coffee it brews. Fortunately, it’s easy to descale a Keurig using a cleaning solution or a few simple household ingredients.
Things You Should Know
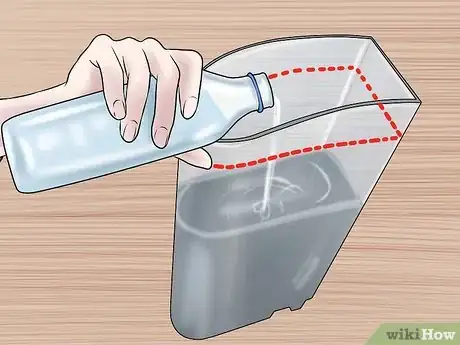
- Take out the reservoir and fill it with equal parts water and white vinegar.
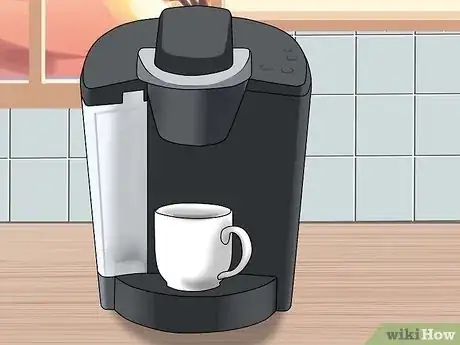
- Brew a cup of the vinegar mixture and dump it in the sink. Keep brewing and dumping the mixture until the reservoir is almost empty.
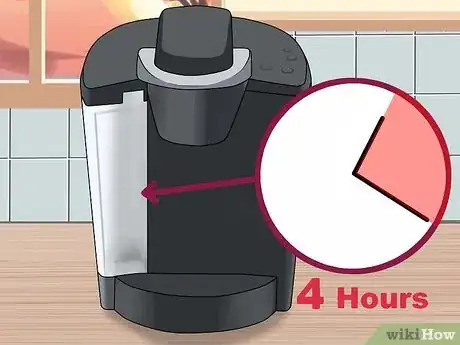
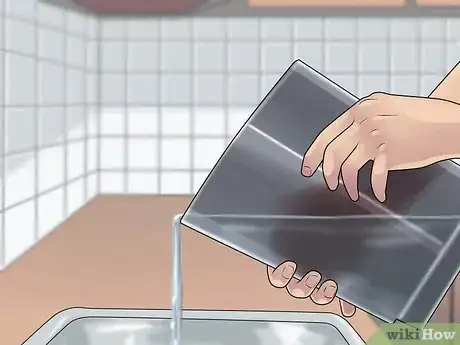
- Let the remaining vinegar mixture sit in the reservoir for 4 hours. Then, dump out the mixture and refill the reservoir with fresh water.
- Brew and dump the fresh water cup by cup until the reservoir is empty to remove any lingering vinegar.
Steps
Preparing for Descaling
-
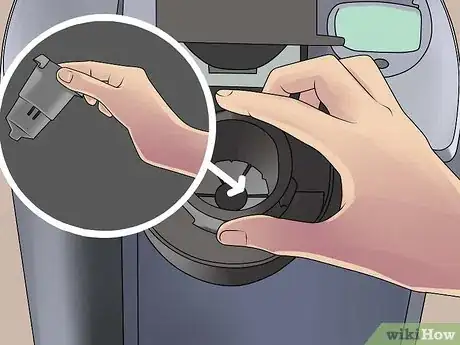
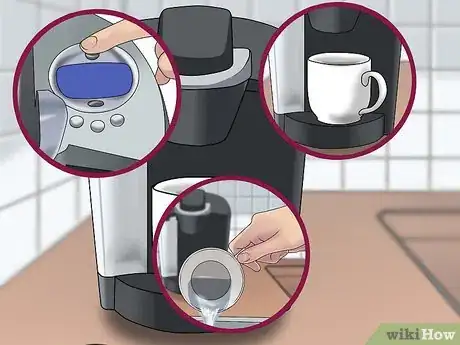
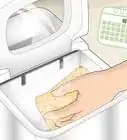
1Remove any Keurig k-cup packs from the brewer. You can take out the funnel or cup holder as well, or you can leave them in. Leaving the funnel or cup holder inside will help guide the vinegar/cleaning solution into the exit spout and prevent any spills.[1]
-
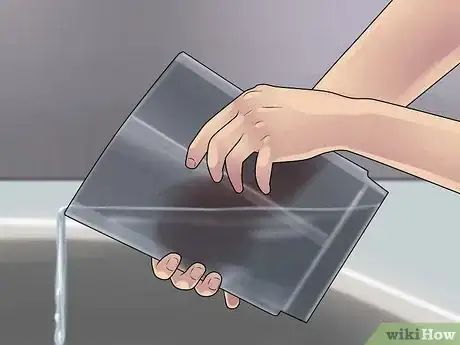
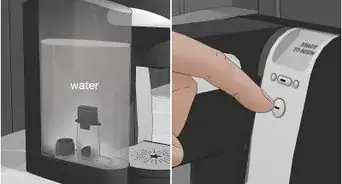
2Take the reservoir out of the Keurig and pour any water into the sink. If there is a water filter inside, take it out and set it aside.Advertisement
-
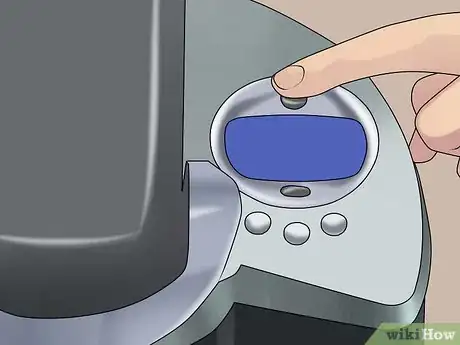
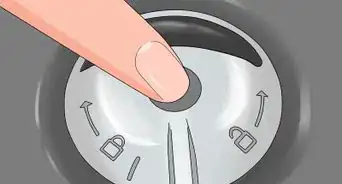
3Make sure that the automatic shut-off setting is turned off. You will need to let any cleaning solution sit in the larger Keurigs for a long time, and the brewer will need to be on during this time.
Using Vinegar and Water
-
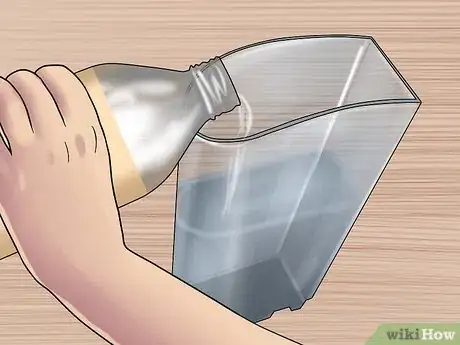
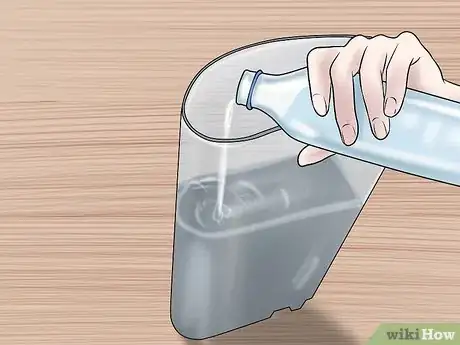
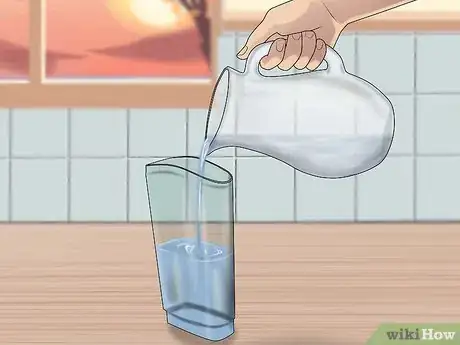
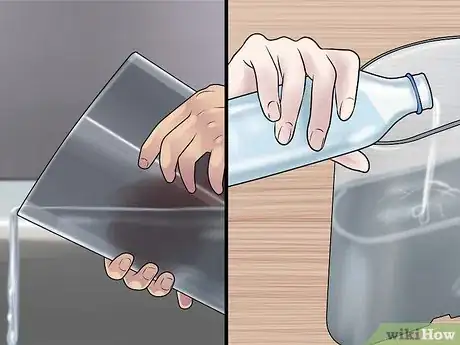
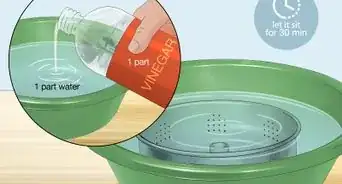
1Fill the water reservoir half-way with distilled white vinegar. You will be using one part white vinegar to one part water. Using straight, undiluted vinegar can damage the inside of the machine.[2]
- Avoid using apple cider vinegar. While is it possible to use apple cider vinegar to descale a Keurig, you will need to do extra rinses with fresh water in order to get all of the flavor out.
- You can also use lemon juice instead. Simply fill the water tank half way with lemon juice. If the build-up is not too bad, then fill it only a third of the way.
EXPERT TIPJames Sears leads the customer happiness team at Neatly, a group of cleaning gurus based in Los Angeles and Orange County, California. James is an expert in all things clean and provides transformative experiences by reducing clutter and renewing your home environment. James is a current Trustee Scholar at the University of Southern California.Professional Cleaner
 James Sears
Professional CleanerDid You Know? White vinegar is safe to consume and is slightly acidic, which is why it's effective at breaking down the scale in your Keurig. Scale is mostly made of mineral deposits such as calcium that are found in your water, and over time they settle in the machine.
-
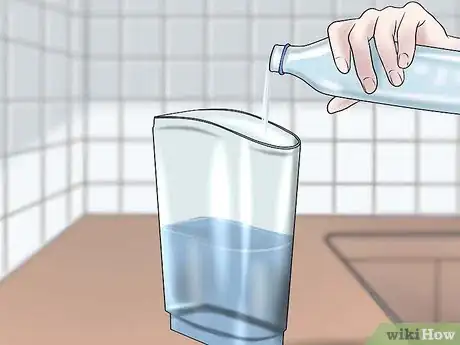
2Fill the reservoir the rest of the way with water. Do not go past the top fill line. The water will dilute the vinegar and make it safer for the Keurig.
-
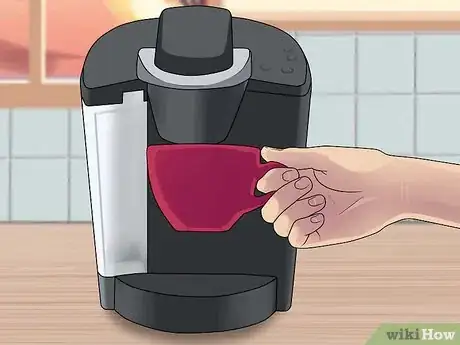
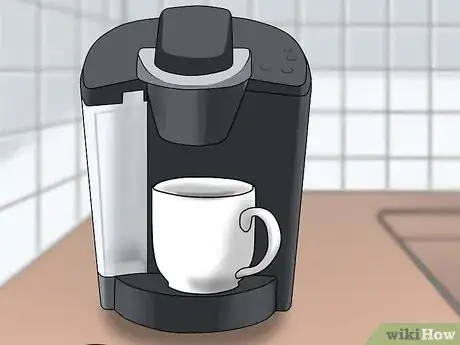
3Place a ceramic mug on the tray beneath the spout. Aim for something that holds about 10 ounces (300 milliliters) so that you do not get any overflows or spills.
-
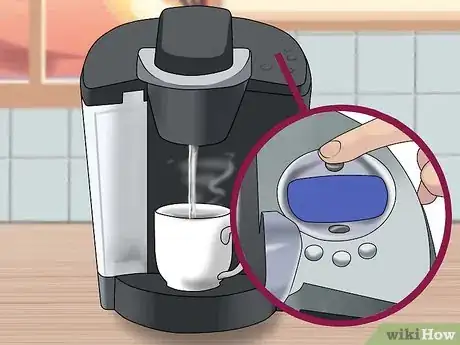
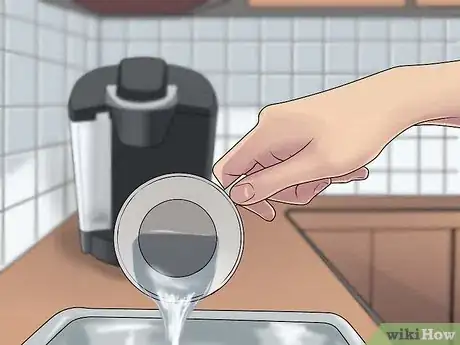
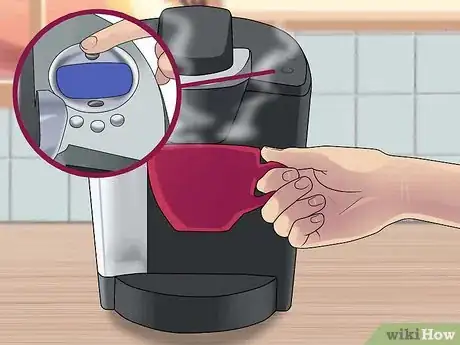
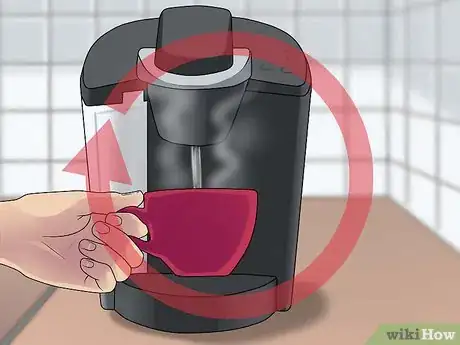
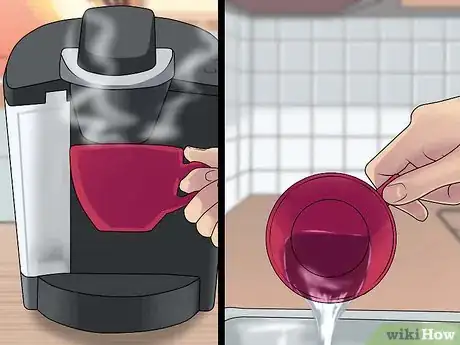
4Brew a cup of hot water, then pour the water out into the sink. The vinegar will flow through the machine and dissolve any lime scale build-up.
-
5Keep brewing and dumping the water out until the reservoir is almost empty. Most Keurig brewers will say "Add Water" on the screen or flash a light. If you are using a smaller brewer, such as a K10 Mini Plus or a K130 Brewer, then turn it off just as it begins to drip hot water into your mug.
-
6Allow the remaining vinegar to sit in the reservoir for four hours. Once the reservoir is almost empty and the machine indicates "Add Water," stop the brew cycle and let the Keurig sit for four hours. This will allow the vinegar to do its work inside the machine.
- Keep the machine on during this stage. If the "Auto Off" feature is enabled, press Menu twice to access the Auto Off settings, then press the Left button to cycle through the number of hours until it displays "Off."
-
7Pour remaining vinegar into a sink and rinse it well. You want to get all of the vinegar out of the reservoir before moving on to the next step.
-
8Fill the reservoir with fresh water. Your Keurig will still have some vinegar inside it, so you will have to flush it out using fresh water. If you don't do this, you will get bad-tasting coffee the next time you use your Keurig.[3]
-
9Brew a cup of hot water. You may notice a strong, vinegar smell. This is normal. The smell will lessen with each cup of hot water that you brew.
-
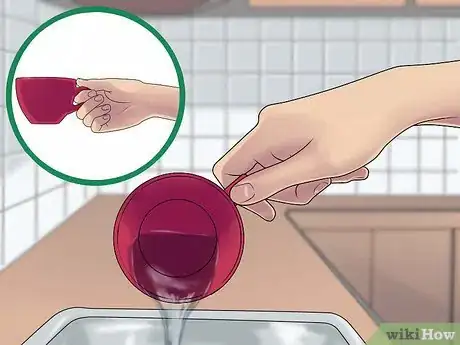
10Pour the water out and put the mug back beneath the dispenser. Tip the mug over the sink and dump the water out. You do not need to rinse the mug; just put it back onto the tray.
-
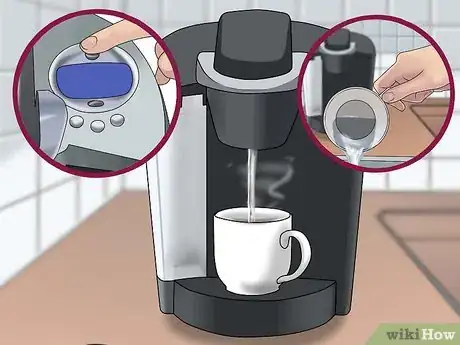
11Keep brewing cups of hot water until the reservoir is empty. Dump each mug of hot water into the sink before brewing another. The strong vinegar smell will get weaker with each brew.
- Small-capacity brewers, such as the K10 Mini Plus and the K130 Brewer will need about three brews.You may need to refill the reservoir with fresh water.
- Larger brewers, such as the Keurig K-Cup Home series, the K145, K155 Brewers, Vue Brewers (V500, V600, V700), and Rivo Brewers, will need about 12 brews. You may need to refill the water reservoir in order to get that many.
Using Citric Acid and Water
-
1Prepare the citric acid solution. You will need 1 to 2 tablespoons of citric acid per 4 cups (1 liter) of water. You can find citric acid in the canning department of grocery stores. It may also be labeled as "sour soda" instead. Stir with a spoon to mix the citric acid into the water.
- If you are using a smaller, single-cup brewer, such as a K10 Mini Plus or a K130 Brewer, consider using 1 cup (240 milliliters) of liquid citric acid instead.
-
2Pour the citric acid solution into the reservoir. The citric acid will dissolve any lime scale build-up inside your machine.
-
3Place a mug beneath the drainage spout. Make sure the cup matches the brew size so that you do not get any spills. You can also use a larger cup.
-
4Brew a cup of hot water. The citric acid will flow into the Keurig and dissolve any build-up inside.
-
5Pour out the hot water and brew another cup. Keep repeating until the reservoir is empty.
- If you are using a small brewer, such as the K10 Mini Plus or a K130 Brewer, then turn it off just as it begins to brew and let it sit for 30 minutes.
-
6Fill the reservoir with fresh water. Once the reservoir is empty, take it out of the Keurig and refill it using cool water. Put it back into the Keurig once it is full. The machine will still have some citric acid inside, so you will need to flush it out. If you don't, you will get a bad taste the next time you try to brew coffee.
-
7Keep brewing cups of hot water until there is nothing left in the reservoir. After you brew a cup of hot water, pour the water into the sink and replace the mug beneath the dispenser.
- If you are using a small brewer, such as the K10 Mini Plus or a K130 Brewer, then you will need to run the water through it about six times.[4]
Using Keurig Cleaning Solution
-
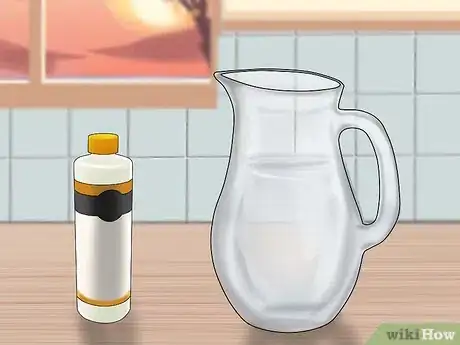
1Fill the reservoir with one part Keurig Cleaning Solution and one part water. You can also use a different type of cleaning solution, but make sure to follow the recommended proportions on the label. Here are some guidelines as to how much Keurig Cleaning Solution and water you should use:[5]
- For the K10 Mini Plus and K130 Brewer, use one third of a bottle (4.6 ounces/136 milliliters) of cleaning solution liquid. Fill the tank the rest of the way with clean water.
- For all other Keurig K-Cup Home series, the K145, K155 Brewers, Vue Brewers (V500, V600, V700), and Rivo Brewers, use the entire bottle of cleaning solution. Fill the empty bottle with clean water, and pour that into the water tank as well.
-
2Place a large mug beneath the dispenser. Make sure that the brew size matches the cup size so that you do not get any spills.
-
3Brew one cup of hot water, then pour the water out. Lift the handle, wait 5 seconds, then lower the handle. Press the "brew" button and wait until the cup fills. Dump the hot water into the sink and replace the mug.
-
4Repeat until the water is all gone, then wait 30 minutes. Keep brewing cups of hot water and pouring the water out of the mug until there is no more water. When the "Add Water" warning comes on, stop and wait 30 minutes. Make sure that the machine stays on during this time. The cleaning fluid will work on dissolving any build-up inside the machine during this time.
- If you have a K10 Mini Plus or a K130 Brewer, start to brew another cup, then turn the Keurig off just as the water starts to come out. Wait 30 minutes, then turn the Keurig on and finish brewing the last cup. You may have to lift the handle and press back down on it get it to start brewing.
- If you have one of the Rivo Brewers, there is no need to wait 30 minutes. Simply proceed to the next step.
-
5Rinse the reservoir and fill it with fresh water. Once the reservoir has no more cleaning solution in it, pull it out and rinse it. Refill it using cool water. There will still be some cleaner inside your machine, so you will need to clear it out using fresh water.
-
6Brew a cup of hot water, then pour it out. You will need to repeat this step several times until there is no cleaner left inside your Keurig. If you don't do this, you will get a bad taste the next time you use your machine. Here are some guidelines as to how many brews you should do:[6]
- For the K10 Mini Plus and K130 Brewer, you will need to do about three brews.
- For all other Keurig K-Cup Home series, the K145, K155 Brewers, Vue Brewers (V500, V600, V700), and Rivo Brewers you will need to do about 12 brews.
Community Q&A
-
QuestionHow do I clean the needle?
 Community AnswerSee Keurig's instructional video about descaling. They show how to use a paperclip to clear both the upper needle as well as the lower one. Be careful - they are very sharp!
 -
QuestionDoes scale still build up if I'm using filtered water? I use the Pur faucet filter to filter my water.
 Community AnswerIt depends on your filter. You want distilled or reverse-osmosis filtration to remove minerals (iron and calcium) from the water. Many filters combine techniques. Particulate filters reduce turbidity but not minerals or dissolved substances. Activated carbon filters remove most volatile organic chemicals and larger particulates but not minerals (fluoride, nitrates, sodium). Non-carbon filters can be designed to do more than carbon filters. Distilling water will pass anything that boils off at 212 degrees (water and some VOCs).
 -
QuestionCan I use baking soda or baking powder to clean my Keurig coffee system?
 Community AnswerNo, baking soda (sodium bicarbonate) is basic. Baking powder is essentially neutral as it is a blend of baking soda and cream of tartar (an acid) as well as starch, which would only help gunk up the works. The scaling in your Keurig is from minerals in your water which, when deposited and dried, are basic in nature and need an acid to dissolve the scaling. Vinegar is a dilute acetic acid solution and citric acid is, well, citric acid and is contained in lemons. Both are mild organic acids that work quite well to remove mineral deposits.
Warnings
- Avoid using baking soda and water to descale your Keurig. Baking soda is abrasive, making it a great cleaning agent, but it also does not rinse out well; it will only add to the build-up, making it worse.⧼thumbs_response⧽
- You may see some single brew cleaning cups in the store. Know that these only clean the Keurig cup, funnel, and dispenser. They do not clean the water reservoir and the tubes inside the Keurig through which the water flows (and where most of the lime scale build-up is).⧼thumbs_response⧽
Things You'll Need
- Distilled white vinegar/citric acid/Keurig cleaning solution
- Water
- Ceramic mug
- Sink
References
- ↑ Life at Cloverhill, Howto Clean a Keurig Mini (and Other Instant Coffee Makers)
- ↑ https://www.cnet.com/how-to/how-to-clean-your-keurig/
- ↑ The Kitchn, How to Clean a Keurig Coffee Machine
- ↑ Beverage Factory, Descaling Your Keurig Brewer
- ↑ Beverage Factory, Descaling Your Keurig Brewer
- ↑ Beverage Factory, Descaling Your Keurig Brewer
- ↑ Beverage Factory, Descaling Your Keurig Brewer
- Keurig Inc., Descale Your Keurig® Brewer - Keurig How To - Official Video
About This Article
Before you descale your Keurig, shut it off, remove any remaining K-cups, and pour all the water out of the reservoir. If your Keurig has a water filter, take that out as well. Then, fill the reservoir all the way up to the top fill line with 1 part distilled white vinegar and 1 part water. If you prefer, for this step you can also purchase a descaling solution online. Next, put a mug on the tray under the spout, and press the brew button. Once it's done brewing, dump out the mug and place it back on the tray. Keep brewing until the display tells you to add more water. Instead of adding water, let the Keurig sit for 30 minutes. After 30 minutes, dump out the remaining vinegar in the reservoir, and refill it with fresh water. Finally, continue to brew cups of fresh water until the reservoir is empty. For more details on descaling your Keurig, refer to your manual. To learn how to use citric acid to descale your Keurig, scroll down!
