X
wikiHow is a “wiki,” similar to Wikipedia, which means that many of our articles are co-written by multiple authors. To create this article, volunteer authors worked to edit and improve it over time.
This article has been viewed 107,124 times.
Learn more...
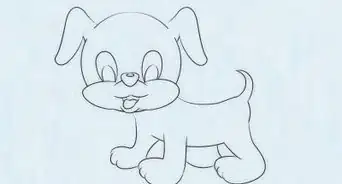
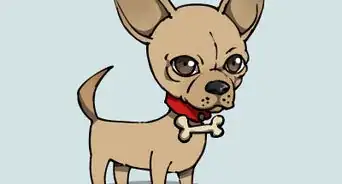
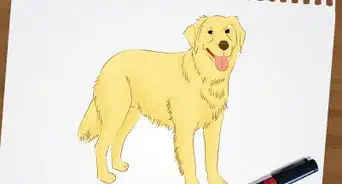
Do you own a Yorkie? Would you like to recreate the cuteness of a Yorkie on paper? Learn two ways on how to draw a Yorkie, one of the popular breed of dogs with this wikiHow.
Steps
Method 1
Method 1 of 2:
Yorkie (Regular Puppy)
-
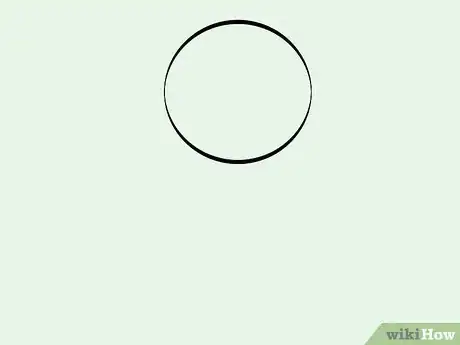
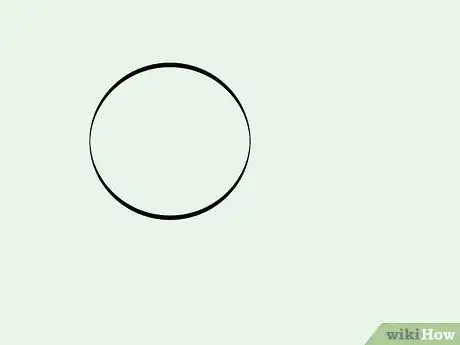
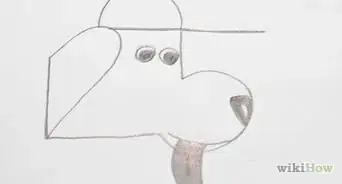
1Draw a large circle near the topmost center area of the paper.
-
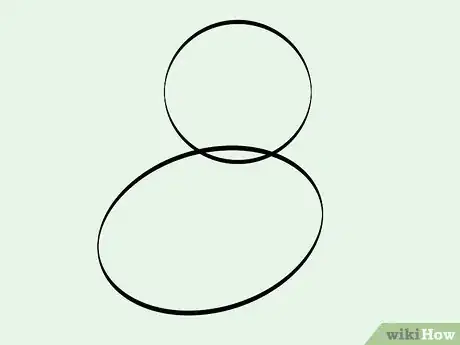
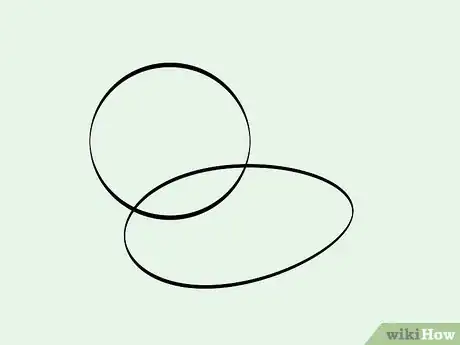
2Below the circle, draw a large horizontal oval with one side slightly diagonal towards the head. Intersect the higher area of the oval with the circle.Advertisement
-
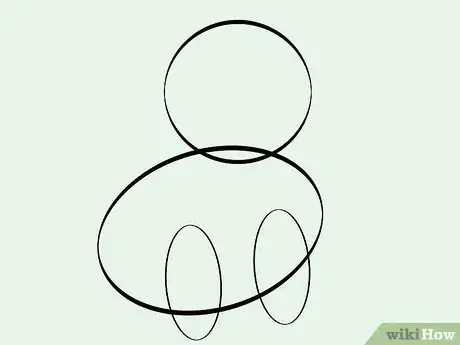
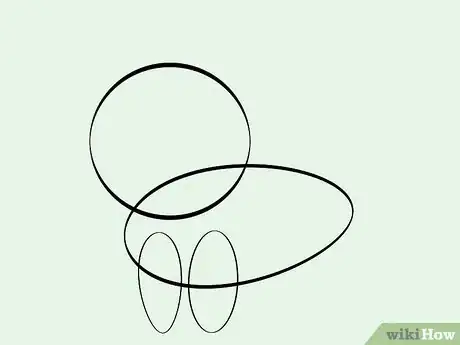
3Draw a pair of stretched, little, vertical ovals at the base of the bigger oval. Intersect each to the bigger oval to serve as its legs.
-
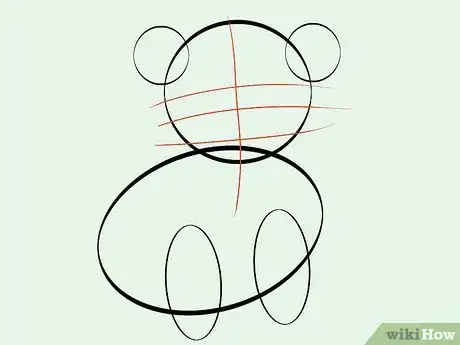
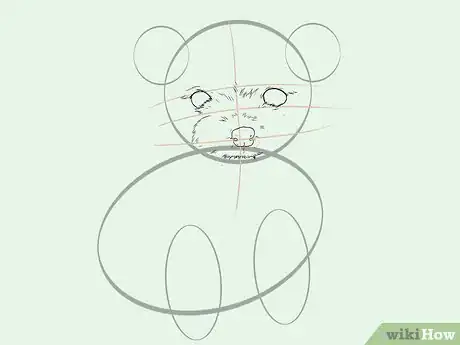
4On the head part, draw facial guide lines (a vertical line at the center with three horizontal lines across it, forming a kind of three-beamed cross). This will help in placing the Yorkie's eyes, nose and mouth. Draw a pair of little circles where the Yorkie's ears should be.
-
5Using the facial line guides, start drawing the Yorkie's eyes and nose. Put sequence of dashes to give it a furry complexion.
-
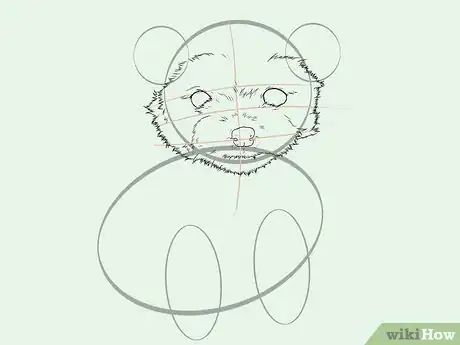
6Continue tracing the outline of the Yorkie's head, using zigzag lines and dashes.
-
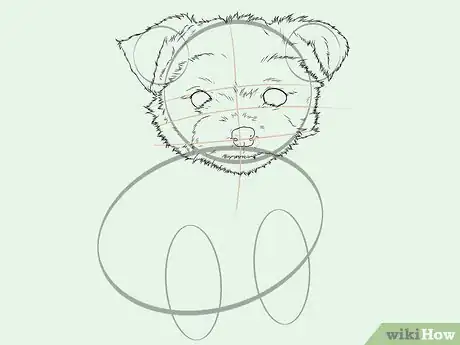
7Complete the tracing of the Yorkie's head and ears (again, using little zigzag lines and dashes for furry complexion).
-
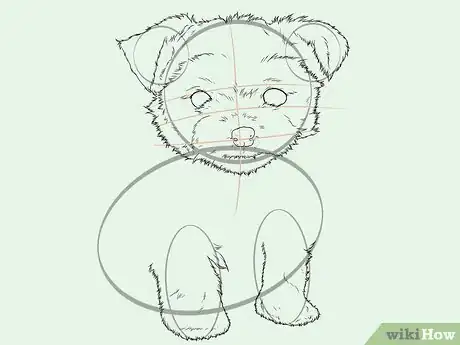
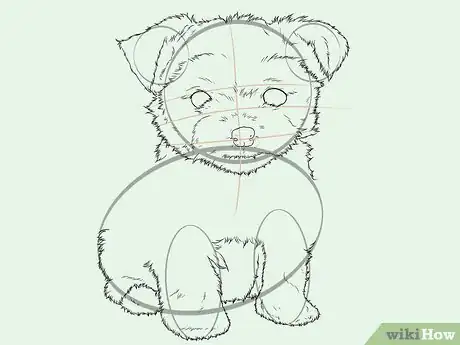
8Start drawing the Yorkie's furry legs.
-
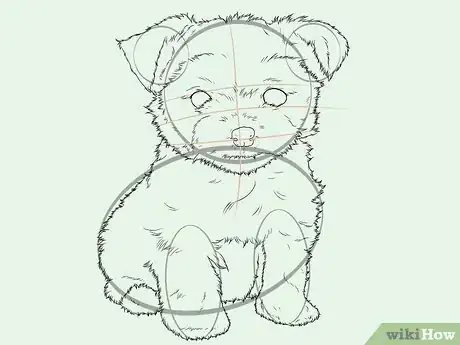
9Trace the Yorkie's hind legs, "chest" furs and its neck part.
-
10Complete the tracing of the Yorkie's furry body.
-
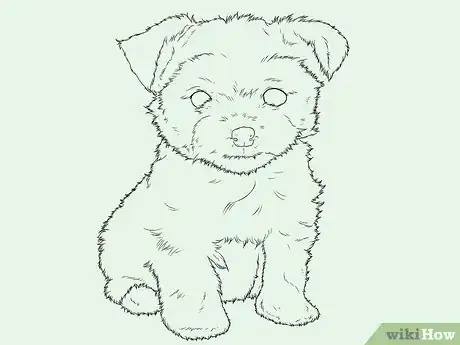
11Remove unnecessary lines.
-
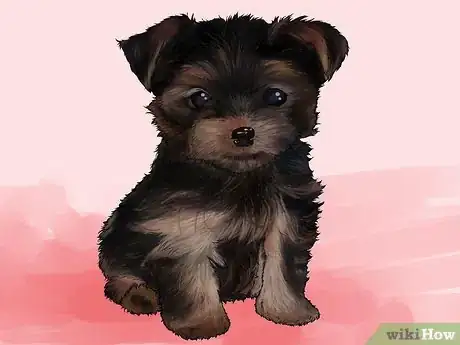
12Color the drawing.
Advertisement
Method 2
Method 2 of 2:
Yorkie (Cartoony Puppy)
-
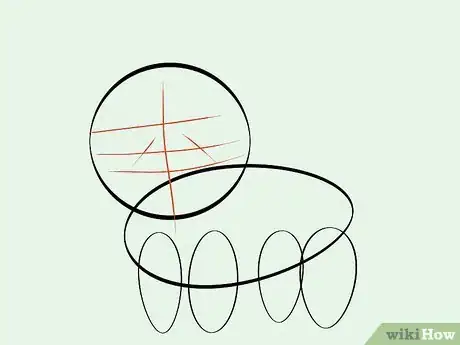
1Near the top and leftmost side of the paper, draw a large circle for the Yorkie's head.
-
2Below and intersecting the circle, draw a large egg-shaped oval (horizontal orientation, with the most slim part pointed away from the circle).
-
3Draw a pair of stretched, little, vertical ovals at the base of the bigger oval. Intersect each to the bigger oval to serve as its front legs (so be sure to align it with the head).
-
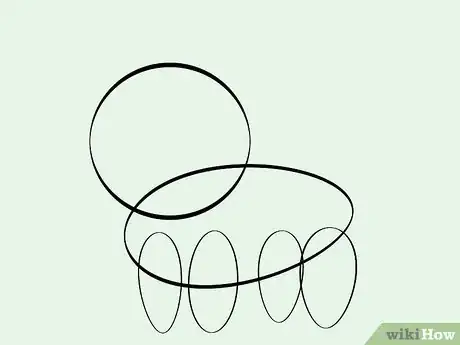
4Draw another pair of ovals at the other side of (but still below) the large oval. This will be the hind legs.
-
5On the head part, draw facial guide lines (a vertical line placed at the center with three horizontal lines across it, forming a kind of three-beamed cross). This will help in placing the Yorkie's eyes, nose and mouth.
-
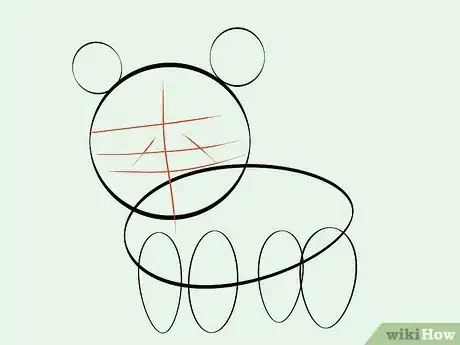
6Draw a pair of little circles where the Yorkie's ears should be.
-
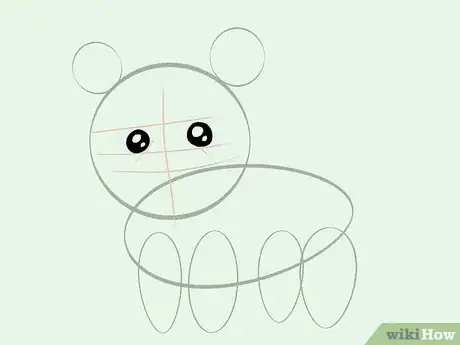
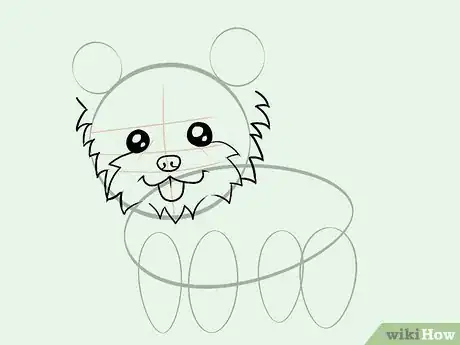
7Using the facial guide lines, draw the Yorkie's eyes.
-
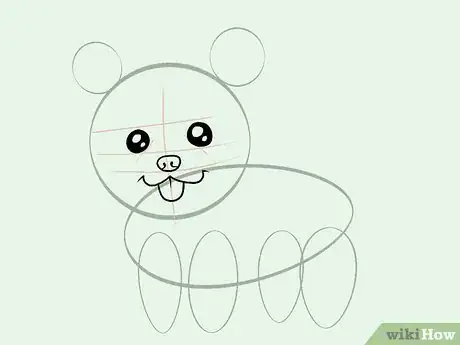
8Still using the facial guide lines, draw its nose and mouth (with its tongue panting out).
-
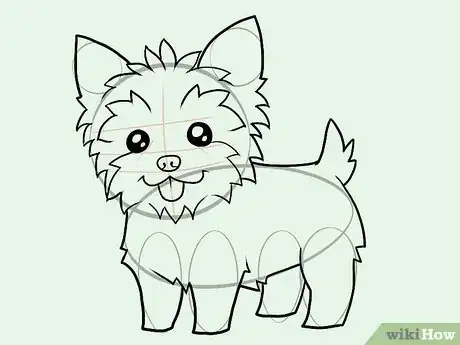
9Tracing the Yorkie's head with zigzag lines to give it a furry complexion. Do also a pair of zigzag lines below the eyes and surrounding its snout.
-
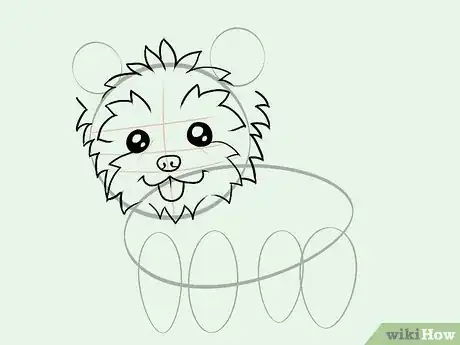
10Continue tracing the upper part of the Yorkie's head with curvy zigzag lines. Do another pair of zigzag lines above its eyes.
-
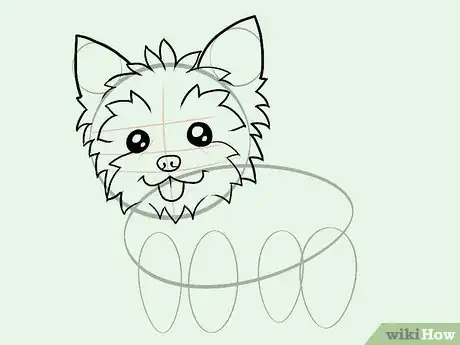
11Draw the Yorkie's pointy ears.
-
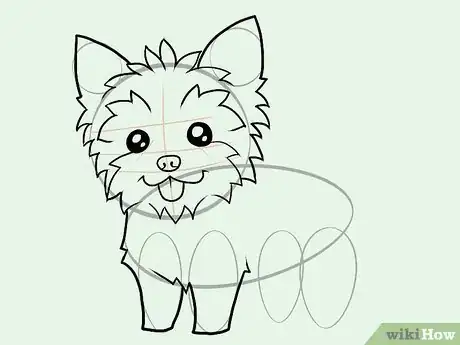
12Trace the Yorkie's front legs.
-
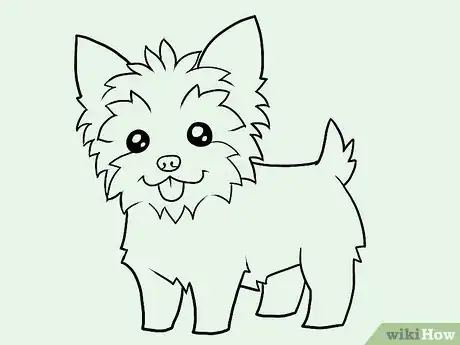
13Trace the Yorkie's hind legs, tail and body.
-
14Erase unnecessary lines.
-
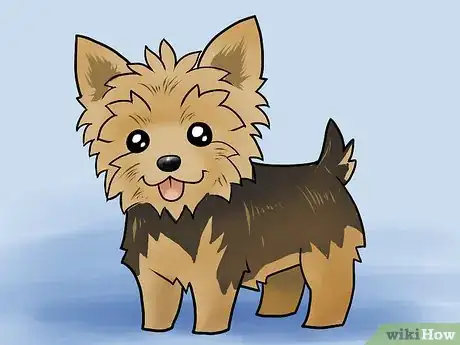
15Color the drawing as desired.
Advertisement
Community Q&A
-
QuestionWhy is the realistic yorkie hard to draw?
 Community AnswerEverything realistic is hard to draw at first. It takes practice to be able to draw properly.
 -
QuestionIs it hard to make it look cute?
 ASHLEY BEMISCommunity AnswerNo, just make the eyes a little cuter by adding reflections in them.
 -
QuestionDid you copy it on the internet, or do it by scratch?
 Community AnswerFirst try it by scratch, then see if it looks right on the internet. Keep modifying if it doesn't look right.
Advertisement
Things You'll Need
- Paper
- Pencil
- Eraser
- Colored pencils/ crayons, or watercolors
- Marker
About This Article
Advertisement
