wikiHow is a “wiki,” similar to Wikipedia, which means that many of our articles are co-written by multiple authors. To create this article, 18 people, some anonymous, worked to edit and improve it over time.
There are 10 references cited in this article, which can be found at the bottom of the page.
This article has been viewed 273,149 times.
Learn more...
Artists and printers have engraved metal or wood for centuries, and there are volumes written on this art. Today, new laser cutters and other machines cut designs into plastics, gemstones, and other challenging materials to work with. Despite all of these rich, varied uses, you can start engraving yourself with only a few tools.
Steps
Engraving Metal
-
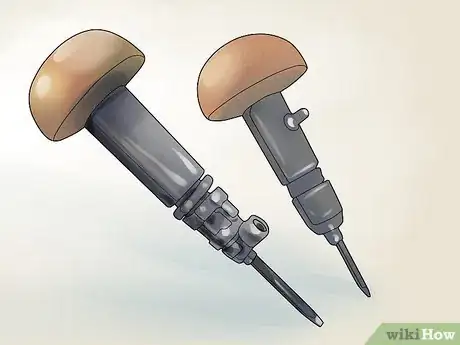
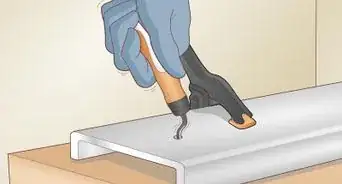
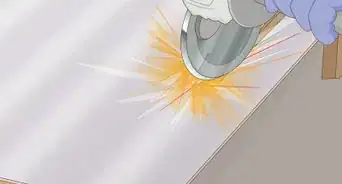
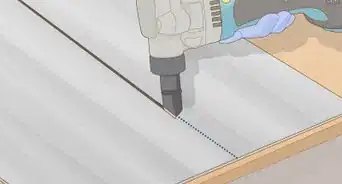
1Get an engraving tool. The best choice for most purposes is a pneumatic graver. This is an affordable tool that fits in the palm of one hand, and uses air to drive the point into the metal. Gravers come with many different shapes of tips, but a square "V" cut point is a good versatile option to start with.[1]
Alternative tools:
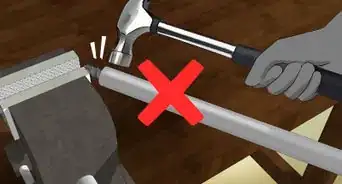
Hammer and chisel: Cheap but slow, requires two hands.
Dremel with carbide tungsten drill bit: Difficult to control. Use only if you happen to have one, on simple projects.
Craft knife or compass point: Difficult to control, only works on soft metals. -
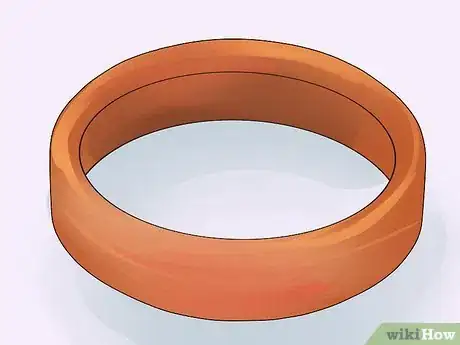
2Choose a metal object to practice on. If this is your first engraving project, you might want to stay away from that heirloom watch. Practice on an item that you won't mind damaging. A softer metal such as copper or some brass alloys will be faster and easier to engrave than steel or other hard metals.Advertisement
-
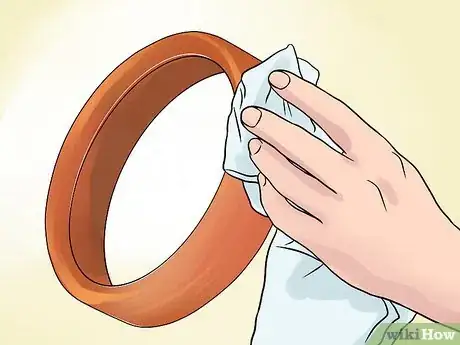
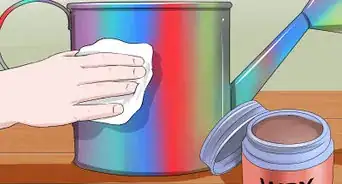
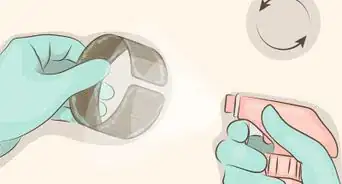
3Clean the metal. Use a damp cloth to clean the surface of the metal, then a dry cloth to remove the moisture. If the metal is still grimy, scrub it with soapy water, then dry.
- If the metal is coated with a protective finish, which is often the case for brass, you do not need to remove it. However, the engraving process will cut through this finish, so you'll need to apply a new finish afterward if you want the metal color to remain consistent.
-
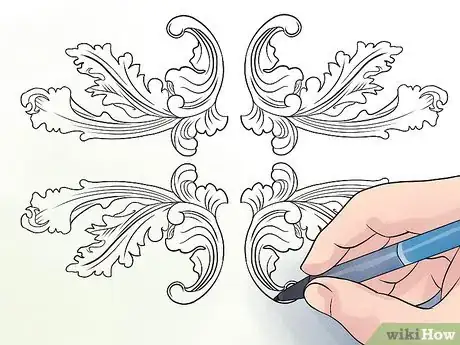
4Draw or print a design. If you are working on a small object, or engraving for the first time, draw or print out a design that has simple, well-spaced lines. Finicky, detailed work is difficult to do without practice, and may end up looking muddled or blurry once engraved. You may be able to draw the design directly on to the metal. If not, draw or print it out at the correct size, then follow the next step to transfer it onto the metal.
- If engraving letters, make them as even as possible by drawing them between two straight, parallel lines drawn with a ruler.[2]
-
5Transfer the design onto the metal (if necessary). Follow this step if you want to transfer a design onto the metal; if it is already on the metal, move on to the next step instead. If you cannot find the specialized materials necessary, search online for one of the many other ways to transfer an image. Note that most of these also require some type of specialized equipment.
- Add a varnish or shellac to the area you want engraved, waiting until it is mostly dry and slightly tacky.
- Draw the design onto polyester film (Mylar) using a soft lead pencil.
- Cover the drawing with scotch tape. Rub the tape thoroughly with your fingernail or a burnisher, then carefully lift up the tape. The design is now on the tape.
- Stick the tape over the varnished metal. Rub it in with your fingernail in the same way, then remove it.[3]
-
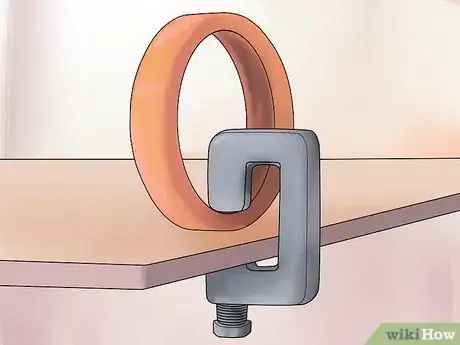
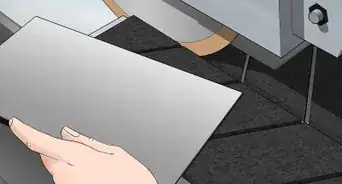
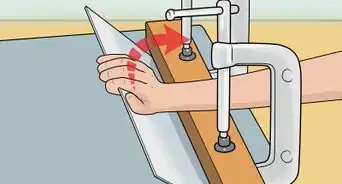
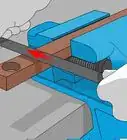
6Clamp your metal in place. Engraving will be much easier if you use a clamp or vise to prevent the metal from slipping. You may use a handheld clamp that allows you to hold it in one hand with a steadier grip, but be aware that this increases the chance of cuts or scrapes. If you are using a powered tool, or a hammer and chisel that requires two hands, a clamp holding the metal to a table or other stable surface is highly recommended.
-
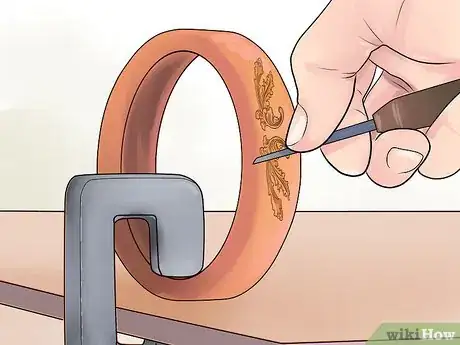
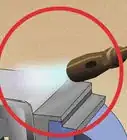
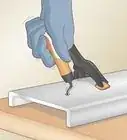
7Cut into the design. Use your chosen tool to turn the drawing into an engraving, putting pressure on the point at an angle to chip away pieces of metal. For your first attempts, try to keep the end of your tool at the same angle throughout the engraving. Begin by working a straight line in both directions until it is a noticeable, deep cut. Use this as a starting point to move on to the remaining lines. To engrave a line with a complex shape, such as a J, finish the straight portion first. Once this is complete, move on to the more difficult non-carved section.[4]
-
8Learn more. Engraving is an art form that people practice and improve upon their entire lives. If you are interested in new techniques, machine engraving, or practical advice on expanding your set of tools, there are many resources available:
- Search for "engraving forums" online to find communities of engravers. If you are interested in a specific type, you may be able to find a forum or subforum dedicated to precious metals, steel, or other types of metal engraving.
- Find books on engraving. A book on engraving will likely go into more detail than you'll find online. If you're not sure which book to start with, an engraving forum may be a good place to ask.
- Study with local engravers. This might mean enrolling in a community college course, or finding a local engraving studio that holds one-time workshops. If you're serious about continuing in the engraving world, consider offering free labor to apprentice with an engraver, or enroll in a one-year engraving program.[5]
Engraving Wood with a Power Tool
-
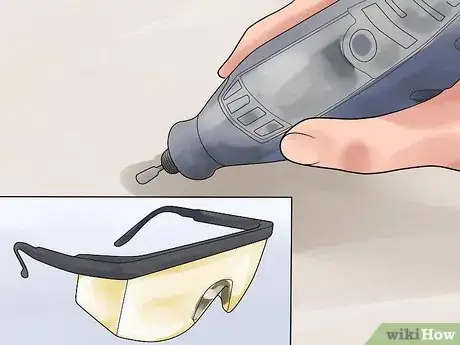
1Select a rotary tool. Almost any dremel or router bit will cut through wood. A table router can be set to cut to a constant depth for ease of use, and is recommended for signs and other simple wood engravings. Always wear eye protection when using a rotary tool.
Alternative tools:
Handheld wood chisel or graver: Slow but makes angle adjustments easier. Good for experimenting.
CNC Machine: A computer-controlled device for extremely complex designs. -
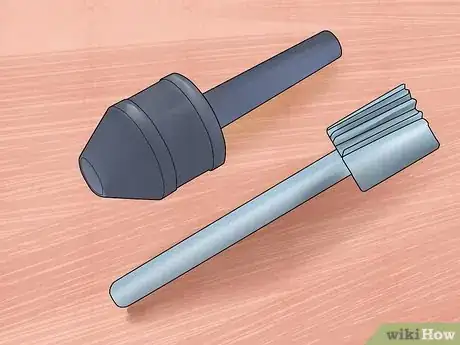
2Choose a carving bit. There are many different bits, or burs, which you can attach to the end of your power tool to achieve different types of cuts. A few of the most common include bull nose bits for hollow surfaces; cylinder bits for flat surfaces; and the teardrop-shaped flame bits to give you fine control over the angle.
Additional bit shapes:[6]
Pear & Oval: for rounding edges and carving bumps
Taper: to reach crevices and make concave cuts
Ball: to hollow out an area or create U-shaped gouges -
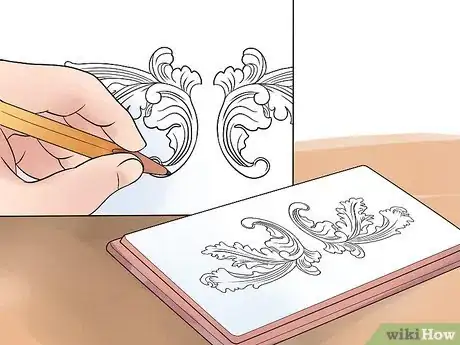
3Draw or transfer a pattern onto the wood. When engraving wood, the level of detail is only limited by the width of your carving tool, and the precision of your hands. If you aren't comfortable drawing freehand onto the wood, print a pattern on a thin polyester film such as Mylar, and tape it over the wood.[7]
-
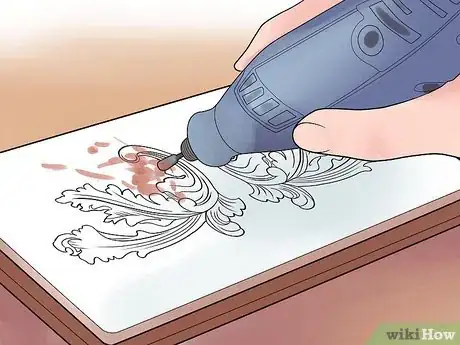
4Trace over the pattern with the tool. Turn on the power tool and gently lower it into the wood. Move it slowly and steadily across the entire design. It takes surprisingly little depth to achieve a three-dimensional appearance, so try starting with a shallow groove, then going over it a second time if you're unsatisfied.
-
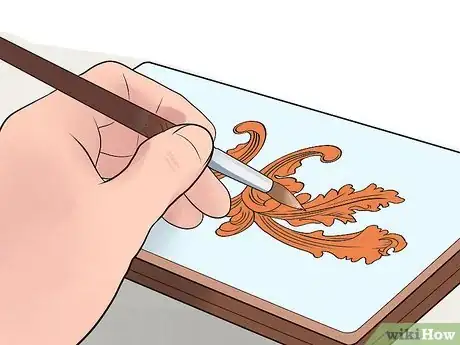
5Paint the wood (optional). If you'd like to make the engraving stand out more, try painting the cut area. Paint the original, flat surface a different color to make it stand out. Paint, or a transparent wood finish, will also help protect your wood from wear and tear.
Hand-Engraving Wood for Printing
-
1Select engraving tools. There are a variety of unpowered, handheld engraving tools you can use. To make detailed pictures, such as you might see in a 19th-century book, select two or three tools for different effects. Here are three common types of traditional, handheld engraving tools:[8]
- Spitstickers are used to carve fluid lines.
- Gravers produce lines that swell or shrink as you cut, depending on changes in the tool's angle.
- Scorpers, with round or square tips, gouge out large areas of the wood to produce white space in the printed image. This tool is probably not necessary if you are not printing.
-
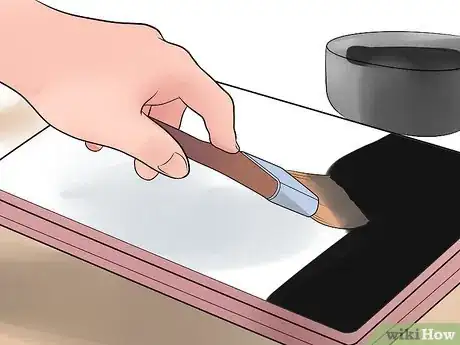
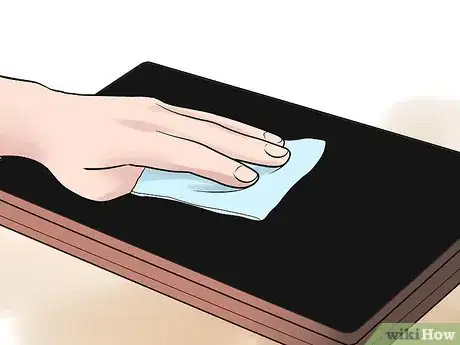
2Apply a thin layer of ink over the wood. Take a bottle of black pen ink, and use a brush or a cloth to barely cover a flat, wooden block.[9] This will make the areas you've already cut stand out, so it's important not to use so much ink that it soaks down below the surface.
-
3Check that the surface is prepared. Let the ink dry completely. Once it has, check whether there is a rough "nap" to the wood. If there is, remove it by burnishing firmly with a paper towel.[10]
-
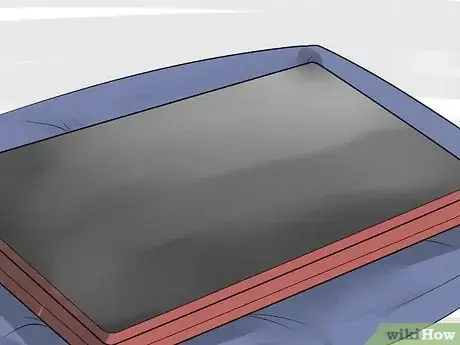
4Support the wood (optional). A small, leather sandbag makes an excellent support for the wood, providing a firm backing regardless of the direction you push.[11] Clamping the wood to a table is not recommended, since you'll need to move the block around as you engrave.
-
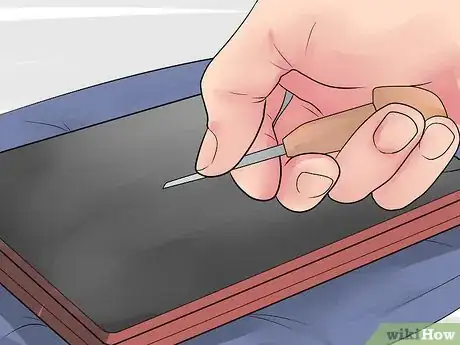
5Hold the engraving tools. Hold the tool as you would a computer mouse, with your hand lightly cupped around the handle. Press against one side of the metal stem with your index finger, and press the other side with your thumb. Let the heel of the handle rest in your cupped palm; when engraving, you'll push against the heel to provide pressure.
-
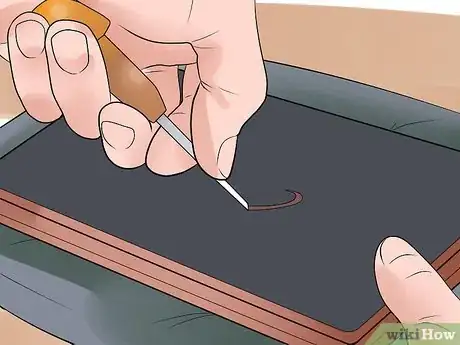
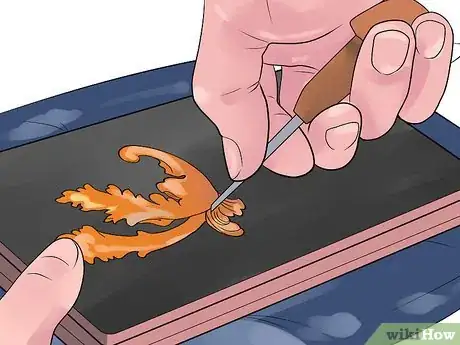
6Engrave the wood. Press the tool into the wood at a shallow angle to engrave. Use your other hand to turn the wooden block slowly as you push forward with the tool. Cut no more than 1 centimeter (less than ½ inch) at a time before adjusting the position of your hand. It will likely take some practice before you can cut smoothly.
- If the tool quickly embeds itself and halt, the angle is probably too steep.[12]
- "Graver" tools can be gradually moved to a steeper or shallower angle to widen or narrow the line drawn. This can take some practice to use correctly, but it is an excellent skill to develop for wood engraving.
-
7Experiment with your approach. One way to start a woodcut is to cut the outline of the image first, making it slightly too large so you can refine the details with a smaller tool.[13] There are many stylized forms of shading, but a series of small, mostly parallel lines in an overlapping "falling rain" pattern often creates the most natural effect.[14]
-
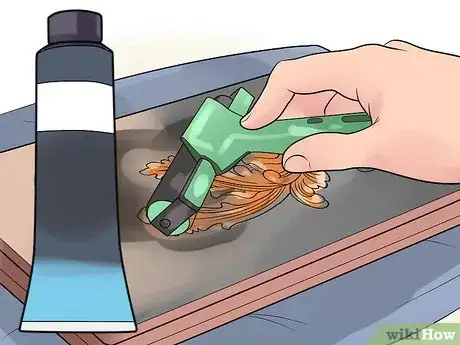
8Add ink to the woodcut. Once the wood is cut, you'll be able to transfer the image onto paper as many times as you like. Purchase a tube of oil-based black relief printing ink for this purpose. Squeeze a tiny amount onto the flat, curved portion of the wood, and use a hand roller, or "brayer," to spread a fine layer over the entire surface. Add more ink if necessary, and keep rolling with even pressure until the surface is smooth.[15]
-
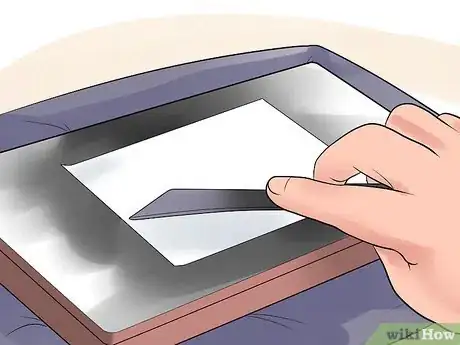
9Transfer your design onto paper. Lay a sheet of paper over the wet block, taking care not to move it once it comes into contact with the ink. Rub over the back of the paper using a burnisher tool, or any smooth, flat object. Lift the paper once it has been rubbed, and you should have a print of your image. Repeat this as many times as necessary, rolling out additional ink whenever the block dries out.
- If the burnisher is not sliding easily, rubbing it against your hair may provide just enough oil to help, without staining the paper.[16]
- Look for a "burnisher printing tool," since there are tools used in other professions also called burnishers.
-
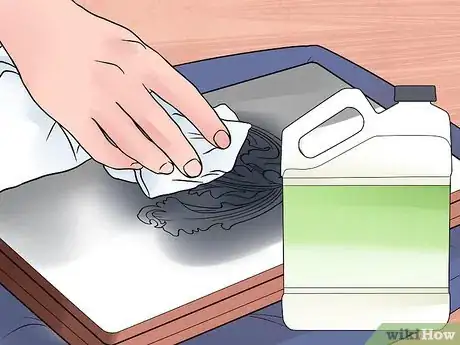
10Clean your tools. After a printing session, wipe away ink from the woodcut and tools using mineral spirits (white spirit) or vegetable oil and a clean rag.[17] Store your woodcut for later use, if you plan to print it again.
Community Q&A
-
QuestionWhat if I'm engraving plastic?
 Ashton GilmoreCommunity AnswerRotary engravers can work very well on some plastics. Be warned that some plastics may release toxic or harmful fumes when melted or heated.
 -
QuestionIs this safe for kids?
 Ashton GilmoreCommunity AnswerIn general, I would say no. However, different kids have different maturities and may be able to safely use chisels and sharp tools. Even if they can be trusted to safely use these tools, supervise them at all times and be sure to use the proper safety gear.
 -
QuestionHow long does this process take?
 Community AnswerIt generally takes from 1-5 hours, depending on which material you are using.
Warnings
- Always read the instructions for a powered tool before using it, or have someone experienced supervise its use.⧼thumbs_response⧽
Things You'll Need
Metal:
- Metal objects (including practice surfaces)
- Paper and pencil to sketch design
- Polyester film (such as Mylar)
- Soft lead pencil
- Tape
- Engraving tool: hammer and chisel, graver or pneumatic air driven hammer
Wood:
- Dremel or router
- Wooden object
- Polyester film (such as Mylar)
- Paint and/or wood finish (optional)
Hand-engraved Wood & Printing:
- Flat, wooden block
- Black pen ink
- Black relief printing ink (oil-based)
- Burnisher (or smooth, flat object)
- Handheld wood-engraving tools (two or three of different shapes recommended)
- Paper
- Mineral spirits (white spirit) or vegetable oil
- Clean rag
References
- ↑ http://www.engravingschool.com/private/introduction.htm
- ↑ http://books.google.com/books?id=bZgmAAAAMAAJ&printsec=frontcover#v=onepage&q&f=false
- ↑ http://www.engravingschool.com/private/transfers.htm
- ↑ http://books.google.com/books?id=bZgmAAAAMAAJ&printsec=frontcover#v=onepage&q&f=false
- ↑ http://education-portal.com/articles/Engraving_Schools_and_Colleges_How_to_Choose.html
- ↑ http://woodcarvingillustrated.com/blog/choosing-power-carving-bits/
- ↑ https://www.youtube.com/watch?v=UW2dAaKk6Ko
- ↑ http://www.chrisdaunt.com/guide-to-engraving-and-printing/
- ↑ http://www.chrisdaunt.com/guide-to-engraving-and-printing/
- ↑ http://www.chrisdaunt.com/guide-to-engraving-and-printing/
- ↑ http://www.chrisdaunt.com/guide-to-engraving-and-printing/
- ↑ http://www.chrisdaunt.com/guide-to-engraving-and-printing/
- ↑ https://letterpresscommons.com/wood-cut/
- ↑ http://www.printsandprinciples.com/2012/02/16th-century-woodcut-rendering-tone.html
- ↑ http://www.chrisdaunt.com/guide-to-engraving-and-printing/
- ↑ http://woodblock.com/encyclopedia/entries/011_04/action.html
- ↑ http://www.chrisdaunt.com/guide-to-engraving-and-printing/
About This Article
To engrave metal, start by cleaning the surface with a damp cloth, then letting it dry completely. Next, trace a design onto the metal before securing it to your work surface with a clamp or vise. Then, apply the tip of an engraving tool or chisel to the surface of the metal on an angle and carefully chip away pieces of the metal. Try to begin on a straight line for your first attempt, keeping your tool at the same angle throughout the engraving. Once you’ve finished the straight portion, move on to more complex lines and shapes. To learn how to engrave on wood, read on!
