X
wikiHow is a “wiki,” similar to Wikipedia, which means that many of our articles are co-written by multiple authors. To create this article, 12 people, some anonymous, worked to edit and improve it over time.
This article has been viewed 68,290 times.
Learn more...
This tutorial shows you how to make a nose job in Adobe Photoshop.
Steps
-
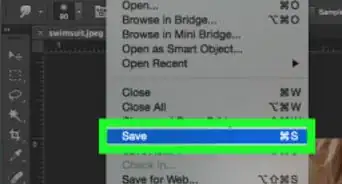
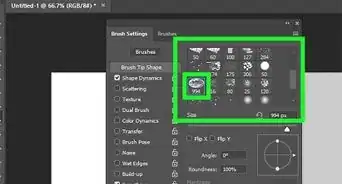
1Open an image and press Ctrl+j to duplicate an image to the new layer.
-
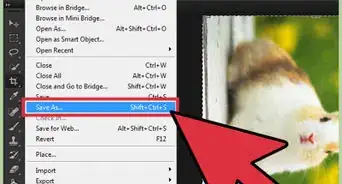
2Select Lasso Tool, click and drag mouse around the nose area.Advertisement
-
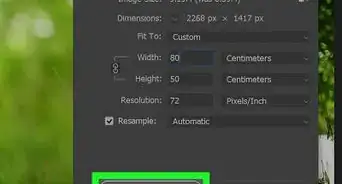
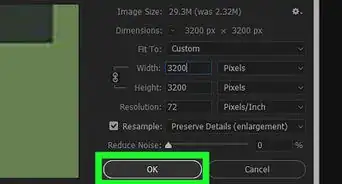
3Press Ctrl+j to copy the selected nose area to the new layer. Press Ctrl+t to open transform scale mode, then adjust your nose size and shape.
-
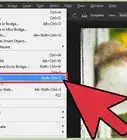
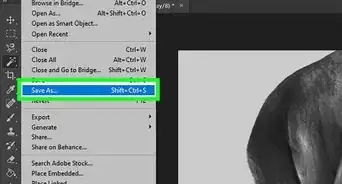
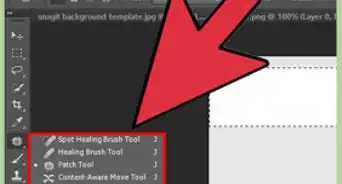
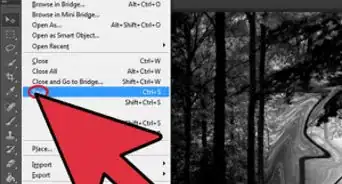
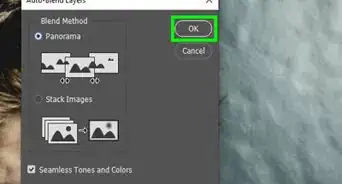
4Go to work on Background Copy Layer. The area under the nose needs to be cleaned up, use Healing Brush to clean this. The Healing Brush works by sampling the color, tone and texture from part of the image, you can copy the area color by Alt+click at the area you want to duplicate their color and texture.
-
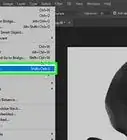
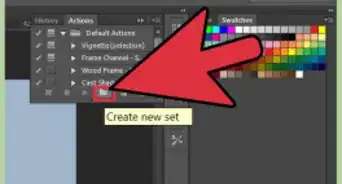
5To adjust a shape of nose, go back to nose layer , select Liquify Tool, set Brush size around 45, Brush Density 15 and Brush pressure 30, then clicking and dragging to shape the nose.
-
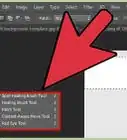
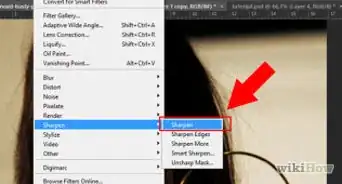
6Select Smudge Tool from Tool bar and set Strength around 30%, clicking and dragging at the nose edge to make it not to sharp and look natural.
-
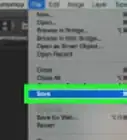
7Finished.


Advertisement


About This Article
Advertisement