This article was co-authored by wikiHow staff writer, Rain Kengly. Rain Kengly is a wikiHow Technology Writer. As a storytelling enthusiast with a penchant for technology, they hope to create long-lasting connections with readers from all around the globe. Rain graduated from San Francisco State University with a BA in Cinema.
The wikiHow Tech Team also followed the article's instructions and verified that they work.
This article has been viewed 1,489 times.
Learn more...
Do you have a hollow arrow or compass needle icon at the corner of your iPhone screen? This icon indicates that an app or service on your iPhone is using Location Services, or GPS. If you see the hollow arrow when you don't expect to, an app is accessing your location in the background. To get rid of the hollow arrow, you can limit which apps can access your location, hide the icon from the status bar, or disable Location Services altogether. This wikiHow will show you how to disable or adjust your Location Services to get rid of the hollow arrow on your iPhone.
Things You Should Know
- To see and edit the apps that can access your location, go to Settings > Privacy & Security > Location Services.
- You can toggle Location Services off by app, or tap the "Location Services" switch at the top to disable it completely.
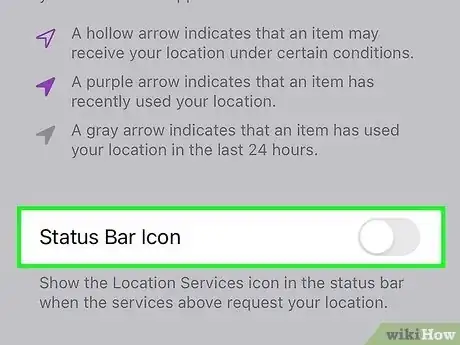
- To hide the hollow arrow, go to Settings > Privacy & Security > Location Services > System Services and turn off "Status Bar Icon."
Steps
Hiding the Arrow Icon
-
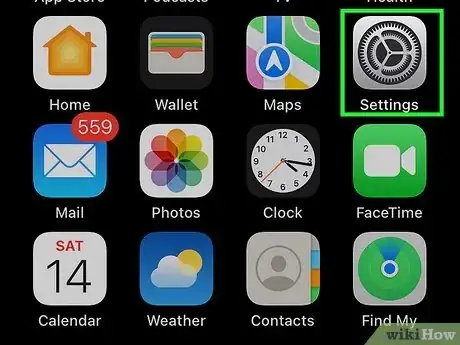
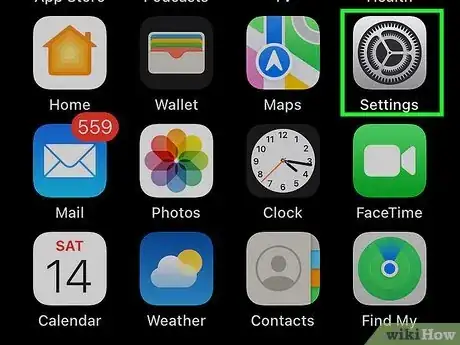
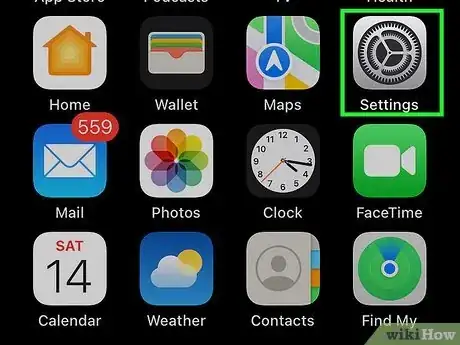
1Open the Settings app. Use this method if you want to keep Location Services enabled but don't want to see the hollow arrow icon on your screen.[1]
- Make sure to update your iPhone.
-
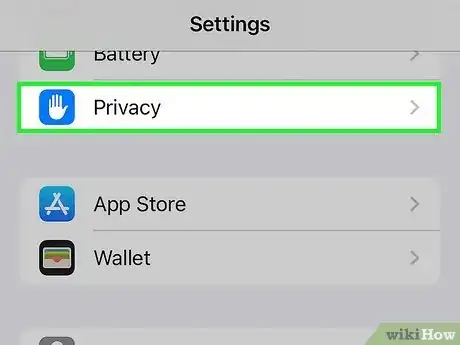
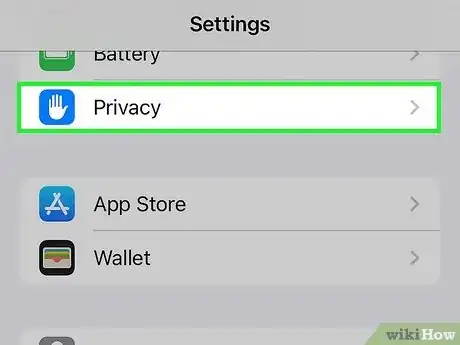
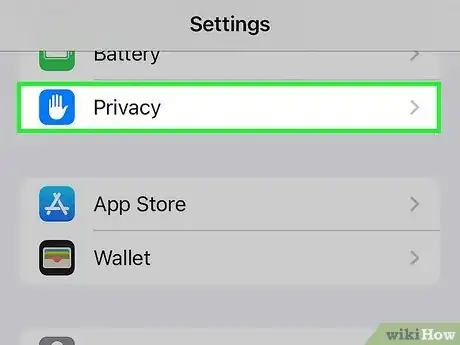
2Tap Privacy & Security. This will be underneath Battery, next to an open hand icon.Advertisement
-
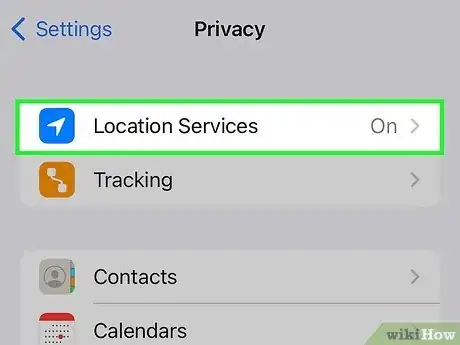
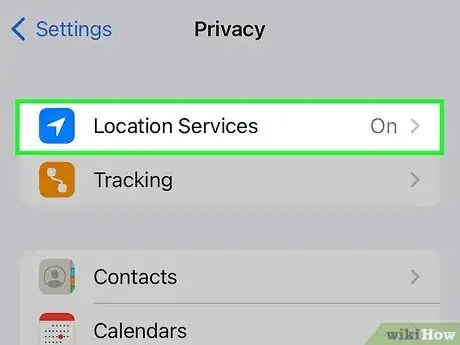
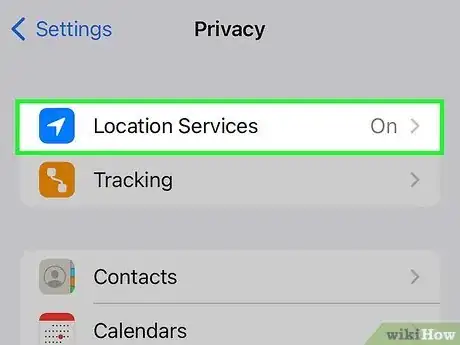
3Tap Location Services. You can find this at the very top of the page.
- If Location Services are enabled, you'll see the switch next to Location Services toggled on.
-
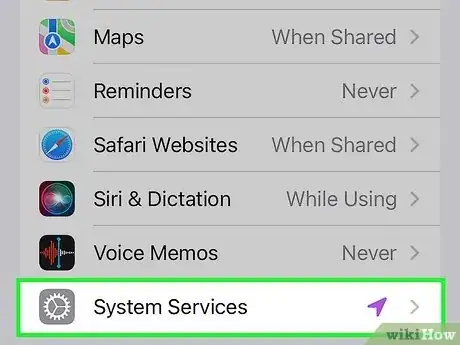
4Scroll down and tap System Services. This will be at the very bottom of the list. You may need to scroll down to find it.
-
5
Limiting Location Access
-
1Open the Settings app. If you're seeing the hollow arrow icon when you don't expect to, an app may be using your location in the background. Use this method to limit which apps can access your location without disabling Location Services completely.
- Limiting Location Services by app is better than disabling it completely, as many apps need your location to work properly.
-
2Tap Privacy & Security. This will be underneath Battery, next to an open hand icon.
-
3Tap Location Services. You can find this at the very top of the page.
- If Location Services are enabled, you'll see the switch next to Location Services toggled on.
-
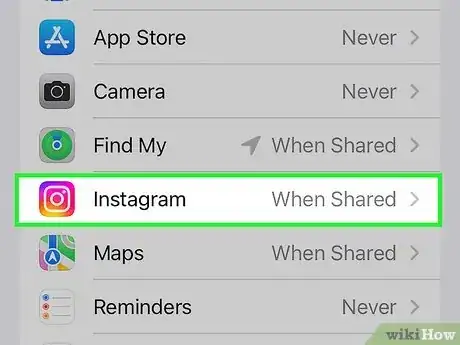
4Tap an app. You'll see a list of apps that request access to your location.
-
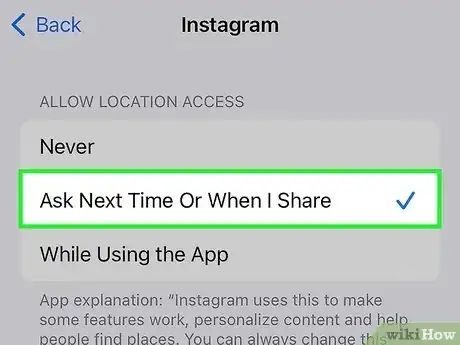
5Select a setting. You can limit location access by selecting: Never, Ask Next Time Or When I Share, or While Using the App.
- Your settings will be saved.
- Tap Back to return to the previous page, or exit the Settings app.
- If you're concerned about privacy, you can always reset your Location & Privacy settings.
Disabling Location Services
-
1Open the Settings app. This is the grey cog icon. If you don't want any apps to ever access your location, you can turn off Location Services completely.
- Disabling Location Services will get rid of the hollow arrow, but some apps may lose functionality. For example, if you need to get directions in Maps, tag your location on social media, or use Find My iPhone to locate your phone if you lose it, you'll need Location Services enabled.[2]
-
2Tap Privacy & Security. This will be underneath Battery, next to an open hand icon.
-
3Tap Location Services. You can find this at the very top of the page.
- If Location Services are enabled, you'll see the switch next to Location Services toggled on.
-
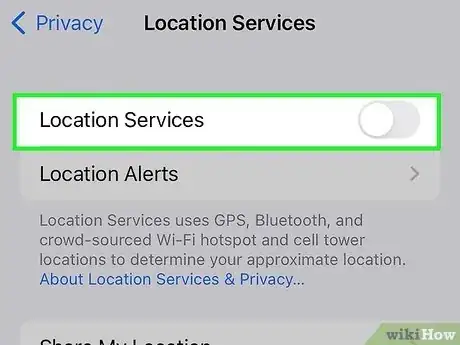
4Toggle off "Location Services". Your iPhone will disable Location Services and the arrow will disappear from the corner of your iPhone.
- You can always turn on Location Services again by toggling it on.
