This article was co-authored by Andrew Carberry, MPH. Andrew Carberry is a Food Systems Expert and the Senior Program Associate at the Wallace Centere at Winrock International in Little Rock, Arkansas. He has worked in food systems since 2008 and has experience working on farm-to-school projects, food safety programs, and working with local and state coalitions in Arkansas. He is a graduate of the College of William and Mary and holds a Masters degree in public health and nutrition from the University of Tennessee.
wikiHow marks an article as reader-approved once it receives enough positive feedback. In this case, 95% of readers who voted found the article helpful, earning it our reader-approved status.
This article has been viewed 149,180 times.
Broccoli is a tasty member of the brassica family packed full of healthy vitamins. It is one of the easiest members of the brassica family to grow and requires little maintenance throughout the growing cycle. Broccoli is a unique crop in that it can yield two harvests per year (one in the fall and one in the summer) depending on when you plant it. Choose an area of your garden with full sun and rich soil and start planting today.
Steps
Planting Broccoli Seeds
-
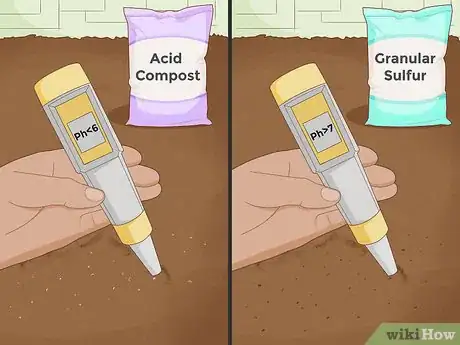
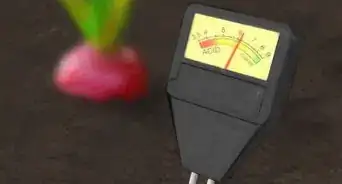
1Test your soil. Broccoli prefers soil with a pH between 6.0 and 7.0. You can test the soil and add different nutrients to adjust its acidity. Be sure to test the soil periodically throughout the growing process. In addition to pH, the soil test results will tell you if your soil lacks any important nutrients, which you can add with soil amendments.
- Your local agricultural extension office should have soil testing forms, bags and instructions available.
- If your soil's pH level is below 6.0, add acid compost or planting mix.
- If your soil's pH is above 7.0, mix in granular sulfur.
-
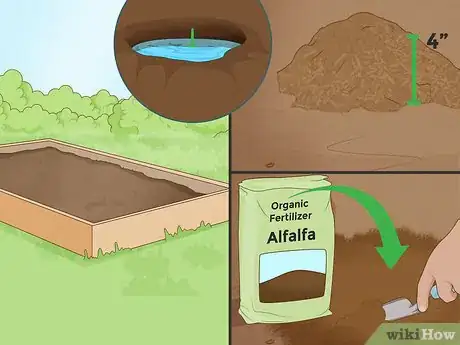
2Make sure the soil drains well and is very fertile. If your soil test reveals you have low quality soil, or if your soil drains poorly, there are several things you can do to ready your garden for planting broccoli:
- If your soil is prone to flooding, consider building a garden planter box to raise your soil above the ground. If possible, use cedar wood to build your planter box, as it does not rot when exposed to water.
- To increase the fertility of your soil, mix up to four inches of mature compost into your soil. If your soil is in particularly poor condition, also add a high-nitrogen organic fertilizer to enrich the soil.
- Organic fertilizers like alfalfa, cottonseed meal, and manure are good choices for planting broccoli.
Advertisement -
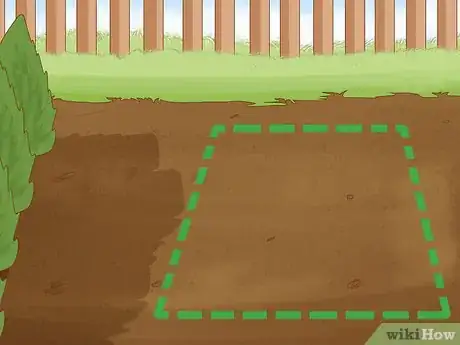
3Choose an area of your garden with full sun. While broccoli prefers full sun, it will tolerate some shade.
-
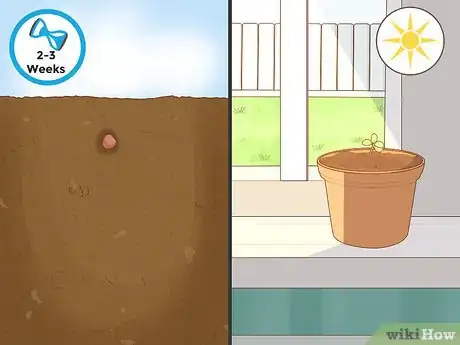
4Direct-sow your seeds outdoors. For a summer harvest, sow seeds two to three weeks before the last spring frost. For a fall harvest, direct sow seeds outdoors 85 to 100 days before the first fall frost.
- Alternately, start your seeds indoors. If you choose to start your seeds indoors, plant them in peat pots or other small seedling pots. Keep them in a sunny room.
- If sowing seeds indoors, you can plant them earlier and transplant them to the garden 2 or 3 weeks before the last frost. If you plant them in separate pots or tray containers, you won't need to thin them later.
-
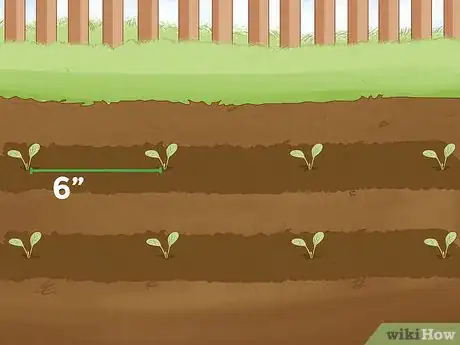
5Plant the broccoli seeds in widely spaced rows. Organize your plot into rows about 36 inches (90 cm) apart. Dig holes every 12 to 24 inches (30 to 60 cm) along each row. Place a few seeds in each hole and cover with soil.
- Optionally, you can sow seeds every 6 inches (15 cm) instead and thin out the smaller or less healthy plants as they grow.
- Use a rake to lightly smooth the soil over the seeds if you are planting outdoors, but be sure not to disturb the seeds themselves.
- Simply pat the soil over your seeds with your fingers if planting in peat pots.
-
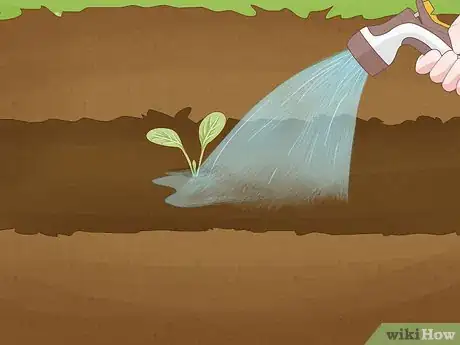
6Water thoroughly after sowing broccoli seeds. Drench the soil, but be sure not to leave puddles of water, broccoli enjoys good drainage. If you planted the seeds indoors, use a spray bottle to dampen the soil.
-
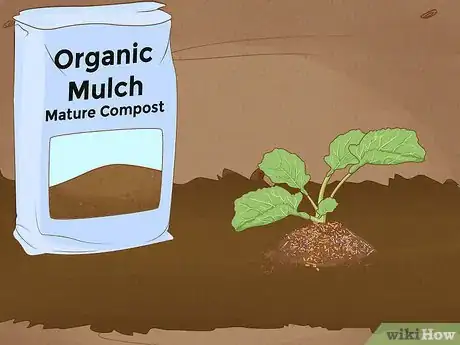
7Regulate the soil temperature. If direct sowing outdoors, apply an organic mulch made of mature compost, leaves, or bark to keep soil cool. Alternately, if you are planting in cool temperatures, apply a black plastic covering to heat the soil. You can buy plastic coverings at your local garden supply store, but any semi-sturdy black plastic such as a tarp will work.
-
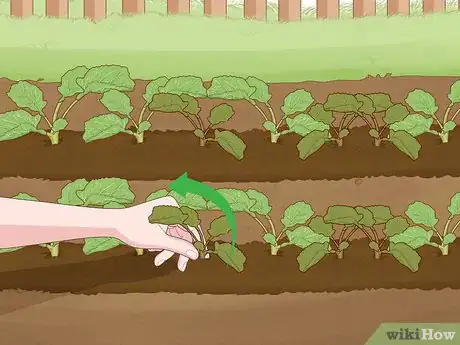
8Thin your outdoor seedlings. When your outdoor seedlings reach one inch (2.5 cm) in height, you may need to thin the plants in order to allow them space to grow. Remove smaller or unhealthy-looking plants until the survivors are 12 to 24 inches (30 to 60 cm) apart. This will prevent overcrowding as the broccoli plants continue to grow.[1]
Transplanting Indoor Seedlings
-
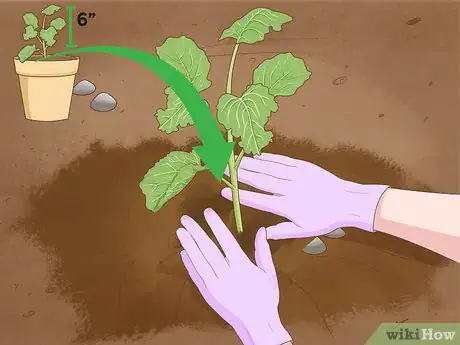
1Transplant seedlings when they are four to six inches in height. Usually this will take about six weeks. The height and plant development are more important than the duration of the germination process.
-
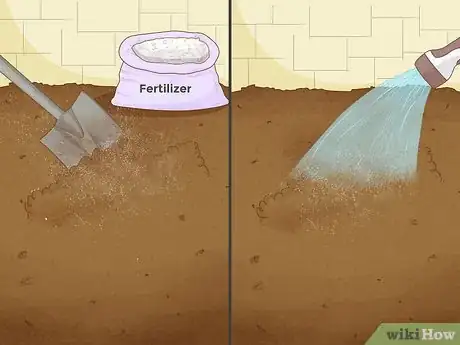
2Water the bed thoroughly before setting out seedlings. Make sure you have completed the proper soil preparation methods outlined above before transplanting your seedlings, including fertilizing the soil.
-
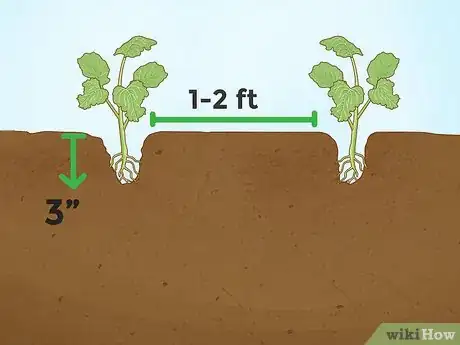
3Dig holes about three inches deep and space seedlings one to two feet apart. Position plants to the same depth they were in pots/containers. Miniature varieties can be planted as close as one foot apart.
-
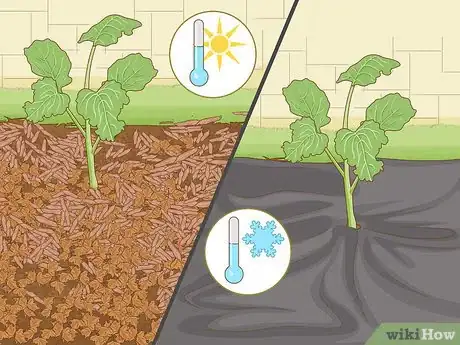
4Regulate the soil temperature. For summer plantings, apply an organic mulch of compost, leaves, or bark to keep soil cool. For winter plantings, apply a black plastic covering to heat the soil.[2]
-
5Dampen the soil with a thorough watering after transplanting.
Caring For Your Broccoli Plants
-
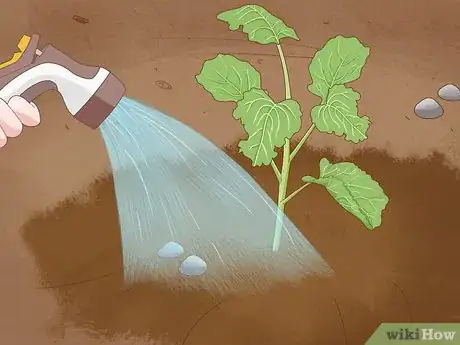
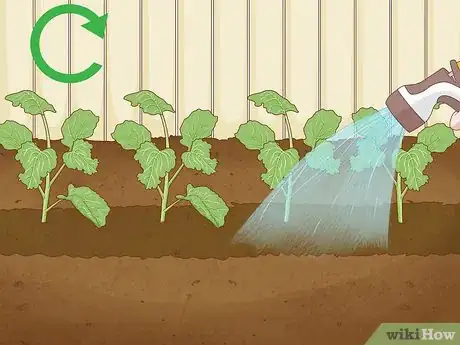
1Water your broccoli plants regularly. Allow your plants between one and one and a half inches of water per week. Broccoli likes moist soil.
- You can use a rain gauge to see how much water the plants are getting naturally, and make up the difference with irrigation.
- Make sure not to get the budding broccoli crowns wet when watering. Doing so causes them to mold.
- In particularly hot or dry conditions, increase the amount of water you feed your plants.
-
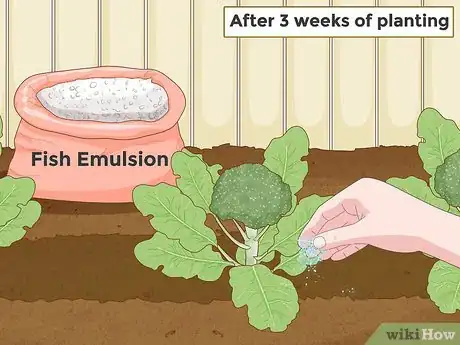
2Fertilize your plants about three weeks after planting. Use an organic, nitrogen-rich fertilizer when your broccoli plants begin to form new leaves. Fish emulsion works well for fertilizing broccoli plants. You can continue to fertilize the plants about once a week until they are ready for harvest.
-
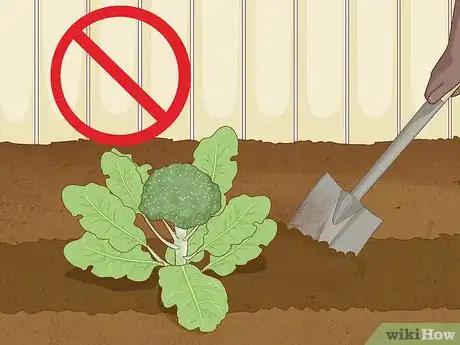
3Avoid digging or turning the soil. Broccoli plants have very shallow roots. If you disturb the soil you may accidentally break roots and damage your broccoli plants.
- If weeds develop around the plants, suffocate them with mulch instead of plucking them from the ground to avoid disturbing the roots.[3]
- If you choose not to grow organically, you can also use a chemical pesticide to remove unwanted weeds from your garden without disturbing the broccoli roots.
-
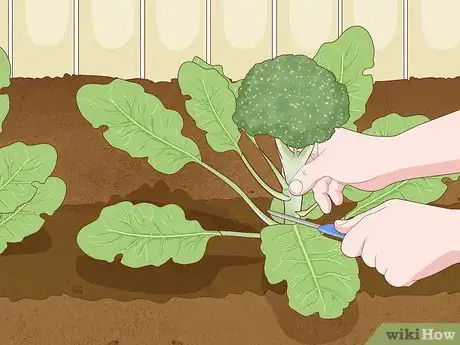
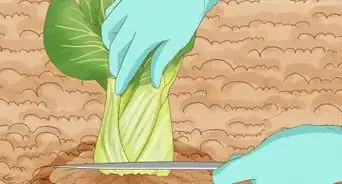
4Harvest your broccoli plants. You want to harvest your broccoli crowns when the buds are tightly closed and dark green. Avoid waiting until the buds begin to flower into light green or yellow flowers. Cut the crown where it meets the stem using garden shears.
- See "Choosing a Variety" above for exact growing times for specific varieties.
- Avoid breaking the crown off. A clean cut will better encourage new growth.
- With a healthy cut, the broccoli plant should grow small shoots from the side of the stem. You can continue to harvest the small shoots, and the plant should produce more.[4]
Choosing a Variety
-
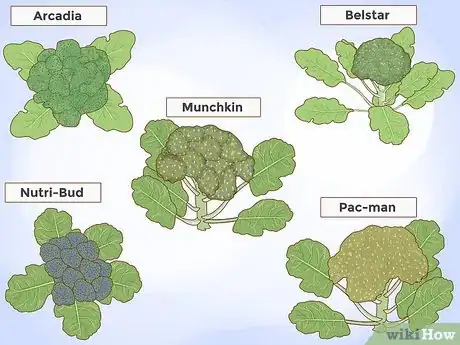
1Choose a large-headed variety if you have plenty of growing space. Large-headed varieties produce large crowns between fall and spring. These are the most commonly found variety. These varieties take 50 to 70 days to mature if planted in the spring, and 65 to 90 days to mature if planted in the fall. Large headed varieties include:
- Arcadia
- Belstar
- Munchkin
- Nutri-Bud
- Pac-man
-
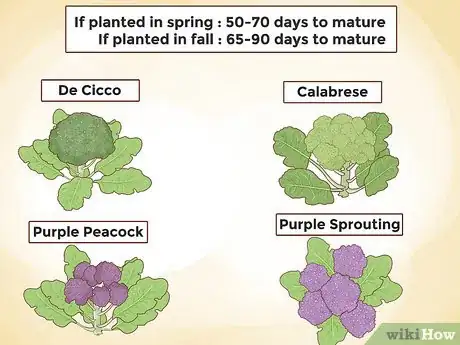
2Choose a sprouting variety to plant in a mild winter climate. Sprouting varieties are characterized by their bushy appearance and small crown size. They develop best between fall and spring. These varieties take 50 to 70 days to mature if planted in the spring, and 65 to 90 days to mature if planted in the fall. Sprouting varieties include:
- Calabrese
- De Cicco
- Purple Peacock
- Purple Sprouting
-
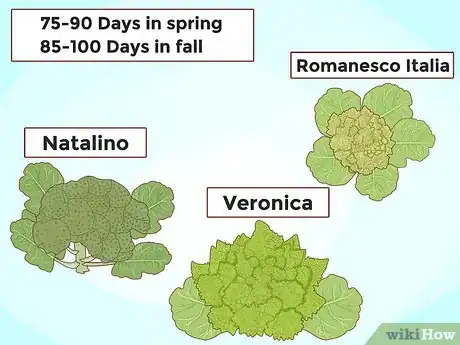
3Choose a romanesco variety if you have good quality soil. Romanesco varieties grow in swirled, cone-shaped crowns that look very ornamental in the garden and are crunchy when eaten. Romanesco varieties prefer temperatures in the 80-degree range and plenty of water. These varieties take 75 to 90 days to mature if planted in the spring, and 85 to 100 days to mature if planted in the fall. Romanesco varieties include:
- Natalino
- Romanesco Italia
- Veronica
-
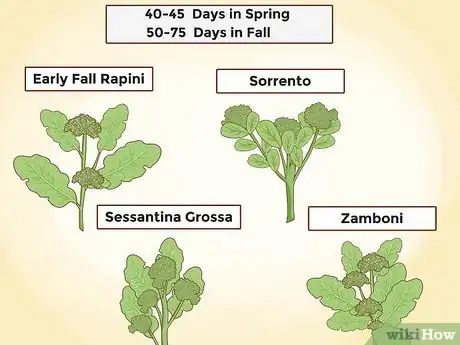
4Choose broccoli raab to grow broccoli quickly in a cool climate. These varieties are harvested as buds, making them richer in flavor that other varieties. They take only 40 to 55 days to mature if planted in the spring, and 50 to 75 days to mature if planted in the fall. Broccoli raab varieties include:
- Early Fall Rapini
- Sessantina Grossa
- Sorrento
- Zamboni[5]
Expert Q&A
Did you know you can get expert answers for this article?
Unlock expert answers by supporting wikiHow
-
QuestionI have loads of leaves and stems but no florets! Do you have to do something to get the florets to develop?
 Andrew Carberry, MPHAndrew Carberry is a Food Systems Expert and the Senior Program Associate at the Wallace Centere at Winrock International in Little Rock, Arkansas. He has worked in food systems since 2008 and has experience working on farm-to-school projects, food safety programs, and working with local and state coalitions in Arkansas. He is a graduate of the College of William and Mary and holds a Masters degree in public health and nutrition from the University of Tennessee.
Food Systems Expert
-
QuestionCan the small leaves and stalk of the broccoli be eaten?
 Community AnswerYes. They are quite good.
 -
QuestionI am growing broccoli in a greenhouse and the underside of the leaves is a violet color. What is causing this?
 Community AnswerIt could be because there is something wrong with the soil or fertilizer you have. You should check the pH of the soil and fertilizer.
Warnings
- Harlequin bugs and grasshoppers like to feed on broccoli plants in the summertime.⧼thumbs_response⧽
- Broccoli is prone to cabbage worms and loopers. Inspecting your broccoli plants daily and picking off parasites is often enough to keep your vegetables pest free. You can also grow plants beneath row covers or exterminate pests using BTK (the bacteria Bacillus thuringiensis var. kurstaki), Rotenone, spinosad, or Pyrethrum.[6]⧼thumbs_response⧽
References
- ↑ http://www.almanac.com/plant/broccoli
- ↑ http://bonnieplants.com/growing/growing-broccoli/
- ↑ http://bonnieplants.com/growing/growing-broccoli/
- ↑ https://www.highmowingseeds.com/organic-non-gmo-belstar-f1-broccoli.html
- ↑ http://www.motherearthnews.com/organic-gardening/growing-broccoli-varieties.aspx#axzz2XSbNYTZV
- ↑ https://www.highmowingseeds.com/organic-non-gmo-belstar-f1-broccoli.html
About This Article
If you want to grow your own broccoli, choose an area of your garden that receives full sun. Space your rows about 36 inches apart, and dig holes for your seeds every 12 to 24 inches. Place a few seeds in each hole and cover with soil, then water the seeds thoroughly. When the seedlings reach 1 inch, remove smaller or unhealthy-looking plants to prevent overcrowding. Give your broccoli plants about 1 inch of water every week, and fertilize your broccoli once a week starting about 3 weeks after planting. For more tips from our Gardener reviewer, including how to choose a broccoli variety for your garden, read on!
