This article was co-authored by wikiHow Staff. Our trained team of editors and researchers validate articles for accuracy and comprehensiveness. wikiHow's Content Management Team carefully monitors the work from our editorial staff to ensure that each article is backed by trusted research and meets our high quality standards.
There are 9 references cited in this article, which can be found at the bottom of the page.
This article has been viewed 70,037 times.
Learn more...
Medicinal Marijuana is a popular alternative choice to treat a variety of medical conditions suffered by millions of people. But while medicinal marijuana is popular, depending on where you live, it is also hard to acquire. This is because the laws regulating the cultivation and distribution of marijuana vary from state to state and often conflict with federal law. As a result, depending on where you live, the easiest way to acquire medicinal marijuana is to grow it yourself. However, while growing may be the option for you, growing quality marijuana is an extremely difficult task. Fortunately, though, with some knowledge and commitment, you’ll be able to grow high quality marijuana in no time.
Steps
Creating the Proper Environment
-
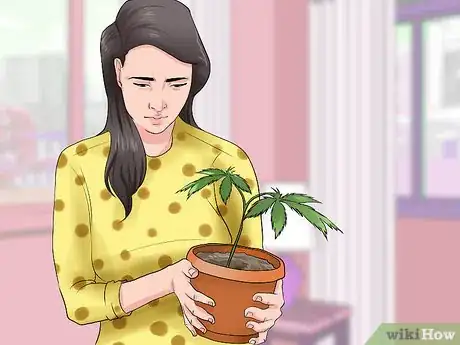
1Secure an indoor space. The trick to growing quality marijuana is to grow your marijuana inside. Growing your marijuana inside will allow you to completely control the environment. This will eliminate the possibility of overwatering (through rain), lack of sun, pest problems, and other issues that plague outdoor growers. But don’t worry, you don’t need a specifically designed space to grow pot. With a little retrofitting you can essentially grow your pot in any indoor space.
-
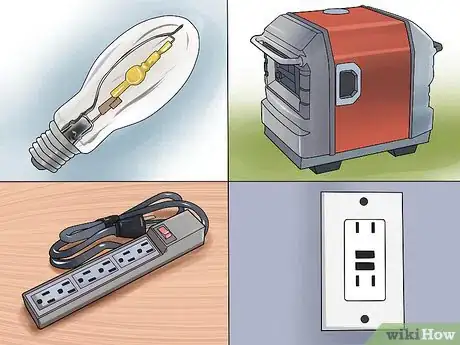
2Purchase lights and light-proof a room. Perhaps the most important step in creating an environment to grow quality medical marijuana is to purchase and set up your lights. Quality lights and a good lighting schedule will make sure that your marijuana will grow and produce quality buds. In addition, you’re going to want to light-proof your grow room so light will not leak in during the night-time or dark period. Make sure to:
- Purchase either metal halide or high pressure sodium lights. The typical rule is that you should have 7000-7500 lumens per square foot in a grow room. The number of lumens vary based on the light, so consult the box or manufacturer before purchasing.
- Install surge protectors and use GFI wall outlets to protect against the potential of electrocution if there is a flood in the grow room.
- Consider buying a generator to provide backup power in case of a power outage.
- Lightproof your grow room by covering all windows with tinfoil, heavy-duty blackout curtains, and more.[1]
Advertisement -
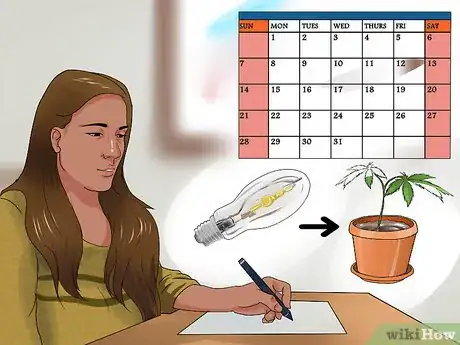
3Setup a lighting schedule. A lighting schedule is extremely important to growing quality medical marijuana. Because you want quality pot, you’ll be completely regulating your plant's light source. You need to be diligent about this schedule, and do not stray from it. Straying from your lighting schedule may undermine the quality of your buds.
- Purchase timers so you can put your lights on a schedule.
- Your initial lighting schedule will be 18 hours of light and 6 hours of dark.
- Do not enter the room during the dark period – this could trigger flowering.
- Do not let any light at all enter the room during the dark period.[2]
-
4Provide proper ventilation and temperature control. Plants, just like animals, need fresh and clean air to thrive. As a result, you need to make sure that wherever you grow your plants has fresh and clean air. In addition, you need to make sure that the temperature and relative humidity of your grow space stays relatively constant. To do this:
- Make sure your grow room has good circulation to move fresh air in and out. You can do this by installing specially designed ducts that will move air in and out without allowing sunlight to creep through. The cheapest way to do this would be to install bent pipes in a window opening, and covering the left-over space with plywood and/or other materials. Use fans to further promote circulation.
- Make sure your heating and cooling system is running and is capable of providing cool and hot air to the space. Depending on where you are, air conditioning might be the most important since your lights will generate a lot of heat.
- Make sure your temperature stays a constant 70 to 85 degrees Fahrenheit. The specific number in that range depends on the strain of marijuana and your climate. Many growers like to keep the temperature between 72 and 75 degrees when lights are on, and allow the temperature to climb to 79 to 85 during the dark period.
-
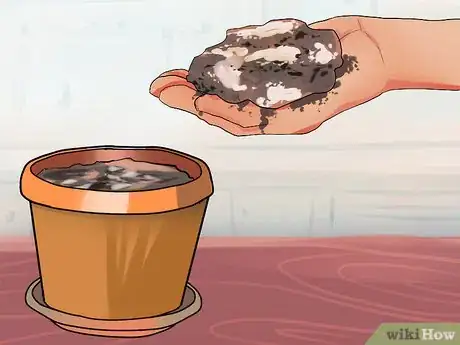
5Get a good soil mix. Soil, next to lighting, is perhaps the most important element in growing quality medical marijuana. Make sure to secure a really good soil mix. Don’t cheap out here. Soil quality and the nutrients in soil will determine the quality of your product. Consider:
- Your soil should drain well so that you don’t have water accumulation that could hurt your roots and plant. Soils should have some sand, sponge rock, or pearlite in it.
- Have a mixture of fox farm ocean forest soil and half of any kinds of unfertilized potting soil. This mixture will do the trick and this will help enable the root of the plant to access to the food (nutrient) freely.
- Include good fertilizer in the soil. The type of fertilizer you choose can vary depending on your taste and budget.[3]
Growing Medical Marijuana
-
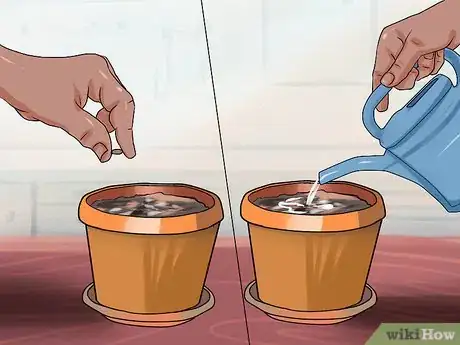
1Plant your marijuana seeds. The first step in growing your marijuana will be to plant your seeds. While this is a pretty foolproof process (if you’ve done everything else right), there are a number of things you need to do to make sure your seeds germinate and grow. Make sure to:
- Bury your seeds less than an inch from the surface.
- Provide water to the seeds after burying. Do not flood the soil. Just make sure it is wet several inches down.
- Plant extra seeds to account for seeds that don’t germinate or seedlings that die soon after germinating.
-
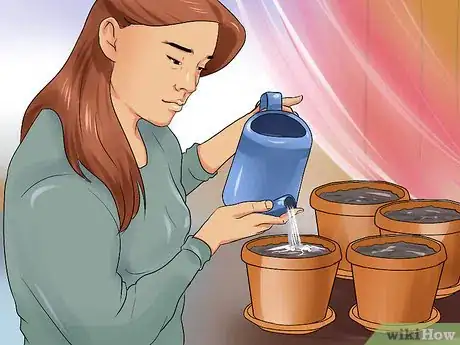
2Water your seedlings and plants. Be sure to water your marijuana plants as often as they need to be watered. If you don’t water your plants enough, photosynthesis may slow, your plants will develop slower, and your quality will suffer. If you water them too much, your plants could suffer root rot or other problems that will hurt quality. To water properly, make sure to:
- Wait until the top of your soil is dry to about an inch deep.
- Water your plants until 10% to 20% of the water drains out of the bottom of your growing container.
- Wait until the top of your soil is dry to an inch again before watering.
- After some experience, feel free to set up an automatic watering system that works on a timer. This will save an experienced grower a lot of time.[4]
-
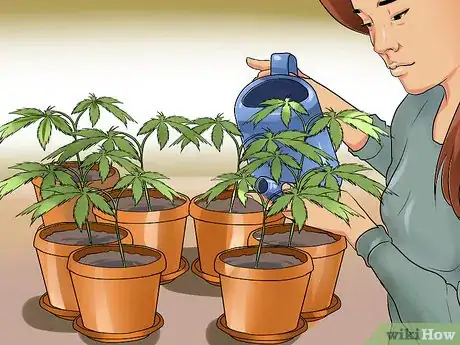
3Tend to your plants in their vegetative state. The second growth phase after germinating your seeds is the vegetative state. The vegetative state is a period from 2 weeks to 2 months depending on the variety of the plant. During this period your plants will develop and mature.
- Most strains need a minimum of 2-3 weeks in the vegetative state. However, you can choose how big you want your plants to be by how long you allow them to stay in a vegetative state.
- Make sure to give your plant enough water, depending on size of the plant, pot, and other conditions.
- Make sure to give your plant enough fertilizer, if it’s not already present in the soil.[5]
-
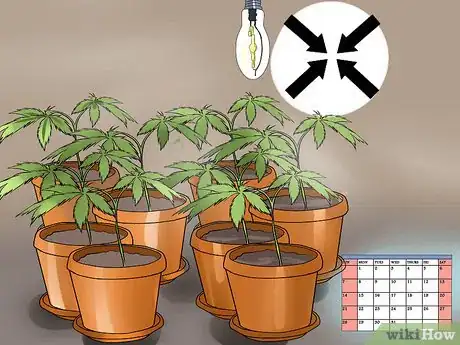
4Induce flowering. Once your plants have been in the vegetative state and are as large as you want them to be, you need to induce flowering. This is the major change in the lifestyle of your plants from when they will be growing to maturity to when they will begin to produce flowers and buds. To induce flowering:
- Reduce your light from 18 hours a day to 12 hours a day.
- Do not let any light enter the room during the 12 dark hours.
- In about two weeks, you’ll begin to see bud and flower development on the plants. This will begin the flowering stage.
- Continue your 12 hours of darkness until harvesting.[6]
-
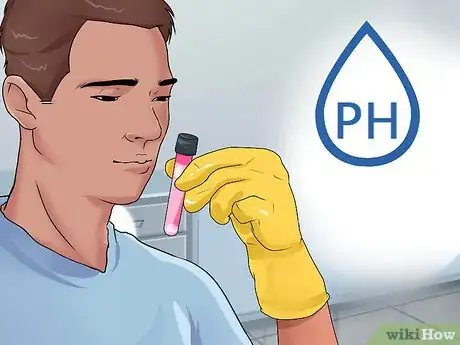
5Monitor pH often. The pH of your plant is extremely important in making sure you are growing quality medical marijuana. This is because marijuana does not really thrive in soil that is too acidic. As a result, you should monitor the pH of your soil often to make sure the acidity is not too high.
- Test the pH every 2 to 3 days. If you are going soil-less (hydroponic) make sure to test your pH every day.
- Your target pH is between 6.0 and 7.0 if using traditional soil.
- Your target pH is between 5.5. and 6.5 if you are going hydroponic another soil-less method.
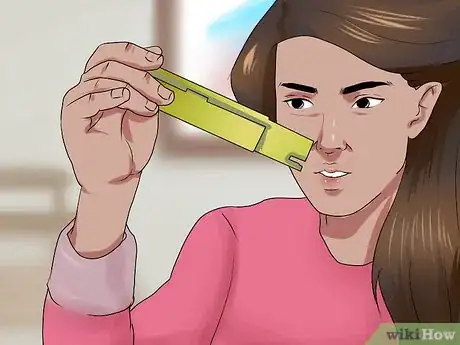
- Use a digital pH pen or pH testing strips.[7]
-
6Adjust your pH level. After you’ve tested your pH level and determined that it needs to be adjusted, you can take measurements to properly tune the pH. By adjusting the pH, you’ll help create the best environment to grow quality marijuana. To adjust pH:
- Purchase pH UP and pH Down solution.
- Test your water’s pH level.
- Follow directions on the solution’s container and add enough solution to the water until you get the desired pH.
- Use the treated water to water your plants and retest after a few days.
- Continue adding solution for as long as needed, or indefinitely if your water is out of the desired pH range.[8]
-
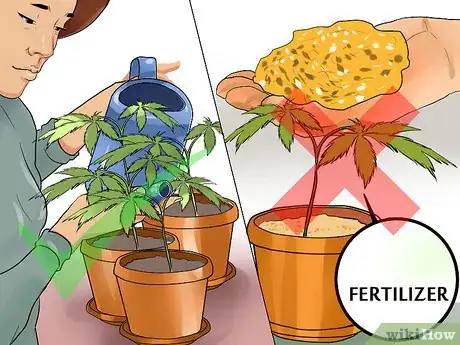
7Flush your plants. As the flowering stage comes to an end and your flowers/buds are maturing, you’ll need to prepare yourself to flush your plants. Flushing is the process in which you stop adding nutrients and fertilizer to the plants and only provide your plants with an excess of pure water. What this will do is make sure that nutrients are flushed out of the soil and/or other medium you are growing in. This will force your plant to rely on nutrient reserves. This will increase the quality of the final product.
- Start the flushing process 2 weeks before harvest.
- Do not add any more fertilizer or nutrients for the remainder of the plant’s life.
- Add enough water so that there is water at the top of the soil. Let it leech or bleed out of the bottom of the container.
- Repeat this step a second time after all of the water bleeds out of the bottom of the container.
- If you are growing hydroponic, make sure to swap the old water out for fresh water.
Harvesting Your Medical Marijuana
-
1Begin harvest process. Two days before harvest, you’ll want to take a few steps to make sure the harvest process will be done perfectly. This will ensure the production of quality marijuana. Make sure to:
- Conduct another flush two days before harvest. Make sure to do this twice.
- Stop adding water one day before harvest.
- Adjust this process (in future crops) and try to make sure your soil is completely dry before harvest.
-
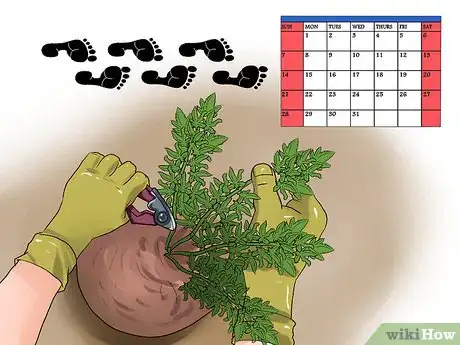
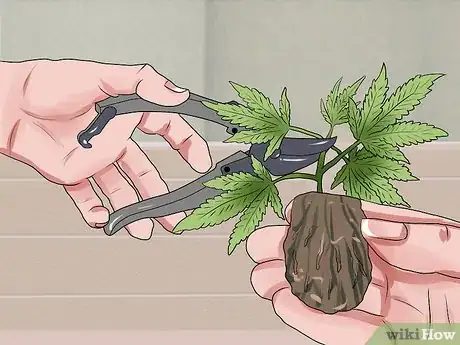
2Harvest your buds. Once your plants have budded and the buds have flowered, it will be time to harvest. Harvesting is a very committed and prolonged process, so make sure you have the time to do this and the space to do what needs to be done. Begin by:
- Cutting the plant from the root.
- Cutting larger branches to make it easier, if you need.
- Making sure you leave at least two large branches.
- Removing all leaves. This should be relatively easy because they would have started to die a week or two before.
- Removing all excess twigs, stems, leaves, and anything without buds.
-
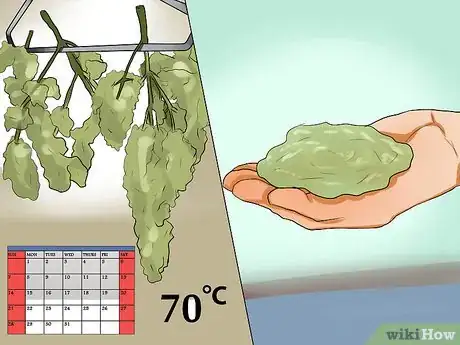
3Cure your buds. After harvesting your plants, you’ll need to begin the curing process. The curing process is extremely important and needs to be done right. If you don’t cure properly, your buds could develop mold, mildew, or just dry out completely. Make sure to:
- Hang your large branches and the plant for 1 to 2 weeks. Remove smaller buds as they dry out. Remember, you don’t want them completely dry, but maybe half-dry.
- The temperature of the room you cure in should be about 70 degrees Fahrenheit.
- The humidity of the room you cure in should be about 50 percent.
- After you’ve removed the buds from the branches, make sure to put them in an airtight container. Open the container several times a day to allow fresh air in. Always reseal the container afterwards.
- After a few days, your buds will be ready.
Learning About Laws and Regulations
-
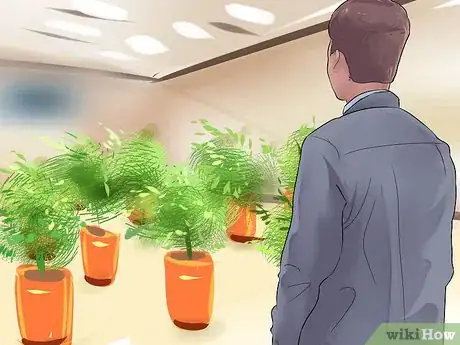
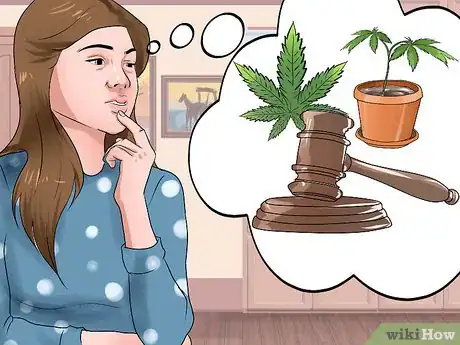
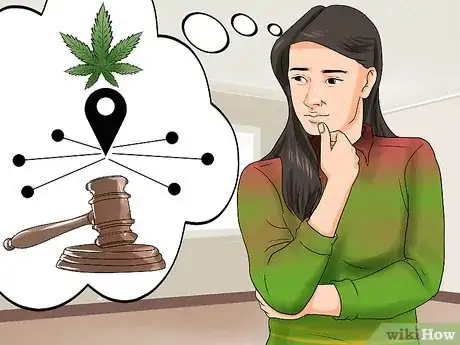
1Find out about laws in your city and state. Before you embark upon growing quality medical marijuana, you need to know the specifics of the laws governing medical marijuana growth and consumption in your city or state. Laws vary from state to state and city to city – know them.
- Find out if you can indeed grow marijuana at the location you want to grow it. Some jurisdictions forbid growing marijuana close to a school or other public buildings. Make sure your location is zoned and is okay to grow pot at.
- Know how many plants you are permitted to grow as a medical marijuana grower. These numbers vary from state to state and city to city. You can be fined or imprisoned if you grow too much.
- Contact your local government, police department, or alcohol and marijuana control authority if you have any questions.
-
2Secure a permit or license, if necessary. Find out if you need a permit or license to grow marijuana. If you do, get your permit or license before moving forward. Growing without a permit may result in substantial fines or jail time.[9]
-
3Understand federal law. Before you grow medical marijuana, know how federal law applies to medical marijuana. While medical marijuana growth and consumption might be permitted in your city or state, federal law may contradict it and is a higher authority.
- Consumption of marijuana for medical purposes is actually prohibited by federal law.
- Growth of medical marijuana is also prohibited by federal law.
- While it does not happen often, the Justice Department can prosecute you for cultivating or consuming medical marijuana.[10]
-
4Know about distribution. After you’ve familiarized yourself with your local and state laws, you need to understand laws and rules about distribution of medical marijuana in your jurisdiction and at the federal level.
- You may be prosecuted for distributing your medical marijuana to others, even if they have a prescription.
- Many states and cities require that people purchasing medical marijuana must do so with a doctor's prescription and buy it from a licensed distributor.
- While the federal government may look the other way most of the time when it comes to medical marijuana for personal use, you are much more likely to be prosecuted if you distribute your medical marijuana to others. The danger of prosecution is especially high if you or someone else brings your marijuana across state borders.[11]
References
- ↑ http://www.growmedical420.com/how-many-lumens-or-watts-per-square-foot-of-light-do-i-need/
- ↑ http://www.marijuanagrowershq.com/light-cycles-and-flowering-cannabis/
- ↑ http://www.weedfarmer.com/cannabis/beginner_guide.php
- ↑ http://www.growweedeasy.com/how-often-water-marijuana
- ↑ http://www.growweedeasy.com/how-long-does-it-take-to-grow-weed#vegetative-stage-growing-weed
- ↑ http://www.marijuanagrowershq.com/light-cycles-and-flowering-cannabis/
- ↑ http://www.growweedeasy.com/ph#what-pH-do-i-want
- ↑ http://www.growweedeasy.com/ph#what-pH-do-i-want
- ↑ http://bls.dor.wa.gov/marijuana.aspx
