This article was co-authored by wikiHow Staff. Our trained team of editors and researchers validate articles for accuracy and comprehensiveness. wikiHow's Content Management Team carefully monitors the work from our editorial staff to ensure that each article is backed by trusted research and meets our high quality standards.
This article has been viewed 37,856 times.
Learn more...
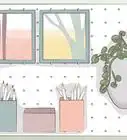
Scarves can brighten up a room the same way they brighten up an outfit. Hang your scarves like tapestries by making dowel hangers. Alternatively, make a wall plaque out of Styrofoam. For a more durable decoration, try a shadow box. Instead of stuffing a beautiful scarf into the back of your closet, let it bring fresh colors and patterns to your home.
Steps
Making a Dowel Hanger
-
1Measure the scarf’s sides. Spread the scarf over a flat surface and use a ruler to measure its dimensions. 1 of these sides wraps over the dowel later. If you need to conserve wall space, measure and then hang the scarf's shorter side.[1]
- To help you choose a side to measure, figure out how much wall space you have available.
-
2Saw a craft dowel to length. Select the dowels that are 1⁄2 in (1.3 cm) in diameter, getting 1 for each scarf you wish to hang. Using a handsaw, cut the dowels down to match the length of the side you wish to hang.[2]
- Dowels are sold at most craft supply stores as well as home improvement stores.
- For example, if your scarf is 12 in (30 cm) long, cut the dowel the same length.
Advertisement -
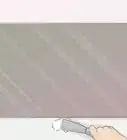
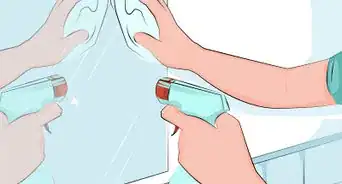
3Iron the scarf flat. Turn your iron to the proper heat setting before using it. The settings you use depend on the fabric your scarf is made of. Press out all the wrinkles, taking care not to damage the fabric.
-
4Tack the scarf to the dowel. You will need a box of upholstery tacks from a craft store. Wrap between 1 to 3 in (2.5 to 7.6 cm) of the scarf over the dowel. Then, pin the scarf in place on 1 end. Continue placing tacks every 1 in (2.5 cm) along the dowel.[3]
-
5Cut a piece of ribbon slightly longer than the dowel. Select a pattern of ribbon that compliments your scarf. Measure out a length of ribbon 3 in (7.6 cm) longer than the dowel. Cut the ribbon to length with scissors.[4]
- Twine can be used as a stronger but less colorful option. Both twine and ribbon can be found at craft stores.
-
6Tack the ribbon to the dowel. Lay the ribbon flat next to the dowel. Tack an end to each of the dowel's ends. Next, lift the ribbon up to test it. Make sure the tacks are pressed in tightly so the ribbon doesn’t come loose.
-
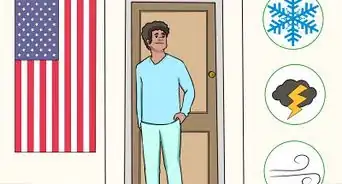
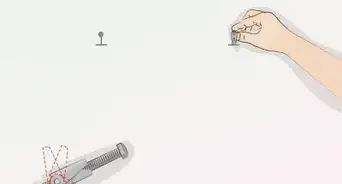
7Hang the ribbon on the wall. Select a spot on the wall to hang the scarf. Simply hammer a nail into that spot, then drape the ribbon over the nail. The scarf hangs flat, so its design is always visible.[5]
- The dowels can also hang from curtain rods or other spots.
- Scarves can hang from clothing hangers or shower curtain rings without a dowel. Slip the hanger onto a wall-mounted rod, then pull the scarf through the hanger. Pinning isn’t required this way.


Creating a Wall Plaque
-
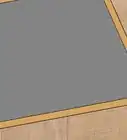
1Lay a piece of Styrofoam on a flat surface. Get a square or rectangular 1 in (2.5 cm) thick piece of Styrofoam from a craft store. The Styrofoam should be about 3 in (7.6 cm) shorter than the scarf on all sides.[6]
- Canvas can also be used in place of Styrofoam. It’s a stronger, less messy material that is easier to hang, but it can’t be cut down to a specific size. Use it by following the same steps.
-
2Spread the scarf over the Styrofoam. Drape the scarf over the Styrofoam, allowing the ends to hang off the sides. The scarf’s sides should overhang the Styrofoam by at least 3 in (7.6 cm). If the scarf doesn’t hang over enough, you will need a smaller piece of Styrofoam.[7]
- Instead of buying another piece of Styrofoam, try cutting larger pieces with a blade or alternative tool.
-
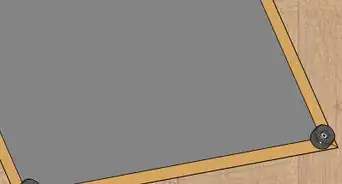
3Pin the scarf’s sides to the Styrofoam. Wrap 1 of the scarf’s ends tightly against the Styrofoam. Push straight pins through the fabric and into the Styrofoam’s sides. Tuck the scarf’s corners in and pin them in place too. Then, repeat this on the other sides.[8]
- Straight pins can be purchased at craft stores or wherever else sewing supplies are sold.
-
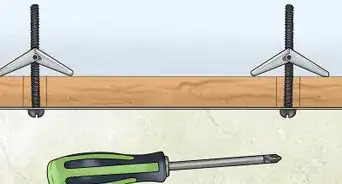
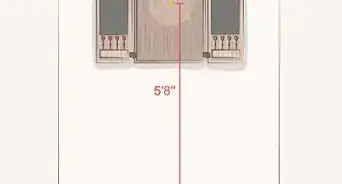
4Hammer a pair of nails into the wall. Choose a spot on the wall to hang the scarf, then prepare a pair of 1 in (2.5 cm) nails. Hang them where the center of the plaque will rest. Space the nails 2 in (5.1 cm) apart, side by side.[9]
-
5Hang the plaque on the nails. Line up the plaque so the Styrofoam touches the nails. The scarf itself should not come into contact with them. Push the plaque straight back to drive the nails into the Styrofoam. Let go and the plaque should hang in place.


Assembling a Shadow Box
-
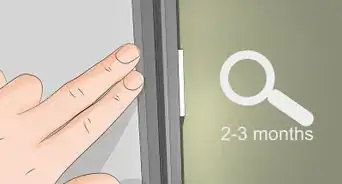
1Take apart a shadow box frame. Shadow Boxes are like picture frames that have compartments to display multiple objects. Most craft stores sell them in various sizes. Select a Shadow Box large enough to contain 1 scarf. Push the box’s glass out and set it aside for now.
- Instead of a shadow box, you can put the scarf behind a floating frame or plexiglass. Lay the scarf flat on the bottom frame, then place the top frame over it. You don’t have to trim the scarf.[10]
-
2Lay the scarf against the back of the box. Fold the scarf as needed to get it into the box. This scarf is a background for anything else you place in the box. Press the scarf against the box’s back end to flatten the fabric as much as possible.[11]
- If you are using a smaller box and a scarf you don’t plan on wearing, you can trim the scarf to size using scissors.
-
3Glue the scarf in place. Pick up a tube of fabric glue from the craft store. Squeeze the glue underneath the scarf, then pat the scarf flat against the box's back liner. Spread glue underneath the rest of the scarf until it is secured to the back of the box.[12]
-
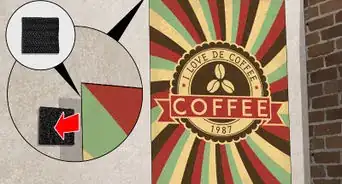
4Fill shadow box compartments with more material. At this point, the shadow box is ready to be hung on the wall. However, you can add extra decorations to the box's small compartments. Fill them with other scarves, keepsakes, and mementos to create a unique piece of art.[13]
- For example, you can cut small pieces off other scarves and glue them on top of the first scarf.
- You can fill the shadow box with pictures, postcards, shells, or other objects. Get creative, and use glue dots, pins, and wires to secure everything to the scarf.
-
5Replace the glass and hang the shadow box. Set the glass on top of the Shadow Box. Everything underneath the glass should stay in place. Use the grooves in the back of the box to place nails in the wall. Then, slide the box onto the nails.


Things You’ll Need
Making a Dowel Hanger
- Wood dowels
- Handsaw
- Iron
- Upholstery tacks
- Ribbon
- Scissors
Creating a Wall Plaque
- Styrofoam or canvas
- Straight pins
- Nails
Assembling a Shadow Box
- Shadow Box
- Fabric glue
- Scissors
- Nails


References
- ↑ https://homesteady.com/how-10022337-decorate-bedroom-walls-scarves.html
- ↑ https://homesteady.com/how-10022337-decorate-bedroom-walls-scarves.html
- ↑ https://www.apartmenttherapy.com/diy-ideas-using-fabric-for-wall-art-225665
- ↑ https://homesteady.com/how-10022337-decorate-bedroom-walls-scarves.html
- ↑ https://www.shelterness.com/50-scarves-storage-ideas/
- ↑ https://homesteady.com/how-10022337-decorate-bedroom-walls-scarves.html
- ↑ https://www.today.com/home/how-create-beautiful-budget-art-your-closet-t102486
- ↑ https://www.apartmenttherapy.com/diy-ideas-using-fabric-for-wall-art-225665
- ↑ https://homesteady.com/how-10022337-decorate-bedroom-walls-scarves.html
- ↑ https://www.today.com/home/how-create-beautiful-budget-art-your-closet-t102486
- ↑ https://homesteady.com/how-10022337-decorate-bedroom-walls-scarves.html
- ↑ https://homesteady.com/how-10022337-decorate-bedroom-walls-scarves.html
- ↑ https://www.realsimple.com/home-organizing/home-improvement/create-shadow-box#do-it-yourself
About This Article