This article was co-authored by Jason Phillip. Jason Phillip is a handyman specializing in mounting and hanging objects onto walls. With over five years of experience professionally mounting and installing objects through his company, Jason's Handyman Services, Jason's work includes working with mounting window AC units, designing art gallery walls, installing kitchen cabinets, and replacing light fixtures on drywall, brick, and plaster. He has been rated a "Top Pro" every year since 2016 by Thumbtack for being one of the highest-rated, most popular professionals on Thumbtack.
This article has been viewed 250,353 times.
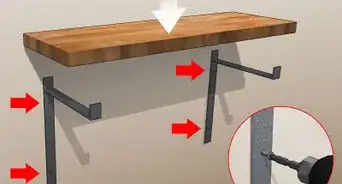
Whiteboards are an excellent tool, whether you are writing your meal plan for the week, or preparing a lesson plan for your Kindergarten classroom. Although some whiteboards are designed to be used with a tripod or stand, most are created to be hung on a wall to better facilitate use. Hanging your whiteboard may be done in 3 ways, each of them dependent upon the space you are in and the amount of alteration you are permitted to do to the walls. These include screwing the board directly into the wall, using temporary hooks, and using industrial-strength sticker patches.
Steps
Hanging With Screws
-
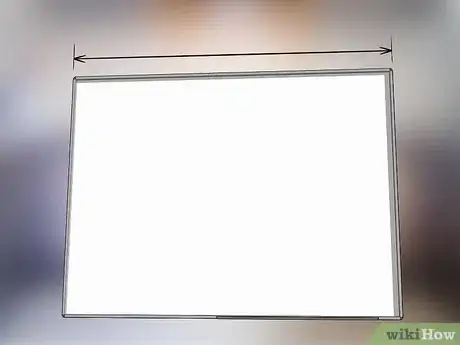
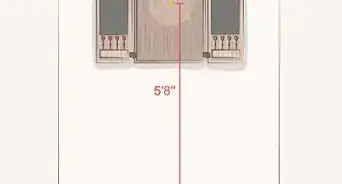
1Measure the width of your whiteboard. Before you determine where to hang your whiteboard, measure its width.This will help you determine where to place the screws so they will effectively screw into the studs.[1]
- If you have three studs, be sure to divide your measurements into threes. If you have two, divide into two, and so forth.
-
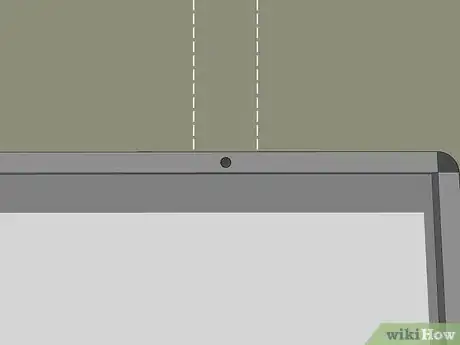
2Locate studs within the wall. Drywall alone is not enough to hold up a whiteboard, so using a stud finder (or through simply knocking on the wall), identify the location of the studs adjacent to your chosen space. Mark the studs to refer back to.
- To use a stud finger, place the finder flush against the wall, press the button, and slide it along the wall until you hear a “beep” indicating that a stud was located.
- Measure the area between the studs, as well, to help you determine where to drill.
Advertisement -
3Drill a hole through the top and bottom of your whiteboard. Drill a hole into the top and bottom of your whiteboard, measuring the area to align with your studs. This is particularly crucial if your whiteboard has a metal frame, rather than a wooden one, as metal will not allow a screw to be drilled directly into it.[2]
- Make sure you use a drill bit that matches the size of your screws.
-
4Align the pre-drilled holes with studs. Place the pre-drilled holes against the wall in line with the studs you found. You can hold your board up by yourself, if it is small, or prop it up with a table or ladder if it is large.
- You can also hold the board with one hand and screw the whiteboard into the wall with the other, if coordination allows.
-
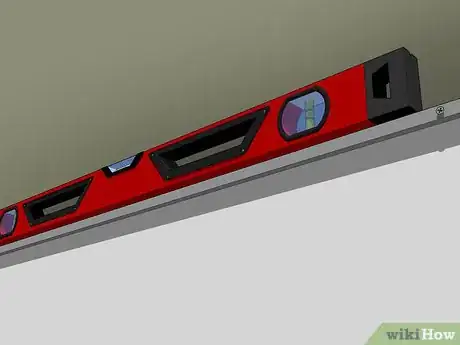
5Place a level on top of your whiteboard. Before you place all of the screws into the wall, place a level on top of your whiteboard to make sure the top of your board is even. If it is not, quickly alter your placement.
- You can tape your level to the top of the whiteboard to hold it in place as you try to maneuver it.
-
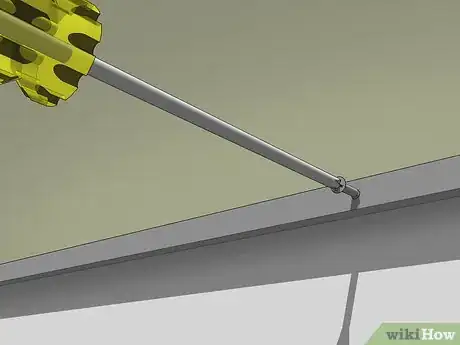
6Place screws through the holes and into the studs. Line your screws up with the holes you've drilled. Pressing firmly, screw your whiteboard into the wall with an electric drill, trying to keep your screws as even as possible.
- If you find your arm slipping, or the screw going in sideways, stop and start again, keeping the screw steady and straight.
- If you accidentally mess up on a hole, you can lift your whiteboard a few inches higher to hide the mistake.
Using Whiteboard Hooks
-
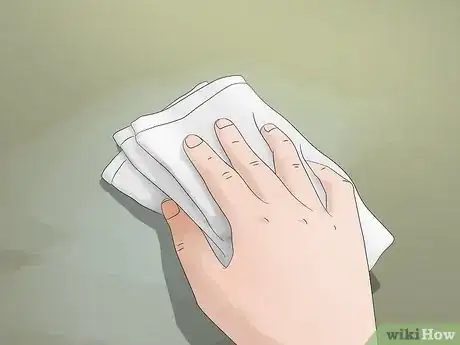
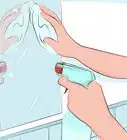
1Locate and clean a spot on the wall. Locate a spot on your wall that will fit your dimensions, and give it a quick wipe down with some water--or water and vinegar, if it is particularly dirty. Allow the space to dry before you continue.
- To expedite the drying process, you can wipe the area with a clean, microfiber cloth. Terrycloth might leave behind residue that would make sticking difficult.
-
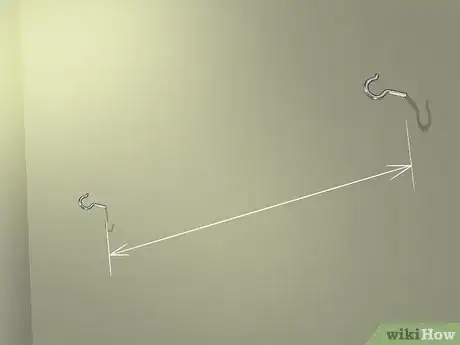
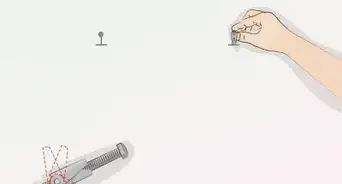
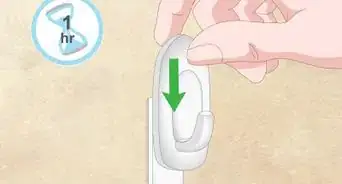
2Stick your hooks to the wall. Whether you are using sticker hooks or screw hooks, place your hooks on the wall. Measure to make sure they are spaced evenly, and placed at the right height.
- When you place your hooks, determine whether you want them to show above the board, or you want them to sit behind the board. This will determine where you place the eyelets.
- If you use screw hooks, refer to the steps in the previous method to make sure the hooks are installed properly.
-
3Measure the space between your hooks. Measure the space between the hooks to make sure the space between your whiteboard eyelets will line up. This measurement has to be exact, and the space between all hooks should be measured.
-
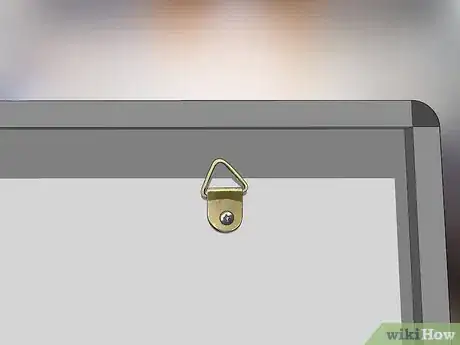
4Affix eyelets to the back of the whiteboard. Using the measurements taken in the previous step, affix your loops or eyelets to the back of your whiteboard, making sure they are straight and pressed firmly to the frame.[3]
- Place your eyelets as straight as possible, as even a slight slant can make your board sit cock-eyed on the wall, or can make the hook unusable.
-
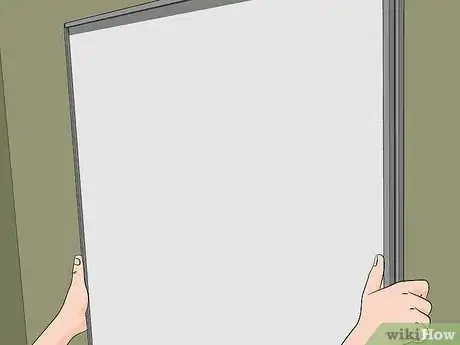
5Hang your board. Using the hooks and eyelets, hang your board on the wall. Place a level on top to ensure your board is straight. Check to make sure each hook is properly inserted into each eyelet; only having one or two hooks properly installed will weaken your board's stability.
Employing Industrial-Strength Adhesive
-
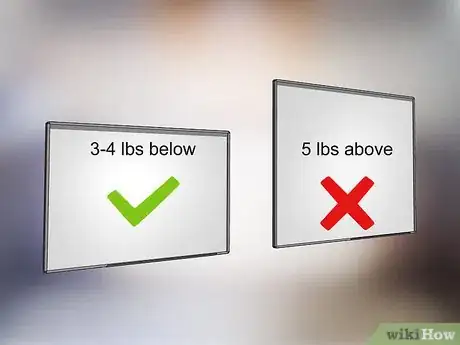
1Weigh your whiteboard. Adhesive patches are intended for use on smaller objects. If your whiteboard weighs more than 3-4 pounds, an adhesive may not be strong enough to use. If it is under 3-4 pounds, you can hang it without risking damage to your wall.
- If you aren't sure how much your whiteboard weighs, you can use a kitchen scale, or you can stand on your own scale with the whiteboard in hand, then without, and subtract the difference.
-
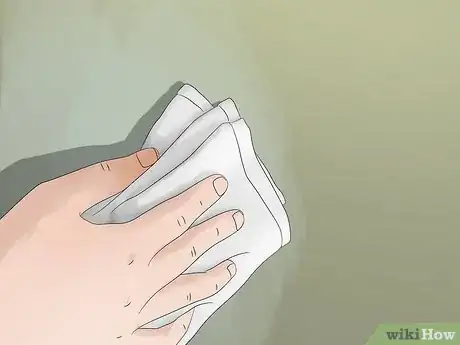
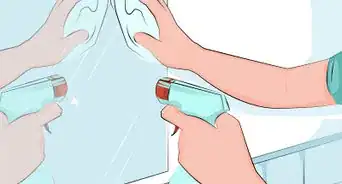
2Wash your wall. Before you begin hanging, watch your wall thoroughly, using water and vinegar, or a mixture of water and dish soap. Adhesive cannot stick to dirt, so you should not try to hang using adhesive on a dirty wall.
- Make sure the wall has dried completely, then wipe down with a dry cloth to pick up any grease or dirt left behind after the initial wash.
-
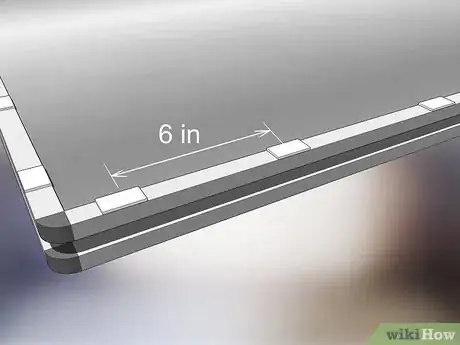
3Place a sticker patch every 6-8 inches. To make sure your board has an adequate amount of support, place an adhesive strip every 6-8 inches on your board.[4] If your board is large, also place a strip midway down the height of your board.
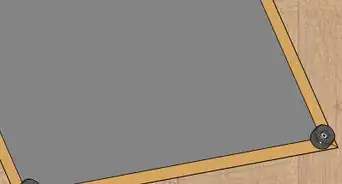
- If your board is small, place an adhesive strip in all four corners to ensure stability.
-
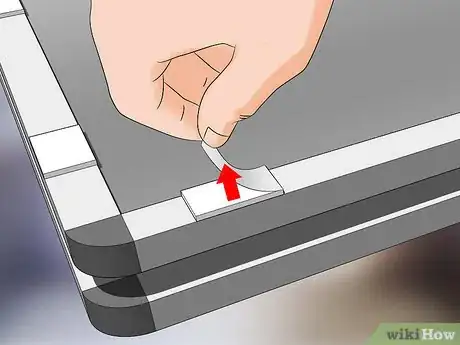
4Remove the backs of the patches. Once the adhesive strips have been placed on the board itself, expose the adhesive intended for the wall.[5] Do this step right before placing it on the wall, as industrial-strength adhesive attracts all manner of dust and debris.
- If possible, remove a single adhesive strip at a time, and press it into the wall immediately.
-
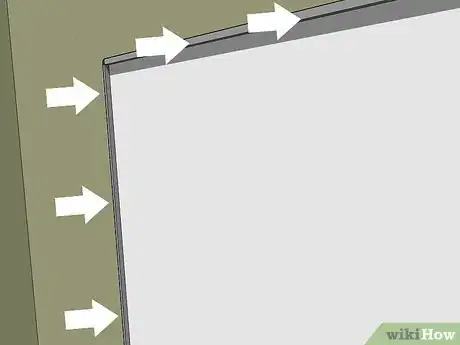
5Press the patches firmly to the wall. Making sure the whiteboard is level, press it into the wall, stopping to push each individual sticker firmly against the wall. Although the adhesive is stronger than a simple strip of scotch tape, it does rely upon heavy pressure to achieve a firm hold.[6]
- You don't need to hammer the adhesive, but pushing against the adhesive for 30 seconds will help it stay in place.
-
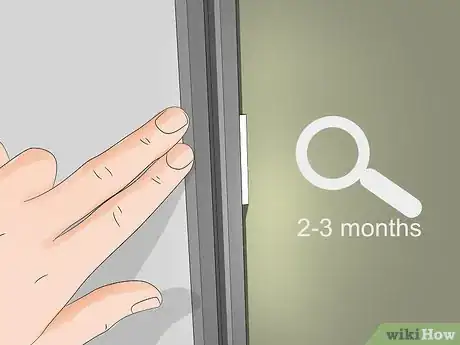
6Check the stickers every 2-3 months. To make sure your whiteboard doesn't come crashing down unexpectedly, check the adhesive strips every 2-3 months, pressing them into the wall if you see any separation.
- Some paint peels away gradually, so you may need to reapply some of your adhesive strips periodically.
Expert Q&A
-
QuestionWhat if I can't mount the whiteboard to studs?
 Jason PhillipJason Phillip is a handyman specializing in mounting and hanging objects onto walls. With over five years of experience professionally mounting and installing objects through his company, Jason's Handyman Services, Jason's work includes working with mounting window AC units, designing art gallery walls, installing kitchen cabinets, and replacing light fixtures on drywall, brick, and plaster. He has been rated a "Top Pro" every year since 2016 by Thumbtack for being one of the highest-rated, most popular professionals on Thumbtack.
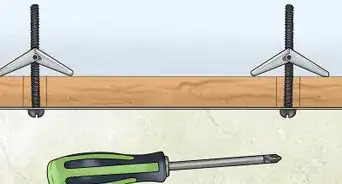
Handyman If you don't have studs where you want to mount the whiteboard, you could use a drywall screw or a molly anchor, instead.
Warnings
- Do not try to hang a large whiteboard with stickers or flimsy plastic hooks, as your whiteboard will likely fall and could cause an injury.⧼thumbs_response⧽
- Never screw into the wall without checking for a stud first. You run the risk of tearing through the drywall.⧼thumbs_response⧽
- When dealing with power tools, always use protective eyewear.⧼thumbs_response⧽
References
- ↑ http://lifehacker.com/5829198/how-to-hang-pictures-without-destroying-your-walls
- ↑ https://www.youtube.com/watch?v=q84ztAItvqE
- ↑ http://www.apartmenttherapy.com/how-tol-hanging-frames-with-tw-61257
- ↑ https://www.youtube.com/watch?v=58fNFbISNTw
- ↑ https://www.youtube.com/watch?v=58fNFbISNTw
- ↑ https://www.youtube.com/watch?v=58fNFbISNTw
About This Article
While some whiteboards can be used with a tripod or stand, most are created to be hung on a wall. You can hand your whiteboard by screwing it directly into the wall, using temporary hooks, or applying industrial-strength sticker patches. If you decide to hang your whiteboard with screws, you’ll need to drill holes through your whiteboard and find studs in your wall to screw the board into. Alternatively, to hang your whiteboard with hooks, affix eyelets to the back of your whiteboard and hang them on screw-in or adhesive hooks on your wall. For whiteboards that are less than 3 or 4 pounds, place sticker patches to the back of the board and firmly press it onto the wall. To learn how to measure your space to figure out the best spot for your whiteboard, keep reading!
