This article was co-authored by James Mansfield. James Mansfield is a Construction and Design Specialist and the CEO of WestVillage General Contracting, a high-end and luxury design/build firm in New York City. James specializes in apartment, bathroom, and kitchen remodeling as well as fine cabinetry, lighting, paint, and wallpaper. James has developed a proprietary system of construction called the Luxury Build Method that hinges on a skilled team, respected partnerships, and clear, transparent communication. WestVillage GC has completed more than 500 commercial and residential projects in New York with designers such as David Scott Interiors and Fox Nahem, Kelly Behun. WestVillage GC is also a preferred contractor for Related buildings including Hudson Yards.
There are 11 references cited in this article, which can be found at the bottom of the page.
wikiHow marks an article as reader-approved once it receives enough positive feedback. In this case, several readers have written to tell us that this article was helpful to them, earning it our reader-approved status.
This article has been viewed 441,305 times.
Installing drywall, also known as sheetrock, rock, or wallboard, is an important part of building a house. Before the widespread use of drywall, it would take long amounts of time to build a foundation that would hold paint or wallpaper. Now, you can easily install your own drywall in hours, depending on how large the room is.
Steps
Selecting Your Drywall
-
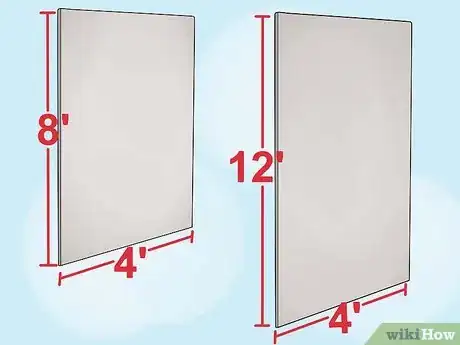
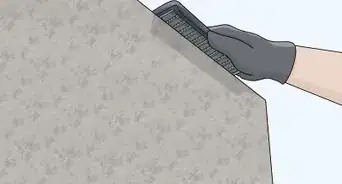
1Understand that drywall typically comes in 4'x8' sheets. Larger 4'x12' sheets are available, but are harder to work with and are usually used by professionals with a few extra hands. These larger sheets tend to break easily during transport to the job site, although they typically require less work because the larger sheets mean fewer joints to tape.[1]
- Drywall is normally installed horizontally but can be installed vertically if desired.
-
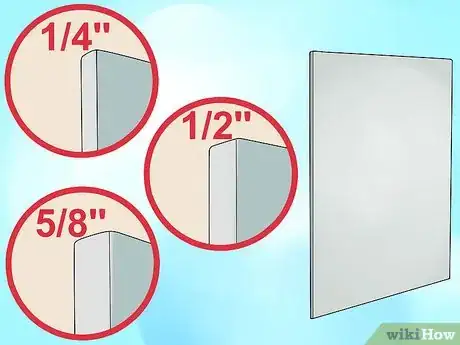
2Know that thicknesses range from 1/4" - 5/8," with 1/2" being the most popular. The 1/4" sheets are often used as overlays to existing drywall and are not intended to be used in new construction. Check your local building code for requirements in your area.Advertisement
-
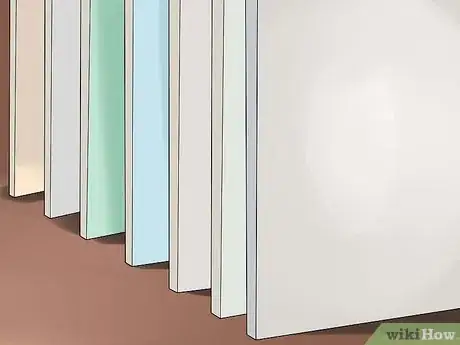
3Pay attention to the composition of your drywall. When selecting drywall, use compositions that fit the environment they will be installed in. For instance, there are various moisture resistant products commonly called "green rock" designed for installation in high moisture areas such as garages and bathrooms. Check your local building supply store before committing to purchase.[2]
- Green rocking the whole house may be overkill, but could be helpful in high moisture areas, such as bathrooms, as long as it's not used to line the bathtub or shower. Green rock drywall is not great in places where it is likely to get wet. Use glass-reinforced cement board around the shower or bath tiles instead.
Inspecting the Installation Site
-
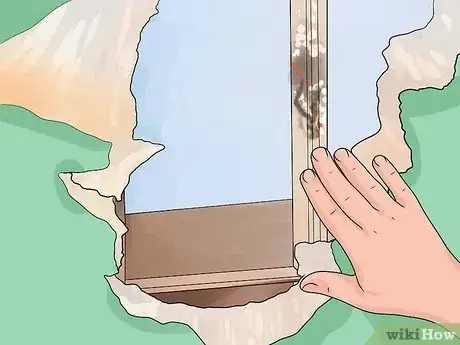
1Prep the wall area so it will take your drywall. Remove all old drywall, nails, screws and anything else that will prevent the new drywall sheets from laying flat on the studs.
-
2Inspect for and repair hidden damage. Check that loose blocking, moisture damage, termites, or other problems will not make installation a problem. Don't be surprised to find steel studs instead of wood. Steel studs are generally a good thing since steel provides added strength, and is termite-proof and fire-retardant. When using steel studs, the only difference is that you'll have to use drywall screws instead of nails when hanging the drywall.[3]
-
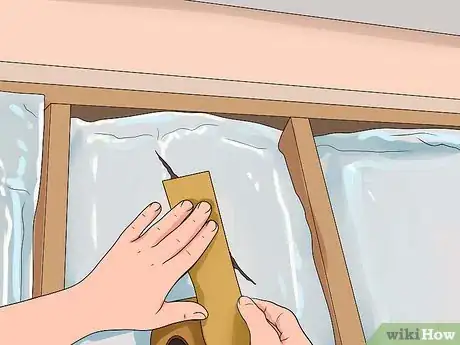
3Inspect the insulation that is stapled to the studs. Use Kraft tape to repair tears in the paper backing to maximize your energy efficiency.
-
4Use triple-expanding foam to seal cracks and gaps on exterior walls. Look for foams that are permanent, rigid, non-shrinking, and waterproof/water resistant. Do not apply foam in or around doors or windows.
Measuring and Cutting Drywall for the Ceiling
-
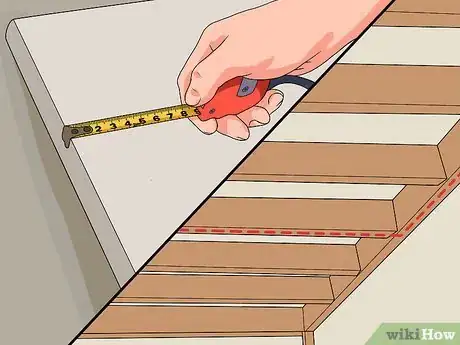
1Measuring out from a corner, measure your drywall so its end lands on a strapping piece or joist. Never leave an end piece of drywall unsupported. The end piece of drywall should always be screwed down to a strapping piece or joist.[4]
- If your drywall does not end on a strapping piece or joist, try this:
- Measure to the center of the farthest support piece the drywall gets to and transfer that measurement to the drywall.
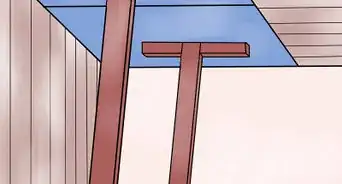
- Place a T-square along the line in your drywall and run a razor along that straight line created by the T-square.
- Break the end piece off from the scoring line.
- Double-check the end of the drywall makes it to the center of the strapping piece or joist.
- If your drywall does not end on a strapping piece or joist, try this:
-
2Run a bead of glue down each strapping or joist over which drywall will be placed. Do this right before you intend to hang the drywall.
-
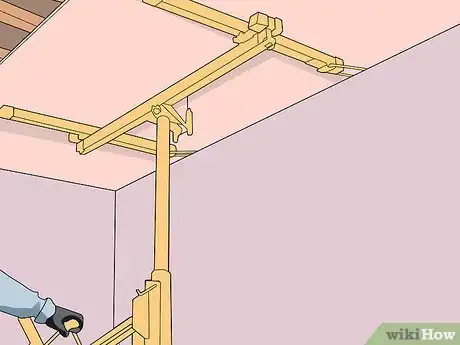
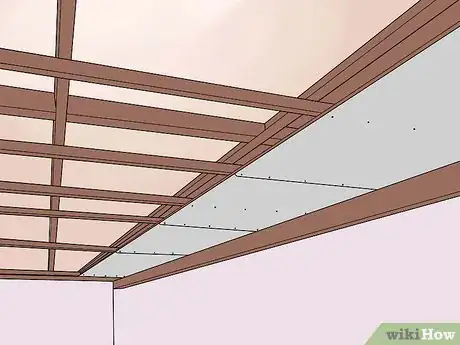
3Hoist the drywall panel up onto the ceiling, starting from a corner. You want the edges to be perpendicular to the strapping or joist and tight against the wall.[5]
-
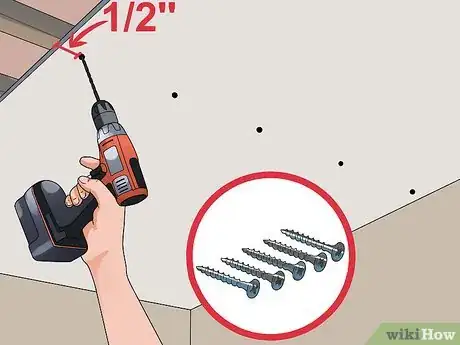
4Drive five screws, in a single line, across the middle of the drywall piece and into a a single strapping or joist. Repeat this process for each strapping or joist underneath the drywall.
- Make sure the five screws are evenly spaced along the strapping or joist.
- Leave 1⁄2 inch (1.3 cm) buffer zones on edges when driving screws. Do not screw too close to the edge of the drywall.
- A drywall gun will make it a lot easier to screw down the drywall.[6]
- Drive the screw heads down past the top of the drywall, but not so deep that they break through the surface.
-
5Continue gluing, hoisting, and screwing drywall in this manner until one row of the ceiling has been completely covered. Start the next row at the edge of the wall, next to the previous row, but make sure the end joints of the drywall offset the first row by at least 4 feet (1.2 m).
Measuring and Cutting Drywall for the Wall
-
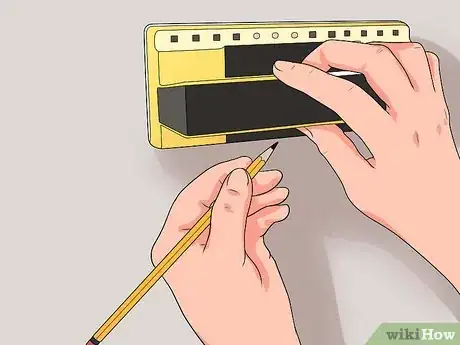
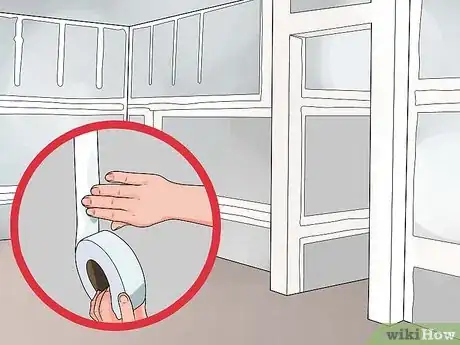
1Mark the location of all studs using a stud finder. Don't trust that your studs will all be on 16" or 24" centers, as they are supposed to be. Some studs are 1/2" off in either direction, sometimes due to sloppy carpentry work by the builder. A good idea is to run masking tape along the floor while you have the studs exposed and mark the center line of each stud with a high visibility marker.
-
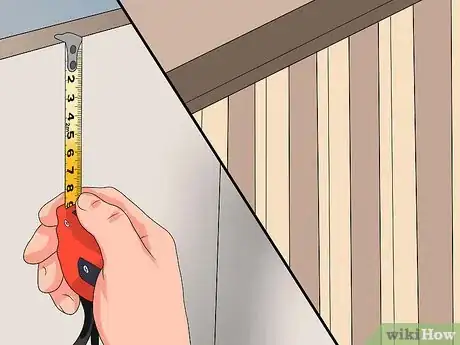
2Measure the wall against a piece of drywall to determine whether its end piece will fit in the center of a stud. Again, it's likely that you will have to cut some pieces of drywall in order to center the end pieces onto a stud.
- When cutting drywall, use a T-square and razor knife to score a line on one side of the drywall paper. Place your knee on the opposite side of the cut and quickly pull the drywall piece towards you while at the same time pushing your knee outward, snapping the drywall in a clean line. Clean up the remaining paper along the newly formed crease with your razor.
-
3Run a bead of glue down each strapping or joist over which drywall will be placed. Do this right before you intend to hang the drywall.
-
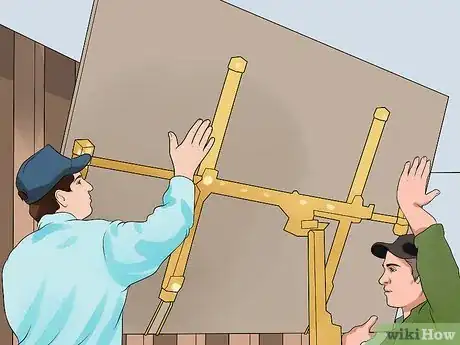
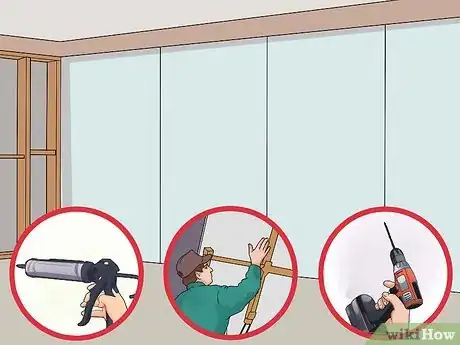
4With help, hoist the drywall on the wall, and using the drill, install five screws in the stud at the center of the drywall panel. Start in the center and work outwards. Drive in five screws for each stud.
- Extra screws may help in some situations, but are usually overkill; they will require extra mudding and sanding that may detract from the overall finish.
- Consider using a spring-loaded drywall screw dimpler. They are designed to automatically countersink each drywall screw to precisely the same depth before ratcheting the screw bit, as a sign to quit and back off the drill.
-
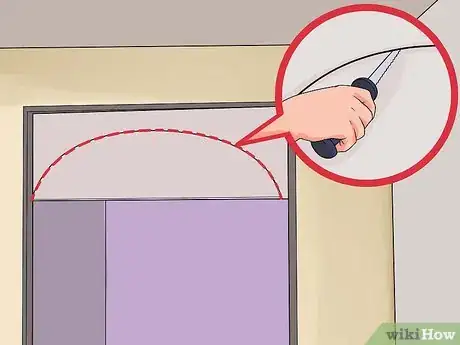
5Use a drywall saw to make cuts along irregular openings such as arches. Continue installing drywall over window and door openings. You'll be able to trim off excess drywall later. At the same time, be mindful that no seams line up with a door or window corner, and do not fasten panels to framing around openings yet.
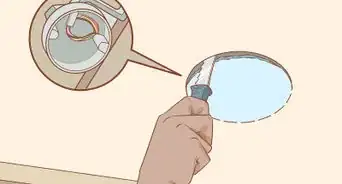
- A good practice when installing drywall over protruding pipes is to place the drywall against the pipe and lightly tap with a flat block of wood to dimple the back. Next, pull the drywall away and use a drywall circle cutter or drywall hole saw to cut a perfect hole along the dimple. This should be much easier to finish than if you punch out a large hole that requires 3-4 coats of mud to finish.
-
6Continue gluing, hoisting, and screwing drywall in this manner until one row of the ceiling has been completely covered. Start the next row at the edge of the wall, next to the previous row.
-
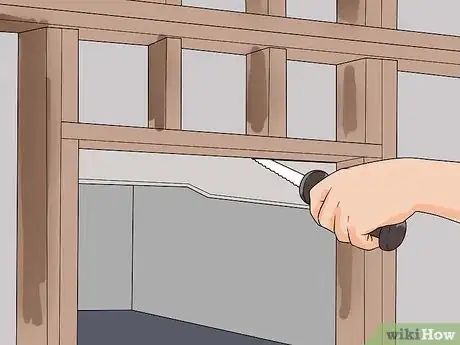
7Cut out any drywall that has been hung over window or door frames. Fasten the drywall down around the window or door, and then cut out the proper section using a rotary drill or drywall saw.
Mudding and Taping Drywall
-
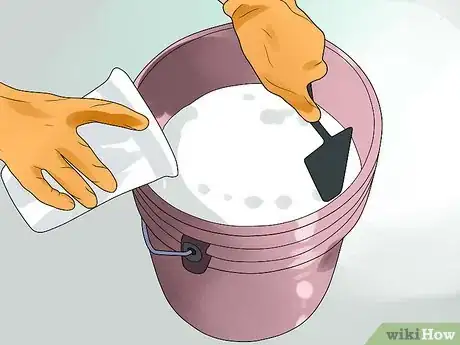
1Mix your initial coat of drywall compound, or mud, to the consistency of sour cream. Having the first coat of mud, which you'll apply directly over the seam, a bit runnier than normal will allow the tape to bond well with the mud.
-
2Use a drywall knife to apply a liberal amount of mud to a seam. You don't have to worry about getting it perfect the first time through; you'll wipe off the excess after you apply the tape. Make sure you cover the seam entirely.
-
3Put drywall tape over the entire joint you applied the mud to. Use your 6" or 8" drywall putty knife to flatten the tape, starting at one end and pulling towards you in one smooth motion.[7]
- Have your drywall tape pre-cut and lightly dampened with clean water. You don't need to soak it down too much.
- Some contractors avoid the perforated and fiber tapes, as they don't produce a flawless finish and require gobs of extra mud and sanding to get the job done right. Do what works best for you and fits in your budget.
-
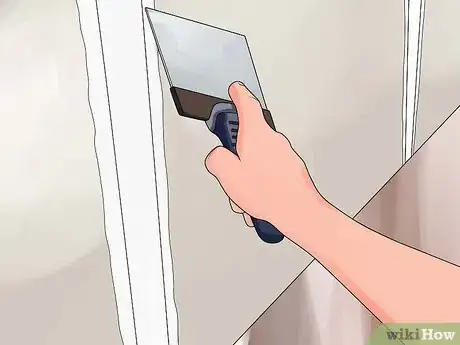
4Wipe off the mud around the tape with your drywall knife. Wipe off excess mud so the surface of the seam is smooth and flattened.
-
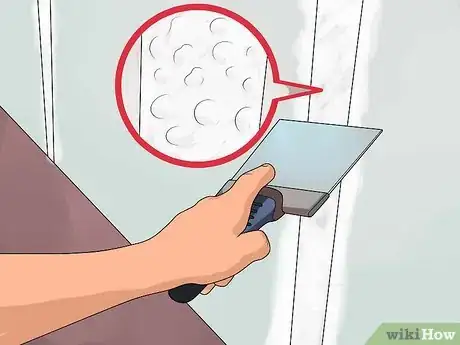
5Inspect your recently taped joint for air bubbles. Wet your blade and flatten then out with another swipe if needed.
-
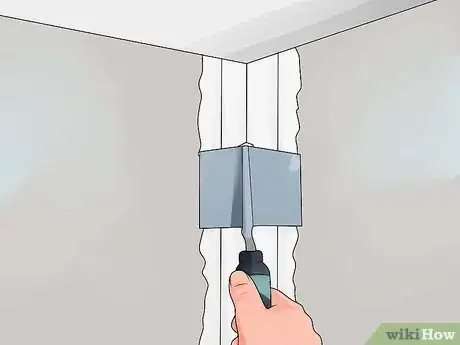
6For corner beads, consider using a corner tool that is available for both inside and outside corners. This will give your job a professional finish.
- Apply mud and tape in a similar manner. Apply liberal amount of compound. If it isn't already, crease your tape perfectly in the center and reinforce the crease a couple of times. Apply the tape so that the center of the crease fits directly into the corner of the wall. Wipe away excess compound with your drywall knife.
-
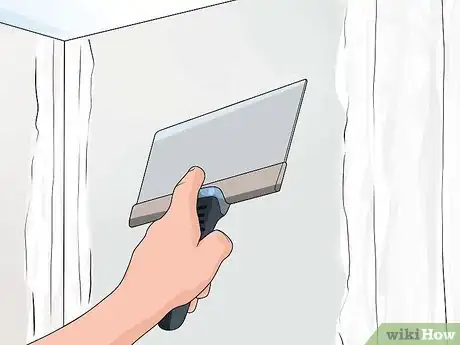
7Apply at least two to three more coats using a slightly wider putty knife for each application. Let the mud dry between each coat. It will bubble if you rush it!
- Many thin coats of mud will give you better results, but patience is required to let it dry.
- Don't apply any mud over freshly taped joints. Allow them to thoroughly dry for one day between coats unless you are using hot mud that will dry in an hour. A great idea is to use pink mud that dries white, indicating it is ready for another coat.
-
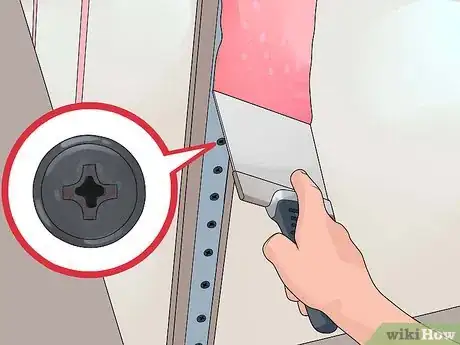
8Don't forget to apply a swipe coat over each screw. You shouldn't notice any edges after screening the mud over a joint line or screw dimple. Make sure to hold the blade flat against the drywall and pull towards you in smooth but firm strokes. Practice on an old piece of drywall to refine your technique.
- Screed some mud over any small imperfections in the drywall that may occur during installation such as missed nail/screw holes.
-
9Repeat for each joint until all joints are taped.
Sanding and Finishing
-
1Use a pole sander with drywall sandpaper to sand the hard-to-reach joints after the final coat has dried. Don't get carried away and sand until you expose the paper. This step goes quickly because the mud will sand off easily.[8]
-
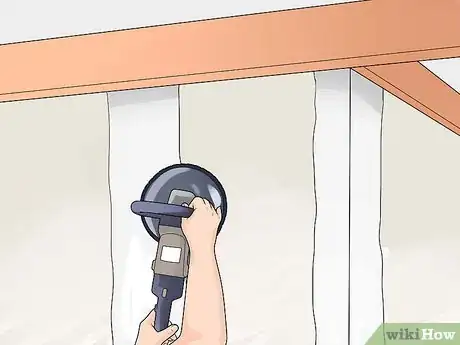
2Use a handheld drywall sander with fine-grit sandpaper to hit everything else. Again, caution is key here. A quick couple of scrapes over the joints is all you need.
-
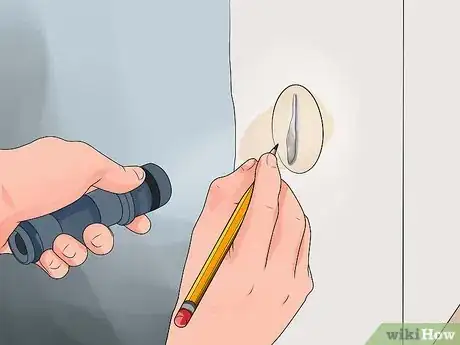
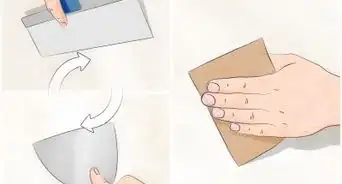
3With a handheld light and pencil, go over any surface with compound on it and inspect for flaws. The light will help you spot imperfections. Circle any problem areas with the pencil. Use a sponge sander or hand sander to briefly hit any flawed areas.[9]
-
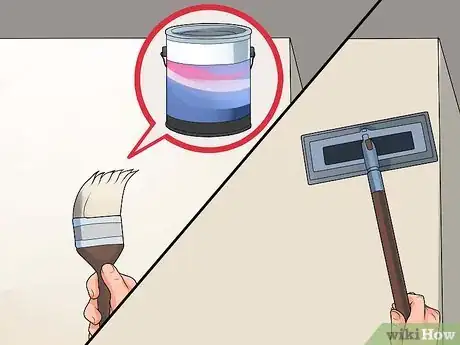
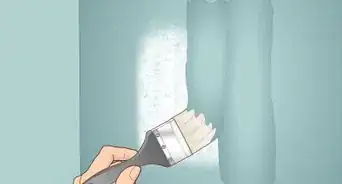
4Prime the walls, then sand again. Apply a coat of primer to the walls, then sand the entire area lightly using a pole sander. Although most beginners skip this step, it's critical for getting a nice, even finish and for avoiding fuzzy paper residue and fluff left over from the initial sanding.
-
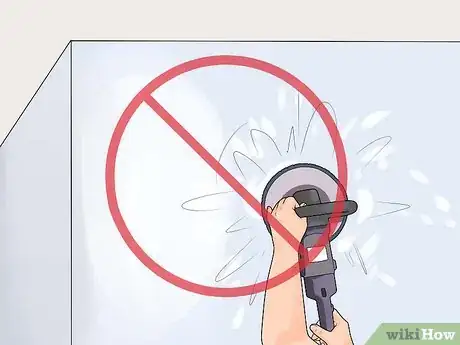
5Don't over-sand. Sanding can be satisfying and fun, but sometimes people sand unnecessarily, sanding through tape. If this happens, apply some more mud and re-sand it when it dries.
Expert Q&A
-
QuestionWhat tools do I need for working with drywall?
 James MansfieldJames Mansfield is a Construction and Design Specialist and the CEO of WestVillage General Contracting, a high-end and luxury design/build firm in New York City. James specializes in apartment, bathroom, and kitchen remodeling as well as fine cabinetry, lighting, paint, and wallpaper. James has developed a proprietary system of construction called the Luxury Build Method that hinges on a skilled team, respected partnerships, and clear, transparent communication. WestVillage GC has completed more than 500 commercial and residential projects in New York with designers such as David Scott Interiors and Fox Nahem, Kelly Behun. WestVillage GC is also a preferred contractor for Related buildings including Hudson Yards.
Construction & Design Specialist Use a dedicated sheetrock gun—it works on pressure, so the bit won't spin until you put pressure on the screw. Also, go with a cordless drill—you won't get caught up in the cable and it's a lot easier. You also need a good quality framing square, lots of sharp knives, and an accurate laser tape measure.
 -
QuestionHow do I finish 'blunt' edges?
 Community AnswerAfter the tape has dried, run drywall mud about a quarter inch deep on both sides of the tape. Use paper tape -- mesh will crack on the butts. Let it dry, sand out the lap marks and reapply the mud two more times, sanding between coats.
 -
QuestionCan drywall be used in an unheated cottage?
 Community AnswerSure, as long as you don't insulate the cottage and thereby trap moisture and breed mold. Personally, I'd install cement board instead, as it is stronger and won't be affected by humidity. Either way, do it right. The only right way to install anything on the walls is vertically or parallel with studs, joists, or rafters if framed conventionally.
Warnings
- Drywall breaks easily, so when you carry it, don't let the middle bow down too much.⧼thumbs_response⧽
Things You'll Need
- Measuring tape
- Drywall
- Drill
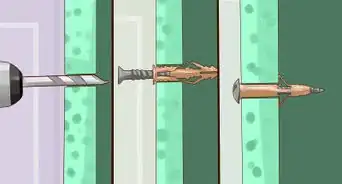
- Drywall screws (coarse screws for wood, fine thread screws for metal studs)
- Drywall screw dimpler
- Level
- Drywall tape (paper tape is preferred)
- Drywall mud
- Drywall mud topcoat for final coat
- Plastic or metal drywall mud tray
- Razor knife
- 6" putty knife
- 10" drywall putty knife
- Drywall pole sander
- Medium grit drywall sandpaper
- Fine grit drywall sandpaper for finish coat
References
- ↑ https://toolsfirst.com/what-is-drywall/
- ↑ http://www.madehow.com/Volume-2/Drywall.html
- ↑ https://www.familyhandyman.com/drywall/drywall-installation/common-drywall-installation-mistakes-and-how-to-avoid-them/
- ↑ https://www.thisoldhouse.com/how-to/how-to-hang-drywall
- ↑ https://www.familyhandyman.com/drywall/drywall-installation/how-to-hang-drywall-like-a-pro/
- ↑ James Mansfield. Construction & Design Specialist. Expert Interview. 13 May 2021.
- ↑ https://www.familyhandyman.com/drywall/taping/how-to-tape-drywall-joints/
- ↑ https://www.bobvila.com/articles/how-to-sand-drywall/
- ↑ https://www.familyhandyman.com/drywall/drywall-sanding-tips-and-techniques/
About This Article
To install drywall, start by removing all of the old drywall, nails, screws, and anything else that will prevent the new drywall sheets from laying flat against the studs. Next, seal any cracks or gaps that you see with triple-expanding foam and mark the location of all studs using a stud finder. Then, cut the drywall pieces to size and screw the panels into your wall. Finally, apply the drywall compound along the joints to secure the panels. For tips on sanding the newly installed drywall, read on!
