wikiHow is a “wiki,” similar to Wikipedia, which means that many of our articles are co-written by multiple authors. To create this article, volunteer authors worked to edit and improve it over time.
This article has been viewed 46,918 times.
Learn more...
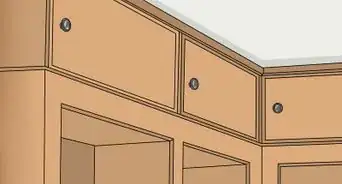
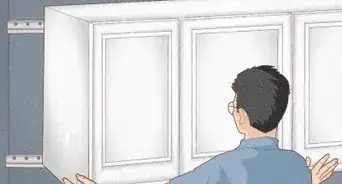
Installing new cabinet drawer fronts is great way to give your kitchen or bathroom an updated look without the expense and hassle of replacing your cabinets. It is a project that you can do yourself in just a few steps with without a lot of carpentry knowledge. There are 3 types of cabinet drawer fronts: solid, applied and false. False drawer fronts are decorative panels used on sink or cook top cabinets. Here you can find out how to replace your cabinet drawer fronts using any of these styles. Just follow these steps and learn how to install a new cabinet drawer front.
Steps
Solid Cabinet Drawer Fronts
-
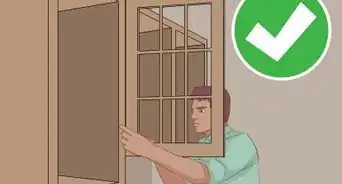
1Cut off all of the wood that extends out from the drawer box with a handsaw so that all sides are flush with the drawer box. Solid cabinet drawer fronts come in 3 sizes and will fit over most existing drawer boxes.
- Clamp the drawer to keep it from moving while you cut if desired.
- If the old drawer front is in 2 pieces, you will want to remove the screws or nails that attach the decorative face panel and discard it.
-
2Drill pilot holes on the inside of the new drawer front.Advertisement
-
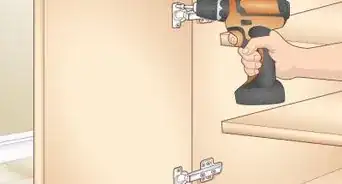
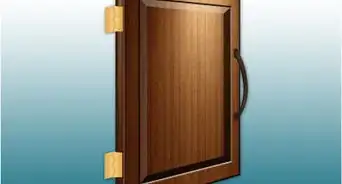
3Fit the new drawer front over the existing drawer box and attach it by drilling screws into the pilot holes.
- Be sure that the new drawer fronts overlap the drawer box equally on all sides.


Applied Cabinet Drawer Fronts
-
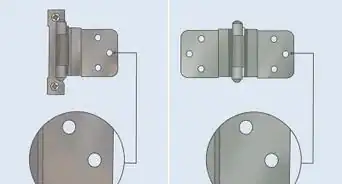
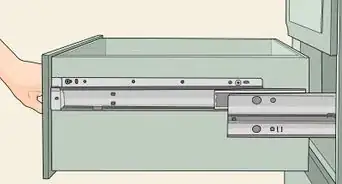
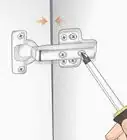
1Unscrew the old drawer front panel and remove it. Applied drawer fronts are screwed to the drawer box and therefore can be entirely removed without any cutting or fitting.
-
2Drill pilot holes into the inside of the new drawer front.
-
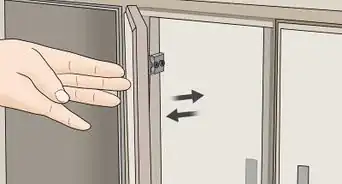
3Screw the new drawer front onto the drawer box by drilling screws into the pilot holes.
- Be sure that the new drawer fronts overlap the drawer box equally on all sides.


False Cabinet Drawer Fronts
-
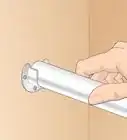
1Cut 2 blocks of wood with a handsaw. Make the blocks approximately 2 inches (5.8 cm) taller than the opening of where the false drawer front will go.
-
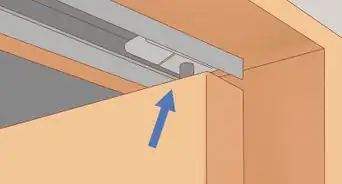
2Screw these blocks into the inside of the cabinet opening, 1 inch (2.54 cm) above and below the opening.
-
3Attach the false drawer fronts to the blocks of wood from the inside of the cabinet with screws.
- Be sure that the false drawer fronts overlap the opening equally on all sides.


Community Q&A
-
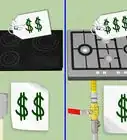
QuestionHow do I replace a drawer base?
 Community AnswerUnscrew it from the wall, unscrew it from its neighbor cabinets, and unscrew/unglue from any counter top in order to just slide it right out. If you're not lucky, then you'll have to remove the counter top to get it out and put its replacement in. You may also just replace drawer glides and drawer fronts to have fewer and deeper drawers that work brand new.
Things You'll Need
- Handsaw
- Clamp (optional)
- Drill
- Screwdriver