This article was co-authored by Lui Colmenares. Lui Colmenares is a handyman and licensed home improvement contractor for Mr. Handy NYC based in New York City, New York. Lui is trained and educated as an industrial engineer and specializes in carpentry, painting, and general handyman work such as mounting TVs, doorknob and deadbolt installation, furniture assembly, tile repair, and grouting. Mr. Handy NYC prides itself on quality work performed with speed, skill, and punctuality.
There are 7 references cited in this article, which can be found at the bottom of the page.
This article has been viewed 132,116 times.
Putting up a closet rod is an easy project that can improve the organization of your closet immensely. In order to successfully install a closet rod, you first need to get the necessary supplies and tools. Once you have them, you can measure and mark where the rod should go in your closet. Then you will be able to attach the rod so that it remains solidly in its ideal position for years to come.
Steps
Preparing for Installation
-
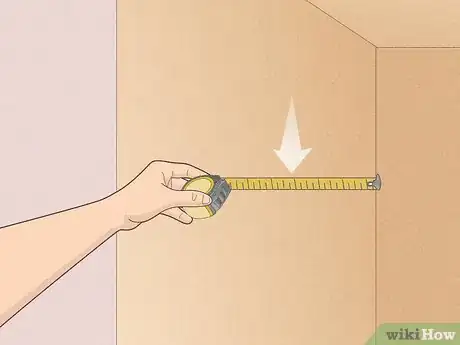
1Measure the width of the closet. Before you purchase your closet rod, you need to know how long it has to be. Every closet varies, so it's important to measure the width of your specific closet with a tape measure so you can purchase the correct length.[1]
- One common mistake when installing closet rods is to cut them too short.[2]
- Make sure you measure the width of the closet in the area where the rod will be installed. The width of another area, such as the bottom of the closet, could vary dramatically from the upper part of the closet where the rod will be located.
-
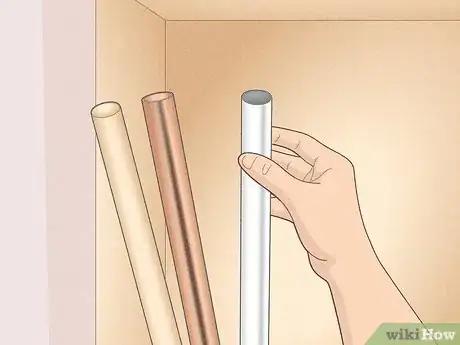
2Consider various types of closet bars and purchase one. There are a wide variety of closet bars available at most home improvement and hardware stores. In general, you can choose between metal and wood. You will also have the option of getting a solid bar or one that is adjustable.[3]
- Many home improvement stores also stock closet bar kits. These kits include all of the parts you will need to put up your bar: the bar, sockets, and anchors.
- Whatever type of closet rod you choose, make sure it is the right length. Solid rods can be cut to length, but there are also many adjustable rods that can work in a variety of closets.
Advertisement -
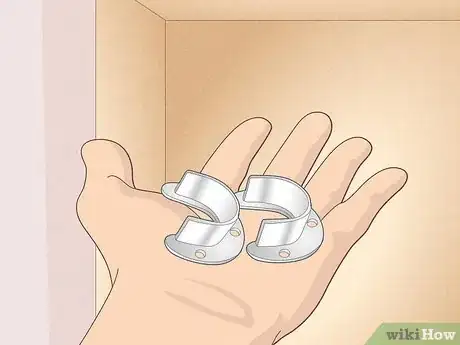
3Purchase rod sockets. To install a closet bar you insert the ends of it into sockets that are attached to the wall. These sockets come in a wide variety of styles and are usually made of either metal or wood. If you choose a metal socket, you can typically also choose from several finishes, including silver and white.
- Some rod sockets are attached to shelf brackets. These can be used to hold the rod and to put a shelf above the rod area.
-
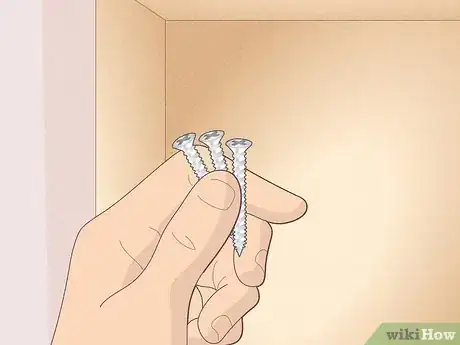
4Get wood screws and the attachment tools you will need. In order to put the closet bar up securely, you will need to anchor it appropriately. Many sockets come with screws, but if yours don't, you will need to purchase some separately. You will also need a few tools to attach the clothes bar. These include a drill, a screwdriver, and a saw for adjusting the length of the bar and cutting structural support pieces.
- Typically, you will need at least 3 wood screws that are about 1 inch (2.5 cm) long for each socket.
Positioning the Rod Correctly
-
1Choose an appropriate height for the rod. In order to make the closet rod truly helpful, put it at a height that makes it accessible and useful. In general, it's a good idea to mount a single rod at 5 feet (1.5 m) tall. A double rod set up should have the bottom rod mounted at 3.5 feet (1.1 m) and the upper rod mounted at 7 feet (2.1 m).[4]
- If there is a shelf above the rod, you should make sure the rod is at least 2 inches (5.1 cm) below the shelf.[5]
- To figure out how high to put your clothes bar, first think about what you will use it for. For example, if you want to hang long dresses off of a bar, you need to hang it pretty high. If you simply want to hang shirts off of the bar, you can put it at a more moderate height.
-
2Decide how deep you want the bar to be. It's important to have it back far enough so that the hangers and clothes that are on the bar will clear the door. However, you also need enough room behind the closet rod for the hangers to clear the back wall. In most cases, having the bar 10 inches (25 cm) off of the back wall works well.[6]
- To ensure that the rod is positioned correctly, hold a hanger up on the inside of the closet so the hook is at the height you want the rod to go. Position the hanger so it is fully inside the closet and even has a few inches of clearance from the door. Then make a mark at the center of the hanger hook on the wall of the closet. This will give you your proper depth.
- If you have a particularly deep closet, you can put your bar even deeper.
-
3Mark both sides of the closet. Once you have figured out the ideal height and depth for your bar, mark where the brackets will go on both sides of the closet. Measuring up from the floor with a tape measure, make a small preliminary mark at the correct height and approximately the right depth on one side of the closet. Then pull the measuring tape up and check the depth of your mark. Adjust your mark so that it continues to be at the correct height and is now at the right depth as well.[7]
- Repeat this process on the other side of the closet as well.
- To check your work, measure from the ground, the ceiling, the front, and the back of the closet on both sides. Your marks should be at the same point on both sides.
-
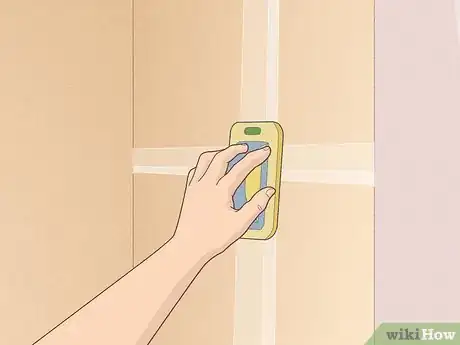
4Check for adequate structural support at your marked positions. Closet bars need to be able to support a large amount of weight. To make sure they don't fall because of this weight, it is important to screw them into studs in the wall. The easiest way to find studs in a wall is to use a stud finder.[8]
- You can also run a strong magnet along the wall to look for screws or nails that are in studs.
- If the wall is concrete, use expandable anchors that are rated high enough to hold the closet rod and everything you might want to hang from it.[9]
- Look at the top and bottom trim on the wall. They are likely nailed into the studs, so if you can see nail heads, you can identify where the studs are.[10]
-
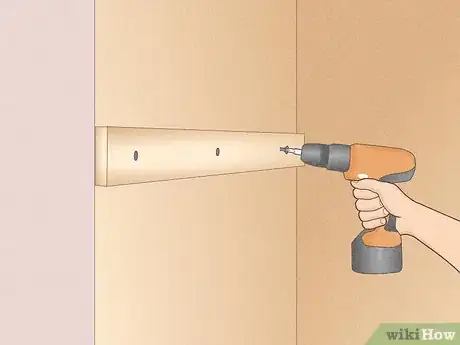
5Add wood supports to the closet walls if needed. If the locations you have marked for the bar sockets do not have studs behind them in the wall, you will need to add supports to the wall.[11] This is done by attaching 1 by 5 inches (2.5 cm × 12.7 cm) pieces of wood along the wall that the sockets can then be attached to.[12]
- To put up structural support, measure the depth of the side walls of the closet. Cut two pieces of wood that are 1 by 5 inches (2.5 cm × 12.7 cm) to that depth. Then screw them into the studs on the side walls, making sure that their center point is the height you want your clothes bar to be at. These will give you a solid base where you can attach your clothes bar.
Installing the Rod
-
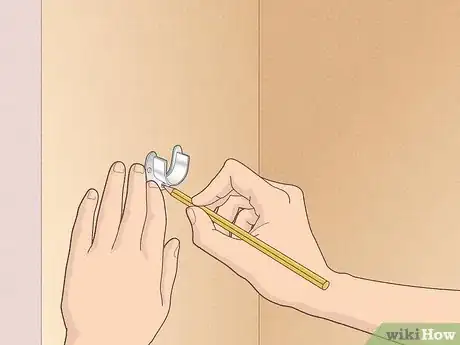
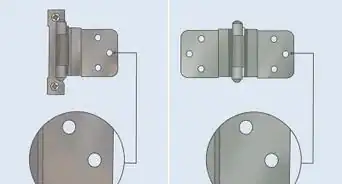
1Mark for screw holes. In order to attach the sockets to the wall, first hold them up and mark the screw holes with a pencil. The socket that is a solid circle can be placed in any position, but the one that has an open side cannot. You need to make sure that the open section is facing straight up.[13]
- Once you are holding the socket in the proper position on the wall, mark the inside of the screw holes with a pen or pencil. Then you can take the socket off the wall.
-
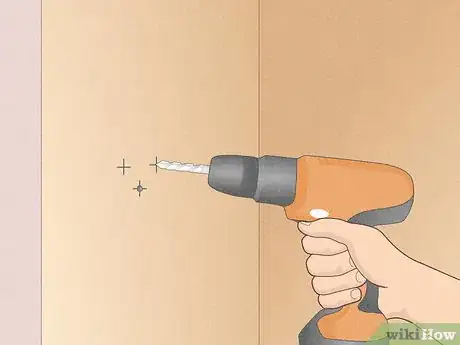
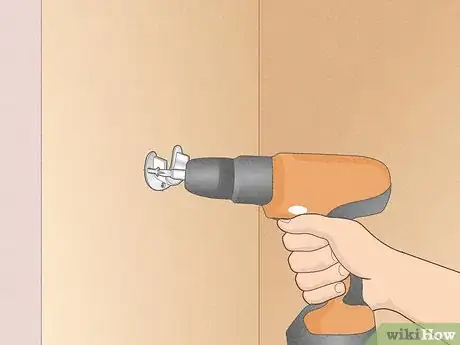
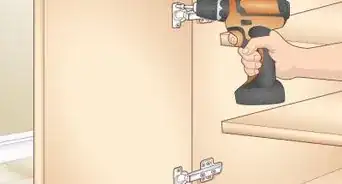
2Drill pilot holes. Use a 1⁄4 inch (0.64 cm) drill bit to put holes into the surface-mounted wood or the studs where you have made your marks. Drilling pilot holes will help prevent the wood from splitting when you attach the screws.[14]
- Before drilling your holes, look at the length of your screws. You only need to drill the holes this deep.
-
3Attach the sockets. Once the pilot holes are drilled, you can place the sockets on the wall, positioning them one at a time on top of the pilot holes. Then attach them with the screws you purchased.[15]
- Make sure that the screws are completely inserted. If the heads stick out at all, it could impact your ability to get the rod into place.
-
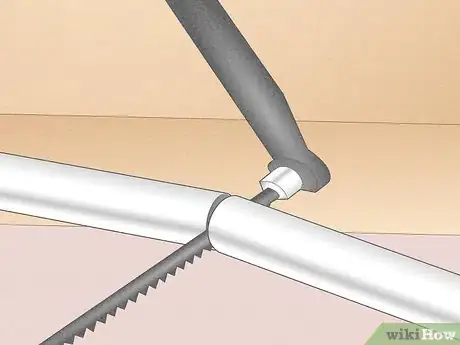
4Adjust the length of the rod. If you have a rod that needs to be cut down, do that now. Double check the length you need and then use a saw to cut the rod. If the rod you bought is adjustable, adjust it to the correct length following the included instructions.[16]
- Be sure to double check your measurement before cutting the closet rod. If you accidentally cut the rod too short, it will be useless and you will have to purchase another one.
-
5Insert the rod. How you insert the rod depends on what type of sockets you have purchased. However, with the most common kind you simply insert one end of the bar into the socket that is a solid circle and then drop the other end of the bar into the opening of the socket that has an open side.
- Once the rod is in place, make sure it feels secure by pulling down on it a little. If it feels strong, you can start to hang your clothes up!
Expert Q&A
Did you know you can get expert answers for this article?
Unlock expert answers by supporting wikiHow
-
QuestionHow do you install a closet rod without studs?
 Lui ColmenaresLui Colmenares is a handyman and licensed home improvement contractor for Mr. Handy NYC based in New York City, New York. Lui is trained and educated as an industrial engineer and specializes in carpentry, painting, and general handyman work such as mounting TVs, doorknob and deadbolt installation, furniture assembly, tile repair, and grouting. Mr. Handy NYC prides itself on quality work performed with speed, skill, and punctuality.
Handyman
Things You'll Need
- Rod
- Sockets
- Anchors
- Wood
- Tape measure
- Saw
- Screwdriver
- Drill
References
- ↑ https://www.knapeandvogt.com/sites/default/files/Closet%20Planning%20Guide.pdf
- ↑ Lui Colmenares. Handyman. Expert Interview. 18 August 2020.
- ↑ https://www.knapeandvogt.com/sites/default/files/Closet%20Planning%20Guide.pdf
- ↑ https://www.knapeandvogt.com/sites/default/files/Closet%20Planning%20Guide.pdf
- ↑ http://www.diynetwork.com/how-to/rooms-and-spaces/storage-space/how-to-install-a-closet-rod
- ↑ http://www.hgtv.com/remodel/interior-remodel/tips-for-taking-closet-measurements
- ↑ https://www.bobvila.com/articles/closet-rod-height/#.WneC30tryRs
- ↑ Lui Colmenares. Handyman. Expert Interview. 18 August 2020.
- ↑ Lui Colmenares. Handyman. Expert Interview. 18 August 2020.
- ↑ https://www.bobvila.com/articles/how-to-find-a-wall-stud/#.V7xbLGUUVYY
- ↑ Lui Colmenares. Handyman. Expert Interview. 18 August 2020.
- ↑ https://www.youtube.com/watch?v=wNQJXdqthmo
- ↑ https://www.bobvila.com/articles/closet-rod-height/#.WneC30tryRs
- ↑ http://www.diynetwork.com/how-to/rooms-and-spaces/storage-space/how-to-install-a-closet-rod
- ↑ https://www.bobvila.com/articles/closet-rod-height/#.WneC30tryRs
- ↑ https://www.bobvila.com/articles/closet-rod-height/#.WneC30tryRs
About This Article
To install a closet rod, all you need is a rod, rod sockets, screws, a basic tool kit, and a handsaw. If your rod’s too long, you’ll have to measure the closet width and saw the rod down to size. You’ll want to mount the sockets about 5 feet high and 10 feet from the back of the wall to give you enough space to hang your clothes. Once you’ve cut your rod to the right length, all you need to do is drill the holes in the closet walls, screw your sockets into place, then insert the rod. If your closet walls aren’t thick enough to support your rod, you’ll need to screw pieces of wood along the wall, then attach the rod sockets to the wood. For more tips, including how to check how much weight your closet can support, read on!


