X
wikiHow is a “wiki,” similar to Wikipedia, which means that many of our articles are co-written by multiple authors. To create this article, volunteer authors worked to edit and improve it over time.
This article has been viewed 40,732 times.
Learn more...
When replacing a new toilet or installing a new one, it is important to make sure the toilet you have will fit in the space provided. For the best quality and flushing power, you can install a Toto, which is a brand of toilet that originated from Japan.
Steps
-
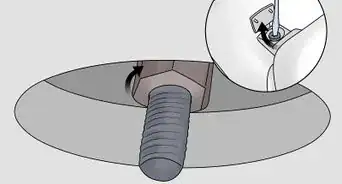
1Make sure that any and all debris is cleared away from the closet flange (the plastic or metal ring that surrounds the drain in the ground).
- Once clear, put in the mounting bolts, these will hold the toilet in place.
- Put the head of the bolt into the flange so that the threads face upward.
-
2Get the toilet bowl and turn it upside down. It may be good to place the toilet on some sort of fabric or even on your carpet to avoid damage to it.
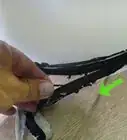
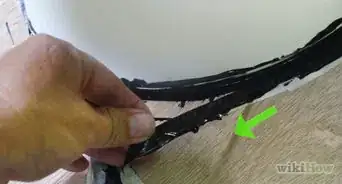
- Install the wax ring on the bottom of the bowl and then turn the bowl right side up.
- Line up the holes on the bottom of the bowl with the mounting bolts on the ground.
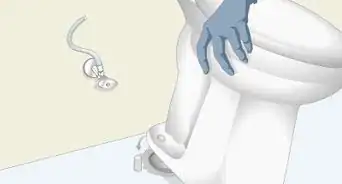
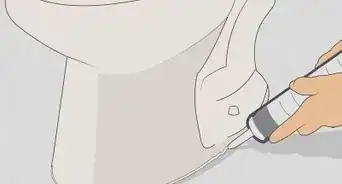
- Once your toilet is in the position that you want it to be and lined up, press it down to create a seal between the flange and the wax ring.
- Install the nuts on the threads of the mounting bolts.
- Make sure you tighten the nuts evenly (like you would when putting the wheels on a car).
- Also be careful not to tighten the bolts too much as they can crack the toilet bowl.
Advertisement -
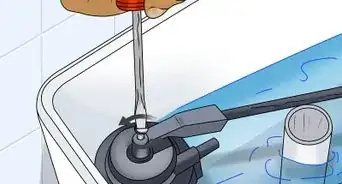
3Turn the tank around and make sure that all the nuts and gaskets are in their proper place, especially check the tank to bowl gasket.
- Install the tank to bowl nuts and bolts.
- Make sure that the rubber washer is between the head of the bolt and the bottom of the inside of the tank.
- Once you have both bolts in the tank, pick it up and attach it to the bowl.
- Line up the bolts in the holes of the toilet bowl.
- Hand tighten the bolts on the bottom of the bowl as far as you can, and then tighten them a little more with a wrench.
-
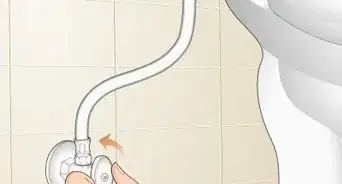
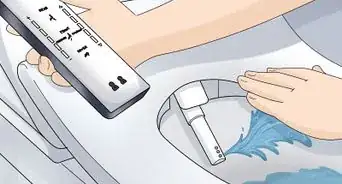
4Hook up the water supply (this can be a braided hose, plastic closet supply, or a chrome closet supply). The nut should thread onto the bottom of the tank where the ballcock is found. It is important to only hand tighten this connection since using a wrench can easily break the plastic threads of the ballcock. Open up the supply valve found on the wall or the floor so water can fill up the tank.
-
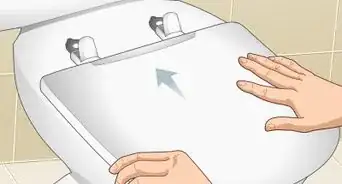
5Replace the tank lid. Once these steps have been accomplished and there aren’t any leaks detected, put the tank lid on top of the tank to protect the parts within it. Install your toilet seat.
- Make sure that it matches up with the kind of toilet you have (i.e. a round seat for a round bowl toilet).
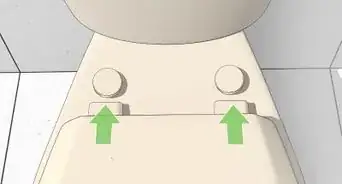
- Place the bolts through the holes provided on the toilet bowl.
- Hand tighten the nuts that go on the bottom of the seat and then use a screwdriver and wrench if needed to fully secure the seat.


Advertisement


About This Article
Advertisement