This article was co-authored by Patrick Johns. Patrick Johns is a Home Improvement Specialist and the Owner of CatchAll Handyman Services. With more than 28 years of experience, he has worked on a variety of home improvement projects, such as carpentry, plumbing, and door and window installations in both commercial and residential properties.
This article has been viewed 170,170 times.
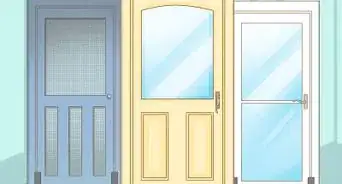
Whether you're starting a room from scratch or just want to replace an old or distressed door, installing a door is easy and fast. This project requires only a few tools, and most can be rented if you don't already own them. Just get started with Step 1 below to learn how to install an interior door.
These instructions are for a prehung door, or a door that's already attached to a frame with hinges. If you have a slab door instead and need to hang your door, see this article instead.
Steps
-
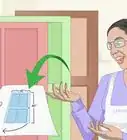
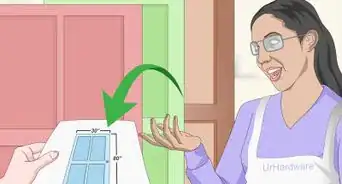
1Buy your door. Purchase a door to fit the rough opening in the wall.[1] Doors and door openings are generally standard sizes, generally 24-36". The framed-in rough opening for the door is always around 2" wider than the purchased door (not including the jamb around the door). This allows for adjustment when installing the door to achieve plumb "level".[2]
-
2Start getting things straightened out. Start by drawing a plumb line on the wall. Measure 1/2" in from the rough opening on the hinge side of the door. Using a 6' or 4' level draw a level line down the drywall. You can also use a laser level, which may be easier and more accurate (there are many models that can attach to a wall).Advertisement
-
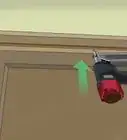
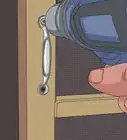
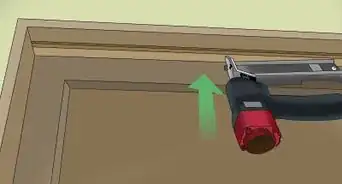
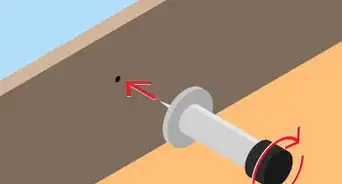
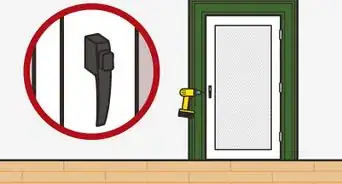
3Attach the door installation brackets. Attach 6 door installation brackets to the outside of the door jamb, the wood frame to which the door comes pre-attached. Place a bracket behind each of the three hinges. Attach the remaining three brackets on the the other side of the jamb. The first bracket should be 8" from the top, the next bracket just above the latch stop, and the final bracket 8" from the bottom of the door.
-
4Place the door into the opening on top of blocks or shims. Place 1/2" blocks under the door if a carpet or hardwood is going to be installed or 1/4" blocks if installing laminate. Never place the door directly on an unfinished floor.[3]
-
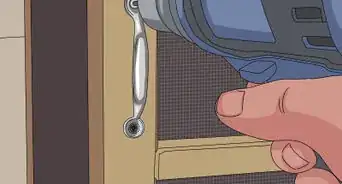
5Attach the brackets. Using the plumb line on the wall, screw in the top bracket on the hinge side of the door. Then screw in the next 2 brackets using the same reference notch as the first bracket. After the 3 brackets are screwed into the wall using the same reference notch for each, the door is now level. Now check the reveal (gap between door and door jamb) when screwing in each of the final 3 brackets. Start at the top of the door and check the reveal when screwing in the top bracket. Check the reveal when screwing in the final 2 brackets. The door will now be perfectly hung and the blocks under the door can now be removed.
-
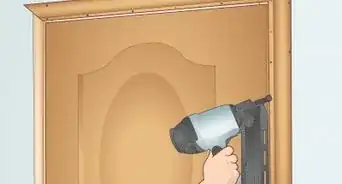
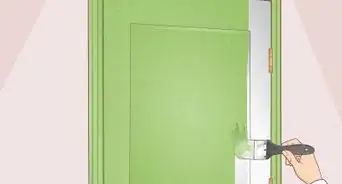
6Install the casing around the installed door. The casing, also called the trim, is the strips of wood that hide the joints and some parts of the hinge. Done correctly, the trim will perfectly conceal the door installation brackets.[4] Choose casing that compliments your style and cut it using mitered corners or other styles, depending on your preference.


Expert Q&A
-
QuestionHow tall is the average door?
 Patrick JohnsPatrick Johns is a Home Improvement Specialist and the Owner of CatchAll Handyman Services. With more than 28 years of experience, he has worked on a variety of home improvement projects, such as carpentry, plumbing, and door and window installations in both commercial and residential properties.
Home Improvement SpecialistMost doors are either 6 ft (1.82 m) or 8 ft (2.4 m) tall. If your door seems really tall, it's probably safe to assume that it falls in the 8 ft (m) category. -
QuestionHow do I determine if it's a left swing or right swing door?
 Community AnswerWhen you're standing outside the room looking in, the side that your hinges are on determines if it's a left inswing or right inswing door.
Things You'll Need
- Power Drill
- Pencil
- Level 4' or 6'
- Door Installation Brackets


References
- ↑ Patrick Johns. Home Improvement Specialist. Expert Interview. 26 October 2021.
- ↑ https://www.youtube.com/watch?v=h1nMWfLiQC4
- ↑ https://www.youtube.com/watch?v=h1nMWfLiQC4
- ↑ https://www.youtube.com/watch?v=ZAkGt7xvDUg
- ↑ Patrick Johns. Home Improvement Specialist. Expert Interview. 26 October 2021.
About This Article

To install an interior door, start by drawing a plumb line down the wall that's 1/2 inch from the opening of the doorway on the hinge side. Then, attach 6 installation brackets along the outside of the door jamb, placing a bracket behind each of the 3 hinges. Next, attach 3 brackets to the other side of the door jamb. Finally, place the door in the doorway, screw the brackets into the wall, and install casing around the door. For tips on how to buy an interior door, keep reading!