This article was co-authored by wikiHow Staff. Our trained team of editors and researchers validate articles for accuracy and comprehensiveness. wikiHow's Content Management Team carefully monitors the work from our editorial staff to ensure that each article is backed by trusted research and meets our high quality standards.
This article has been viewed 32,009 times.
Learn more...
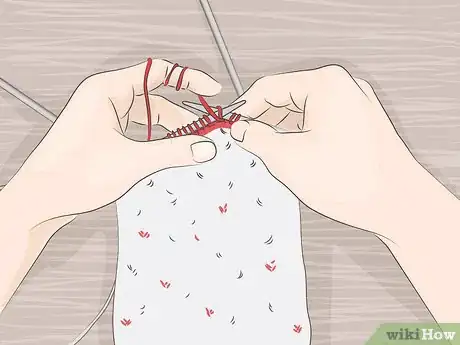
Christmas stocking knitting patterns range from beginner to advanced, but you can knit a basic stocking as long as you know how to do some basic stitches and knit in the round. You can design your own Christmas stocking using patterns for inspiration and the yarn colors of your choice, or you can follow a basic pattern to create a simple Christmas stocking. Try making a Christmas stocking for yourself, or as a unique gift for someone special.
Steps
Designing a Christmas Stocking
-
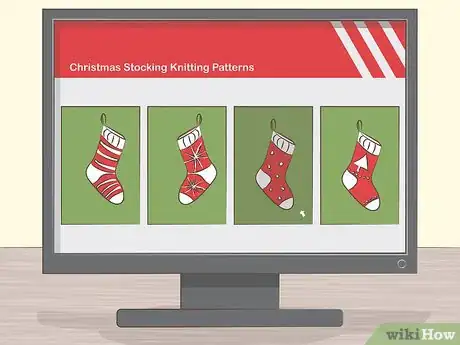
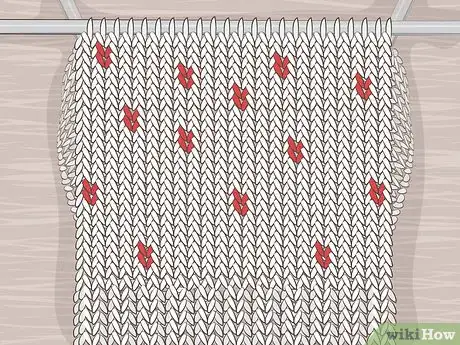
1Look at knitting patterns for guidance and inspiration. There are many different types of Christmas stockings you can make. You can use a pattern to inspire your design, or you can follow a pattern to the letter to get the same results. Browse through some knitting patterns for Christmas stockings to get inspired and find a helpful resource for this project.
- Make sure to choose a pattern that is appropriate for your knitting level. Knitting patterns range in difficulty from easy to difficult.
-
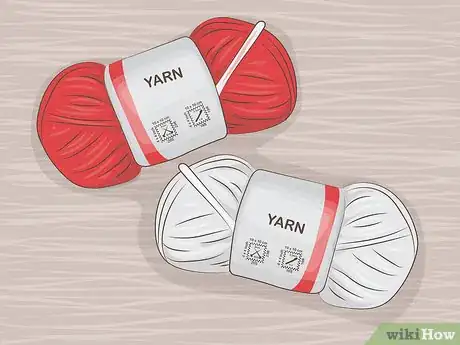
2Choose your yarn. Patterns will specify the type of yarn that you need to use to create the project, so check the pattern to see what type of yarn is recommended. However, you can choose colors that appeal to you. You can opt for traditional Christmas colors, such as red, green, white, and gold, or go for other colors that you like.Advertisement
-
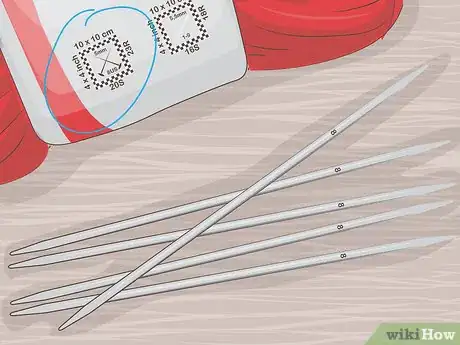
3Select needles that are appropriate for your yarn. The knitting pattern should recommend a needle size. However, if it does not or if you are not sure, check the yarn label. The yarn label will provide a recommendation for the best needle size to use with it. Since you will be working in the round, you will most likely need a set of double pointed needles.
Creating the Stocking Cuff
-
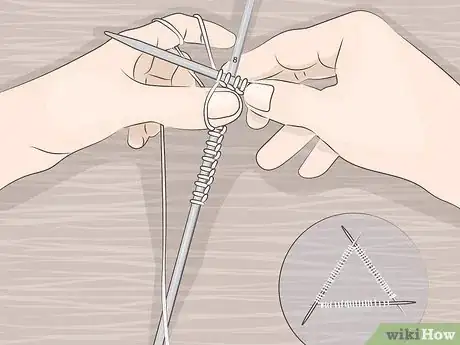
1Cast on the required number of stitches. Depending on the pattern you are using for your Christmas stocking, you will need to cast on a specific number of stitches. Check the pattern to find out how many stitches you need to cast on to start your project. As you cast on your stitches, divide them evenly among 3 double pointed needles.[1]
- If you are using size 7 (4.5 mm) needles with a medium worsted weight yarn, then you would need to cast on 68 stitches.[2]
-
2Use the rib stitch for the first 2 inches (5.1 cm). The rib stitch alternates between knitting 1 stitch and purling 1 stitch.[3] Knit 1, then purl 1, and repeat this all the way around the round. Work the first 4 to 6 rounds in the rib stitch using a single color of yarn. This will give the top of the stocking some form and stretch.[4]
- You may want to place a stitch marker at the beginning of the first round so that you know where your round begins and ends.
-
3Knit the rest of the cuff. After you have finished the ribbing, knit the rest of the length of the cuff. You may make the cuff of the stocking as long or as short as you like, but you may want to aim for at least 6 inches (15 cm) of length. You may change colors every couple of inches if desired, or work the cuff all in one color.[5]
Shaping the Heel
-
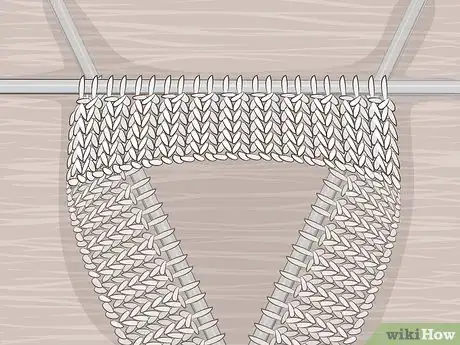
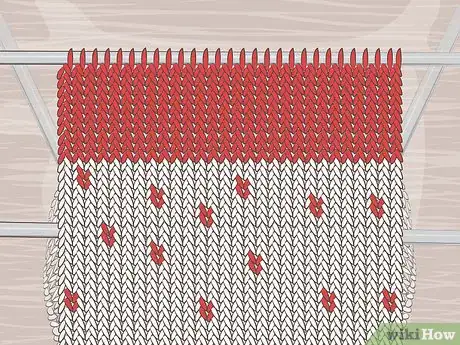
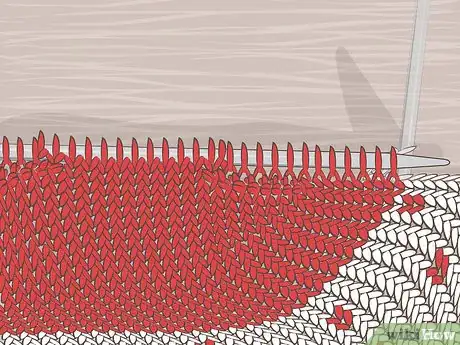
1Move half of the stitches onto one needle. Take ¼ of your total stitches from the first double pointed needle and ¼ of your total stitches from the last double pointed needle and transfer them onto 1 needle. You will then work back and forth across this needle in rows to extend the heel section of your stocking.[6]
- For example, if you have a total of 68 stitches, then you would need to transfer 17 stitches from the first needle and 17 stitches from the last needle onto a single needle.
- You will not be working the rest of the stitches for a while, so you may want to secure them on the other 2 needles using end caps. These are small eraser-like cones that you can stick onto the ends of needles to ensure that your stitches stay put.
-
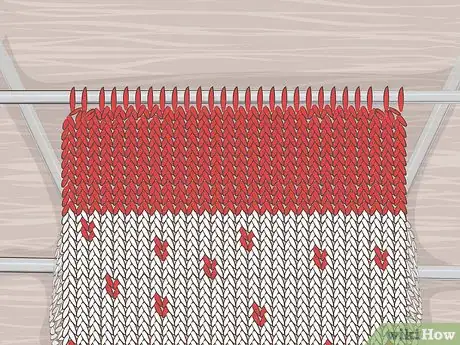
2Slip a stitch and knit to the end of the first row. Take the first stitch from your needle with all of the stitches on it and slip it onto your other needle. Then, knit to the end of the row and turn your work around.[7]
-
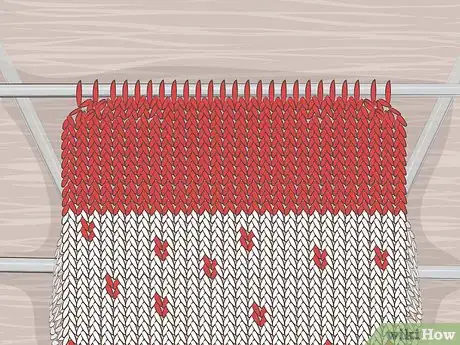
3Slip a stitch and purl to the end of the second row. Slip the first stitch onto the empty needle. Then, purl to the end of the row. Turn your work around again.[8]
-
4Repeat this sequence until the heel measures 2.25 inches (5.7 cm). Keep working back and forth across the same row to extend the heel portion of the stocking. Repeat the last 2 rows until your heel piece measures 2.25 inches (5.7 cm).[9]
-
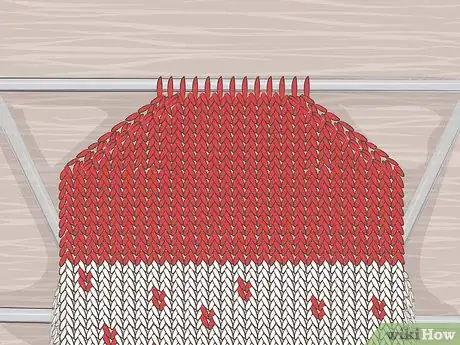
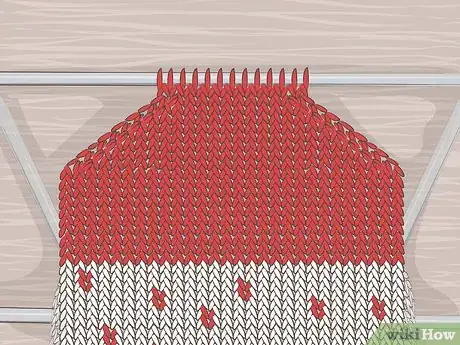
5Slip a stitch, knit, knit 2 together, and knit 1. When your heel piece measures 2.25 inches (5.7 cm), start decreasing by 1 stitch each row. For the first row, slip 1 stitch over from the needle with all the stitches on it to the empty 1, and then knit until you only have 3 stitches left. Then, knit 2 stitches together for a decrease, and then knit the last stitch.[10]
-
6Slip a stitch, purl, purl 2 together, and purl 1. Next, slip 1 stitch over to the other needle, and then purl until there are only 3 stitches left in the row. Then, purl 2 stitches together and purl the last stitch.[11]
-
7Repeat this sequence for 6 more rows. Repeat the last two rows in sequence for 6 more rows or a total of 8 rows. This will continue to shape the heel section of your stocking.[12]
-
8Knit across the row. After your 8th row, knit across the row. However, do not turn the work around when you reach the end of the row.[13]
-
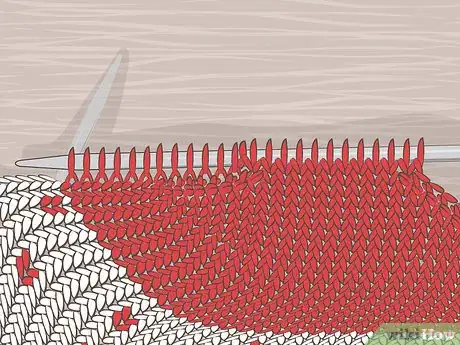
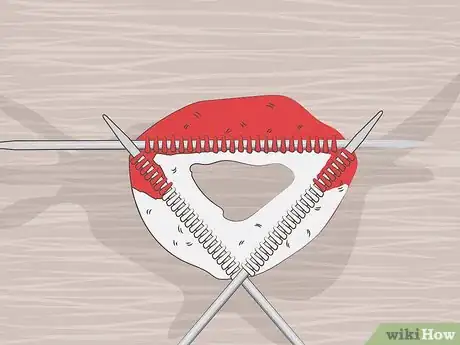
9Pick up 12 stitches on side of heel section. Use the needle to pick up 12 stitches along the side of the heel section, moving downwards towards the other double pointed needle. To pick up a stitch, insert the needle through the first stitch, loop the yarn over the needle, and then pull this loop through the stitch.[14] Repeat this process until you have picked up 12 stitches along the side of the heel section.[15]
-
10Knit around to the other side. When you finish picking up stitches, begin knitting across the other needles. Knit all the way across the other 2 needles until you reach the other side of the heel section.[16]
-
11Pick up 12 stitches on other side of heel section. Pick up 12 stitches along the other side of the heel section. This time, move up the side of the heel section towards the top of the heel section.[17]
Finishing the Stocking
-
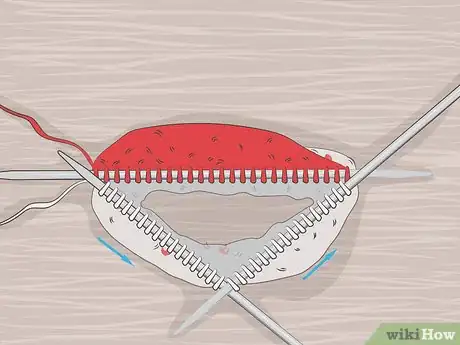
1Divide stitches evenly among 3 needles again. When you have finished picking up all of the stitches for the heel, count your total number of stitches and divide them evenly among 3 needles. You may have to have 1 less or more on one of the needles to do this.[18]
- For example, if you have 84 stitches, then you can place 28 stitches onto each needle. But if you end up with 85 stitches, then 1 needle will need to have 29 stitches on it and the other 2 will have 28 stitches.
-
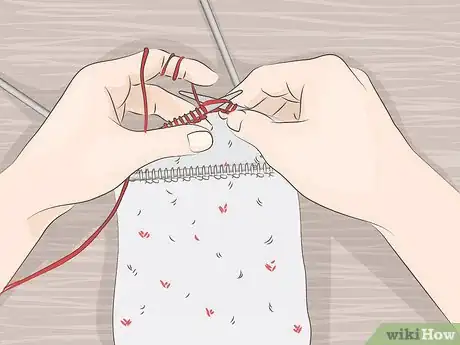
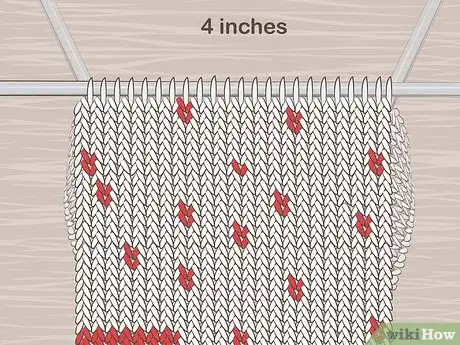
2Knit until the foot section measures 4 inches (10 cm) or longer. When your stitches are divided evenly among the 3 needles, begin knitting in the round. This will start to form the foot section of the stocking. Knit several rounds until the foot section of your stocking is about 4 inches (10 cm) or longer.[19]
-
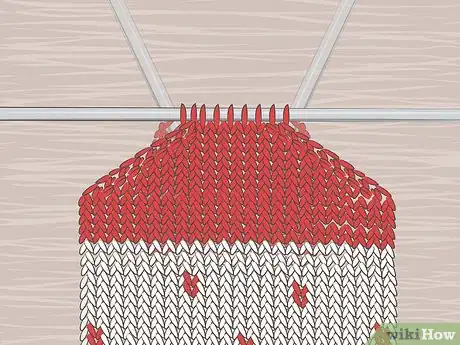
3Decrease until the total number of stitches is 28. After the foot section measure about 4 inches (10 cm) from the heel, you can start to decrease the total number stitches in each round. Knit the rounds as usual, but knit 2 stitches together when you reach the last 3 stitches in the round. Then, knit 1 and repeat the round.[20]
- Continue decreasing in this way until you have a total of 28 stitches.
-
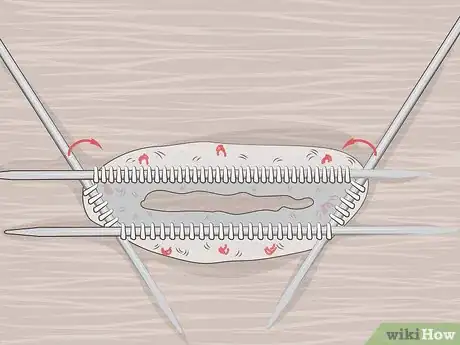
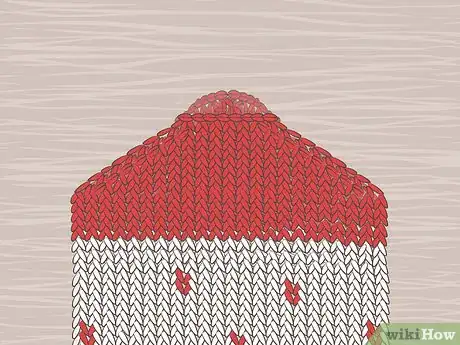
4Bind off the remaining stitches. When you have 28 stitches left, bind them off. To bind off, knit the first 2 stitches in the round, then slip the first new stitch over the second new stitch. As you do this, let the first stitch to slip off the then of the needle. Then, knit 1 and slip the first stitch over the second stitch again.[21]
- Repeat this until you have worked all of the stitches off of your needles.
- Make sure to leave a long tail (12 inches (30 cm) or longer) so that you can use the tail yarn to weave the toe opening closed.
-
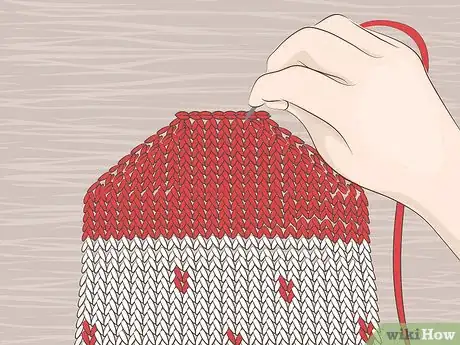
5Sew the opening closed. Thread the tail yarn through the eye of the yarn needle. Then, begin sewing the opening closed. Match up the bound off stitches and sew through 2 at a time to close up the opening. When you get to the end, insert the needle into the inside of the stocking’s toe and then-then turn the stocking inside out to secure it from the inside and hide the knot.[22]
Things You’ll Need
- Medium worsted weight yarn
- 4 size 7 (4.5 mm) double-pointed knitting needles
- Yarn needle
- Scissors
References
- ↑ https://www.woolandthegang.com/how-to/knit/double-pointed-needles
- ↑ https://www.allfreeknitting.com/ChristmasKnits/Christmas-Colors-Stocking-from-lily-sugar-n-cream-yarn
- ↑ http://newstitchaday.com/how-to-knit-the-1x1-rib-stitch/
- ↑ https://www.allfreeknitting.com/ChristmasKnits/Christmas-Colors-Stocking-from-lily-sugar-n-cream-yarn
- ↑ https://www.allfreeknitting.com/ChristmasKnits/Christmas-Colors-Stocking-from-lily-sugar-n-cream-yarn
- ↑ https://www.allfreeknitting.com/ChristmasKnits/Christmas-Colors-Stocking-from-lily-sugar-n-cream-yarn
- ↑ https://www.allfreeknitting.com/ChristmasKnits/Christmas-Colors-Stocking-from-lily-sugar-n-cream-yarn
- ↑ https://www.allfreeknitting.com/ChristmasKnits/Christmas-Colors-Stocking-from-lily-sugar-n-cream-yarn
- ↑ https://www.allfreeknitting.com/ChristmasKnits/Christmas-Colors-Stocking-from-lily-sugar-n-cream-yarn
- ↑ https://www.allfreeknitting.com/ChristmasKnits/Christmas-Colors-Stocking-from-lily-sugar-n-cream-yarn
- ↑ https://www.allfreeknitting.com/ChristmasKnits/Christmas-Colors-Stocking-from-lily-sugar-n-cream-yarn
- ↑ https://www.allfreeknitting.com/ChristmasKnits/Christmas-Colors-Stocking-from-lily-sugar-n-cream-yarn
- ↑ https://www.allfreeknitting.com/ChristmasKnits/Christmas-Colors-Stocking-from-lily-sugar-n-cream-yarn
- ↑ http://knitty.com/ISSUEwinter04/FEATwin04TT.html
- ↑ https://www.allfreeknitting.com/ChristmasKnits/Christmas-Colors-Stocking-from-lily-sugar-n-cream-yarn
- ↑ https://www.allfreeknitting.com/ChristmasKnits/Christmas-Colors-Stocking-from-lily-sugar-n-cream-yarn
- ↑ https://www.allfreeknitting.com/ChristmasKnits/Christmas-Colors-Stocking-from-lily-sugar-n-cream-yarn
- ↑ https://www.allfreeknitting.com/ChristmasKnits/Christmas-Colors-Stocking-from-lily-sugar-n-cream-yarn
- ↑ https://www.allfreeknitting.com/ChristmasKnits/Christmas-Colors-Stocking-from-lily-sugar-n-cream-yarn
- ↑ https://www.allfreeknitting.com/ChristmasKnits/Christmas-Colors-Stocking-from-lily-sugar-n-cream-yarn
- ↑ https://www.allfreeknitting.com/ChristmasKnits/Christmas-Colors-Stocking-from-lily-sugar-n-cream-yarn
- ↑ https://www.allfreeknitting.com/ChristmasKnits/Christmas-Colors-Stocking-from-lily-sugar-n-cream-yarn
