This article was co-authored by wikiHow Staff. Our trained team of editors and researchers validate articles for accuracy and comprehensiveness. wikiHow's Content Management Team carefully monitors the work from our editorial staff to ensure that each article is backed by trusted research and meets our high quality standards.
This article has been viewed 22,829 times.
Learn more...
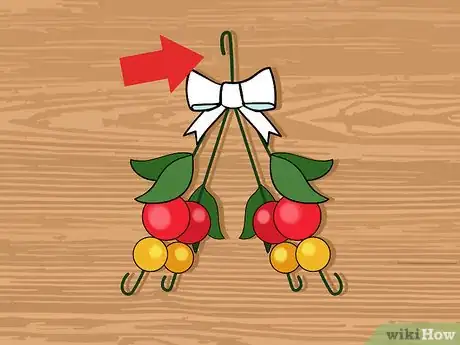
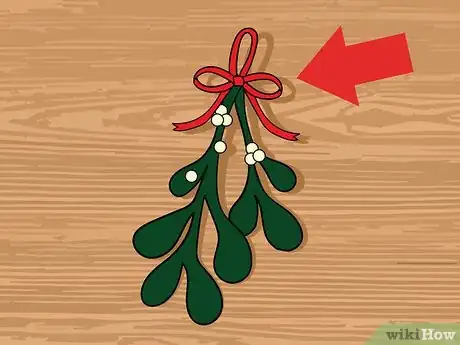
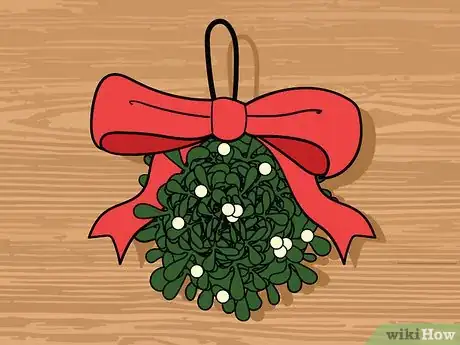
Do you have a tiny tree or a little doorway that needs mini-mistletoe? If so, you can create the tiny holiday decorations yourself. You can make a mini-mistletoe decoration using beads and floral wire. You can also use beads and felt to create a kid-friendly holiday craft. Finally, you can use actual mistletoe sprigs to build small kissing balls that you can hang at your adorable holiday party.
Steps
Using Beads and Wire to Create a Mini-Mistletoe Decoration
-
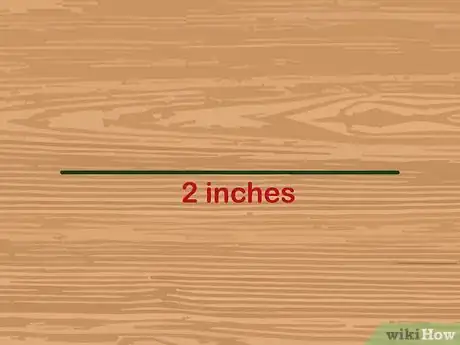
1Cut floral wire. Using a pair of scissors or shears, cut three, two-inch (5 cm) pieces of 24-gauge floral wire. The lengths of the pieces do not need to be exact. However, they should be similar in length.
- You can purchase floral wire at your local florist or arts and crafts store.
-
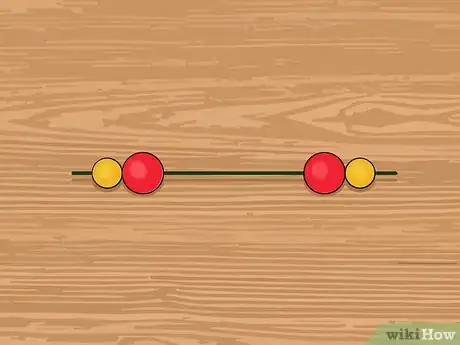
2Place beads on the ends of the wire. Once you cut your wire pieces, slide four beads onto the ends of the wire, placing two at each end. Because you want the wire to look like mistletoe, the beads should be white. However, you can also use pink or red beads to give the appearance of berries.
- You will need six to eight beads for the entire project.
- You can find the appropriate beads at your local arts and crafts store.
Advertisement -
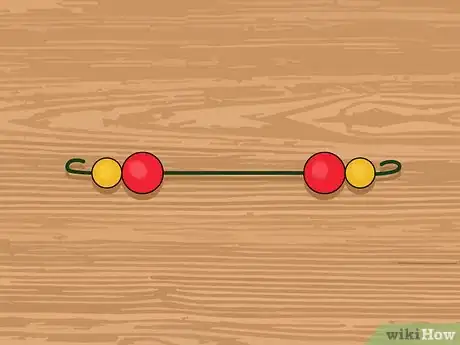
3Curve the ends of the wire. Using your fingers or a pair of needle-nosed pliers, create a U-shaped bend about ¼ of an inch (2/3 cm) from the end of the wire. This bend will keep your beads in place. Make sure that the bend is curved enough to allow the beads to slide into the groove.
- You might also consider bending the wire around the bead to make sure that there is enough room.
-
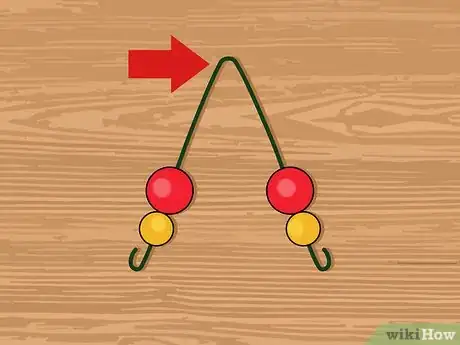
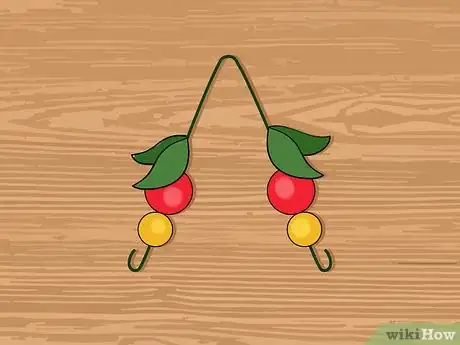
4Bend the middle of the wire. With your fingers or needle-nosed pliers, created a U-shaped bend in the middle of the wire. Once you have created the bend, the two ends of the wire with the beads should be parallel to each other. Make sure that the beaded ends do not touch each other.
-
5Cut out and attach the leaves. Take a pair of scissors and cut six to eight small leaf shapes out of some green felt. The leaves should be about ½-inch (1.25 cm) long. Then take a hot glue gun and attach three or four leaves directly above the beads.
- Be sure to leave enough leaves for your second sprig.
- You can purchase felt at your local arts and crafts store.
-
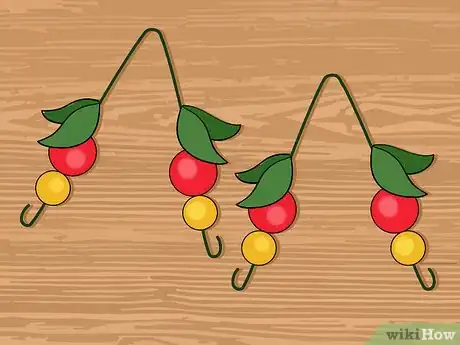
6Repeat the process. After you have made your first sprig, repeat the process to create a second sprig. Use your remaining floral wire, beads, and leaves. Remember that each sprig should have three to four beads and leaves.
-
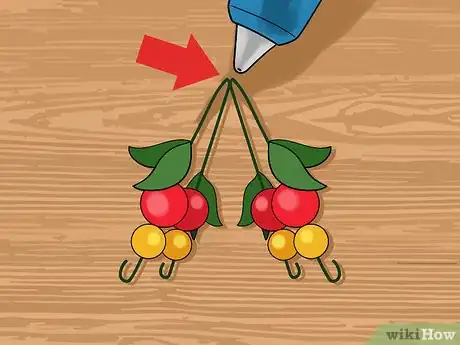
7Glue the sprigs together. Once you have your second sprig made, glue it to the first sprig with hot glue. Place a small dollop of glue at the U-shaped bend in the middle of the first sprig. Then place the U-shaped bend of the second sprig on the glue, positioning the beads slightly away from each other.
- If you have some exposed wire, you can also cut out some more leaves and glue them on.
- Do not put the beads directly on top of each other.
-
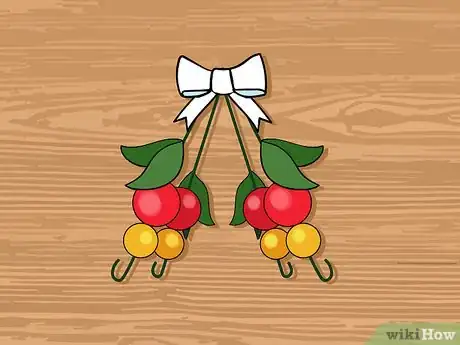
8Attach the bow. Once you glue your sprigs together, take a 4 to 6 inch (10 to 15 cm) piece of ribbon and fold it into a bow. Then attach the ribbon to the same area where you glued the sprigs together. The ribbon will help hide place the place where you glued your sprigs together and make your decoration look more festive.
- Ideally, you should use a red ribbon. However, if you want to changes things up, you can also use a white ribbon.
-
9Add a hook. Take the remaining piece of floral wire and create a U-shaped bend at one end. Then take the hot glue and attach the unbent end of the wire to the back of the decoration. Try to glue it to the place behind the bow where you glued the springs together.
- Once the glue has dried, you can hang the mini-mistletoe on your tiny tree.
Making a Wireless Mini-Mistletoe Decoration with Felt
-
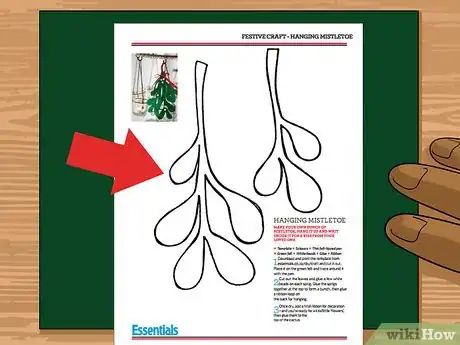
1Use a template to trace mistletoe sprigs. Download, print and cut out the mistletoe template. Then place the template on top of a large piece of green felt and trace around it with a pen. To make one decoration you will need to trace three sprigs.[1]
- You can use a regular pen or a fabric pen to trace the mistletoe sprigs on the felt.
-
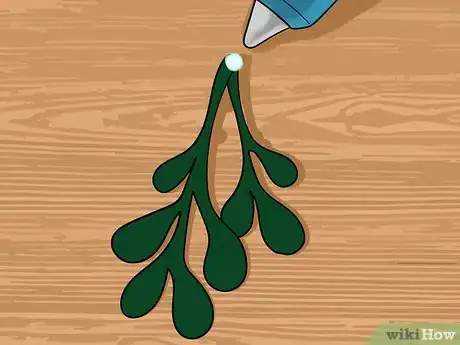
2Cut out the sprigs and glue them together. Using a pair of scissors, cut out the sprigs and glue them together using a hot glue gun. Separate the springs a little and be sure to glue them together at the stem, not the end with the leaves, to create a bunch. The leaves should hang down with only a little overlap between them.[2]
-
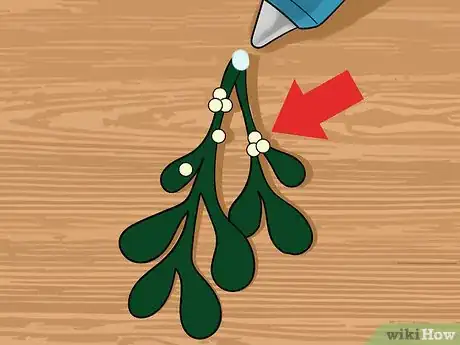
3Attach beads and ribbon. Using the hot glue gun, attach six to eight white beads to the felt sprigs. Glue them together in small bunches of two and three so that they look like mistletoe berries. Then take about six inches (15 cm) of red ribbon and tie a bow around the spot where you glued the sprig stems together.[3]
- Tying the bow around the spot where you glued the stems together is festive and will help hide the dark spot created by the glue.
-
4Create a ribbon loop. Take about three inches (7.5 cm) and create a loop. Use the hot glue gun to attach the loop to the backside of the decoration. Glue it to the same spot where you attached the springs and the ribbon.[4]
- Once the hot glue dries, your decoration is ready to hang.
Creating a Mini Kissing Ball with Real Mistletoe
-
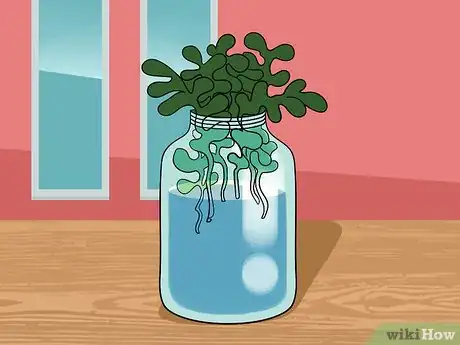
1Soak your mistletoe sprigs. The night before you make your kissing ball, soak your sprigs of mistletoe overnight. Place the stems down in a jar or vase of water. This will help them stay green and fresh looking for your display.[5]
- During the holiday season, you should be able to find mistletoe at your local home and garden store.
-
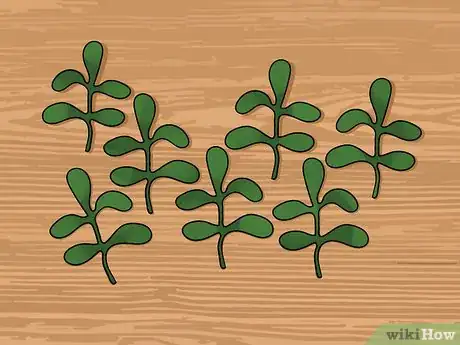
2Trim your sprigs to the desired length. To create a “mini” kissing ball, trim your mistletoe sprigs using scissors or gardening shears. Instead of using whole sprigs, trim and separate sprigs to the desired length. In the end, you will want pieces of mistletoe that are roughly half the size of normal sprigs.
- A normal kissing ball has pieces that are about 2 to 3 inches (5 to 8 cm) in size.[6]
-
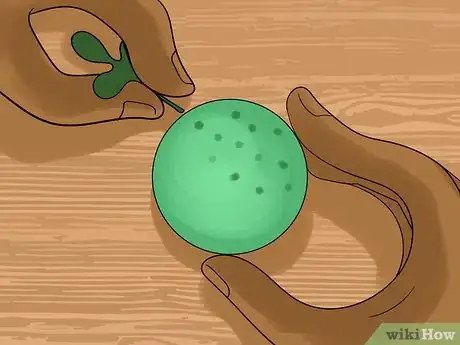
3Insert sprigs into a floral foam ball. Take a two-inch (5 cm) floral foam ball and stick the stems of the sprigs in it. To get the sprigs inserted into the ball, you may need to use a metal skewer or ice pick to poke starter holes in the foam. Insert the sprigs until you cover the ball in mistletoe.[7]
- Before you insert the sprigs, you may want to soak the foam ball in water for 15 minutes. This will help soften it up.
- You can find floral foam at your local florist or arts and crafts store.
-
4Add a bow and a hook. Take about a foot (30.5 cm) of ribbon and tie it around the ball, creating a bow on the top. Then take a piece of wire, about 8 inches (20 cm), and insert it halfway into the ball. There should be at least 4 inches (10 cm) of wire sticking out of the top. Create a U-shaped bend in the remaining wire to create a hook from which to hang your ball.[8]
- Because mistletoe berries are poisonous, make sure to hang your mini kissing ball in a place where children and pets will not ingest the berries.
Things You’ll Need
- Assorted white and red beads
- Floral wire
- Green felt
- A hot glue gun or crafting glue
- A pen
- A printer
- Paper
- Scissors
- Fresh mistletoe
- A floral foam ball
- Ribbon
References
- ↑ http://www.essentials.co.za/diy/diy-christmas-decorations-festive-felt-mistletoe
- ↑ http://www.essentials.co.za/diy/diy-christmas-decorations-festive-felt-mistletoe
- ↑ http://www.essentials.co.za/diy/diy-christmas-decorations-festive-felt-mistletoe
- ↑ http://www.essentials.co.za/diy/diy-christmas-decorations-festive-felt-mistletoe
- ↑ https://www.clemson.edu/extension/hgic/plants/pdf/hgic1753.pdf
- ↑ http://www.southernliving.com/food/holidays-occasions/how-to-make-a-mistletoe-kissing-ball-christmas-decoration
- ↑ http://www.southernliving.com/food/holidays-occasions/how-to-make-a-mistletoe-kissing-ball-christmas-decoration
- ↑ http://www.southernliving.com/food/holidays-occasions/how-to-make-a-mistletoe-kissing-ball-christmas-decoration
