X
wikiHow is a “wiki,” similar to Wikipedia, which means that many of our articles are co-written by multiple authors. To create this article, volunteer authors worked to edit and improve it over time.
This article has been viewed 60,300 times.
Learn more...
Christmas Villages are one great decoration to put up for the 'Holidays, but can be a pain to set up if you aren't familiar with using them. But things are made easier with the help of the information in this article.
Steps
Part 1
Part 1 of 2:
Preparation
-
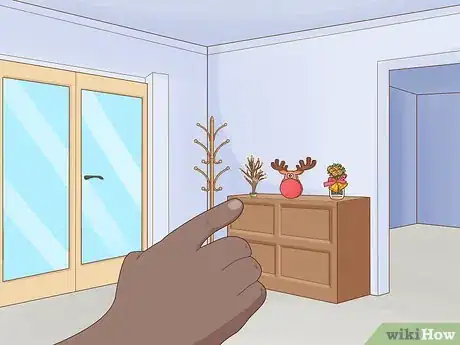
1Prepare the room that you feel is most ready to receive the Christmas Village. Look for wide open areas where visitors commonly have to pass through to locate the Village in. Make sure that there's room for a house or two, and that there's not too much traffic where the houses and decoration can get trampled on and broken. Most people begin to put their Villages starting in their living room or near their main entrance door/foyer-way.
- Sometimes, pieces of your collection can go into other rooms such as dining areas and bathrooms under the right conditions. But never place these houses into the kitchen if you commonly cook with open flames.
-
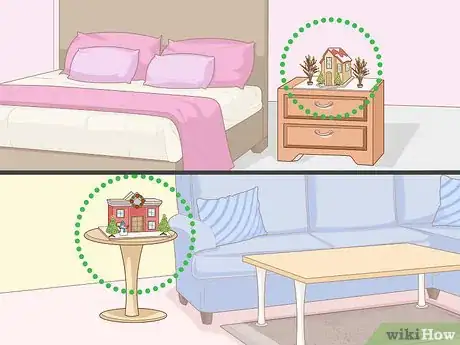
2Research places in each room where these houses can be put. While each room will have different areas, not all rooms will have the same dimensions or room layouts. You will need several spots where you can place many different houses - enough so your entire Village can be put out or together. Most people look to placing them on fireplace mantels if the fireplaces aren't used or if you can keep the cords out of the way of the fire.
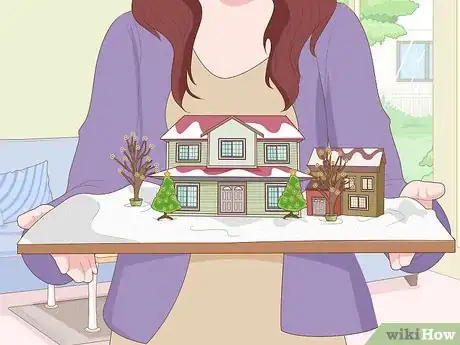
- Most people online say to display these Villages on boards that are set out and around the house. However, reality strikes in and few people follow this advice. But either way is okay.
Advertisement -
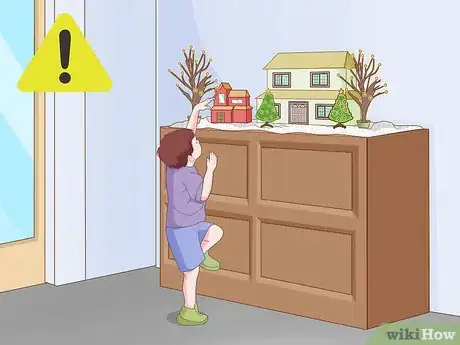
3Look for kid-proof areas. Christmas Village houses are adorable - so much so kids love touching and feeling them. But they can also become very fragile and breakable and kids can be the cause of some of these messes. Tiny fingers will always find their way into touching and prodding these buildings, and sometimes causing devastation when the house falls and breaks into zillions of tiny pieces. Prepare your "decoration villages" in areas where kids can't spot these pieces easily, and also so that these houses can't be bumped into and broken when hurrying out the door.
- It may seem like the bathroom is okay. While it's not suggested that a large majority of the houses go there, a house or two and some smaller decorations (such as park benches with "people") can go in there - as long as they can sit in a viewable area up out of the way of "foot traffic needing to use the faucet".
-
4Take each house out of it's box and place each house down in the viewing area.
-
5Be aware of those Christmas village buildings that contain lightbulbs. Those that have lightbulbs need to be lit to be effective presenters or they will falter and seem like "it will look like a house that has lost all of its electricity after an ice storm (dark and dreary) and not very appealing to anybody who walks by the village house on occasion."
-
6Use common sense. When the areas start to fill up and when you can't fit another fingernail-sized item on the area, it's time to move the village to a new place.
-
7Decorate other rooms with some of the additional houses. Unless the room is a tiny walkway with no viable places to put them, spread them out into other attached rooms in the house (perhaps even on the same floor as the floor the houses initially started at).
-
8Look into placing schools, shops, banks and bakeries in the Village - if possible. Some shopping centers sometimes sell village pieces that can work in areas, but you may have to look a little to find those for banks and bakeries.
Advertisement
Part 2
Part 2 of 2:
Setting the Houses Down
-
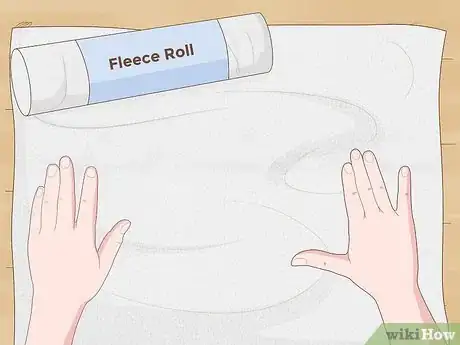
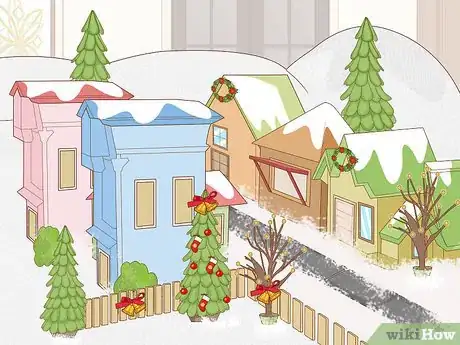
1Landscape to the season. White felt draped overtop of all the mounting areas is one of the easiest methods to making the area look like a Christmas Wonderland - and almost ready to begin placing down housing.
-
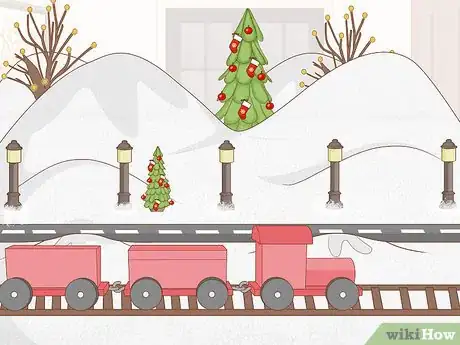
2Place some of the streets and transportation elements where they would work best. Set up bus and train depots in some places. Set down porcelain buses and trains (such as those from train-sets) if possible.
- If you don't mind writing on felt and have several feet of board and a few permanent markers, you can draw in some roads that are several inches wide.(Three to four inches wide should be wide enough in some housing scales.)
- For those using mantels/fireplaces, you'll have to give up using a working train set, as mantels don't give a lot of room to work with - unless you can set up more track that allows you to run the rest of the track into the room or around the house instead.
-
3Put up some housing. Bigger houses can go in bigger rooms, while smaller less-elaborate housing can go in smaller rooms.
-
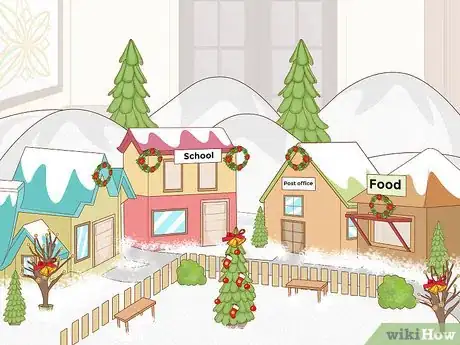
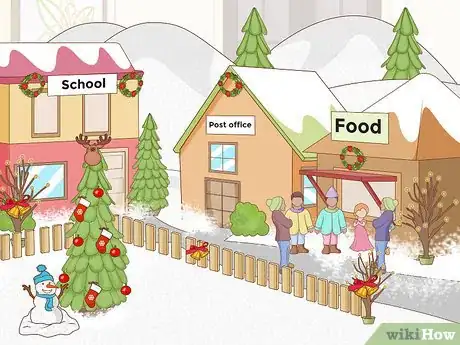
4Set up other town and village buildings. Post offices, schools, fire stations, shops, and banks work well.
-
5Make sure that the houses face one another, when laying buildings nearby each other.
-
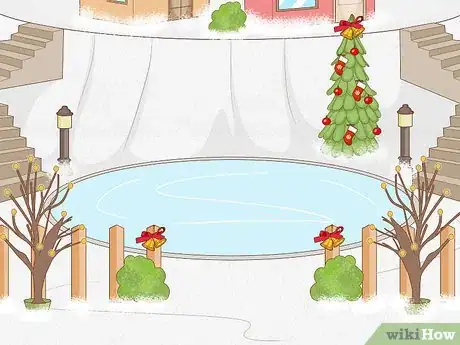
6Put down recreation areas - such as parks and ice rinks - for your town folk to "play" in. Ice skating rinks can either be made of aluminum foil or on a piece of cardboard with a cut-out piece of a mirror.
-
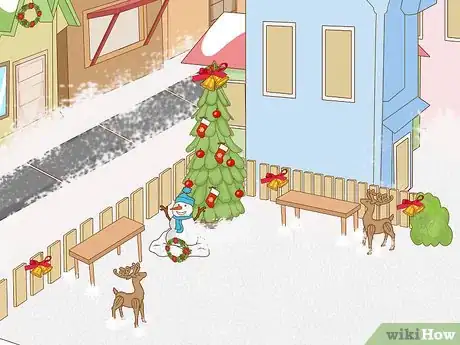
7Set up street lights near streets if possible - as well as town/village benches where people can gather. Utilize people on these benches when possible. Dependent on what you have available, place down mailboxes near housing and sidewalks at four-way intersections, traffic lights at intersections, and even some bridges across "drawn" water.
- Each set will be different of each other and while some will be more elaborate than others, there will be some smaller ones that may look nicer likewise.
-
8Let some people gather in the town. Put single people gathering on sidewalks, street corners, near mailboxes and almost any other place that could be deemed an important place.
- Leave some of the benches (if available) open, as not all benches will ever be full of people.
- Unless you really want to be funny, try not to show townsfolk in conglomerate areas where people may look like they fist-fight one another. But with Christmas scenes, most everybody is peaceful and calm - (It's Peace on Earth (isn't it), during this time of year?)!
-
9Place small towns people in the Village. Put down animals (such as dogs and sheep and cats and whatnot) into places where they'd naturally be seen if you'd shrink to the size of your village and see it from your Villagers point of view.
Advertisement
Warnings
- Collecting Christmas Village houses isn't a cheap hobby. Look for some houses at discount and thrift stores too. Look to make some trees and bushes out of small twigs that may exist in your yard. Be on the lookout for cheap alternatives to those that you can buy.⧼thumbs_response⧽
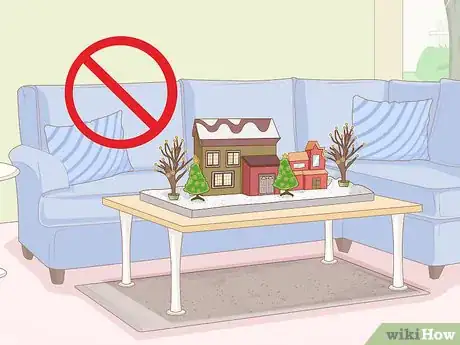
- Try not to cover any traditional tables with houses. Tables are for food, and there is a possibility of the houses chipping or breaking, or even when tablecloths need to get removed. Plus the electrical cords and lights on some can create a boundary that can lead to houses that get broken.⧼thumbs_response⧽
- Try to ensure that the manufacturers of the village houses stay complimentary to the same set. Switching from one manufacturer to another causes noticeable gaps and may even cause some pieces to be bigger than others.⧼thumbs_response⧽
- Cats love to climb and are curious creatures. Expect cats to climb up onto tables when the Village has been completely set up and you are far away from the village. Keep cats in secluded areas away from the Christmas Village.⧼thumbs_response⧽
- Not all Christmas Village are verbose. There are some that are ornate and serve a purpose, but are quite small too.⧼thumbs_response⧽
Advertisement
References
- http://www.dept56tips.com/Dept56DisplayTutorials.html - research source
About This Article
Advertisement
