This article was co-authored by Andres Matheu. Andres Matheu is the Owner of Hömm Certified Painting Systems, an Interior and Exterior Residential painting business based in the Washington, DC Metro area. Andres specializes in interior and exterior residential painting, color consultations, cabinet refinishing, wallpaper removal, and epoxy flooring among other services. An EPA Lead-safe Certified Firm, Hömm Certified Painting Systems has been awarded the Best of Houzz 2019 Service, Angie's List Super Service Award 2019, and Northern Virginia Magazine's 2018 Best Home Experts (painters) award.
There are 11 references cited in this article, which can be found at the bottom of the page.
This article has been viewed 11,358 times.
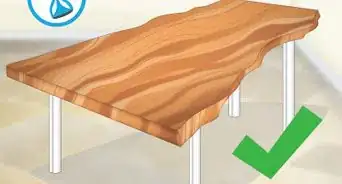
Looking to stain your wood but don’t want to cover up its natural color and grain? No problem! There are plenty of things you can do to achieve the color that you want. To make the project even easier, we’ve answered a few of the most common questions about what you can do to lightly stain your wood.
Steps
Is it possible to stain wood lighter?
-
1You can use bleach to lighten the wood. Use “Two-part” A/B peroxide-based bleach or oxalic acid bleach to lighten the color of the wood. Work in a well-ventilated space and clean the wood with water or mineral spirits and a clean rag. Wait a day or so for the wood to fully dry, then apply the bleach evenly with a clean rag or a paintbrush. Once the wood is lightened to the color you want, neutralize the bleach by wiping over it with a solution of equal parts white vinegar and water.[1]
- You can also bleach wood that has already been stained a darker color to lighten the color of the wood.[2]
- Regular laundry bleach or chlorine bleach will remove any stain or dyed color from the wood but it won’t actually change the wood’s natural color.
- Bleach puts off toxic fumes that can make you nauseated or lightheaded, so be sure to work in a well-ventilated space.
-
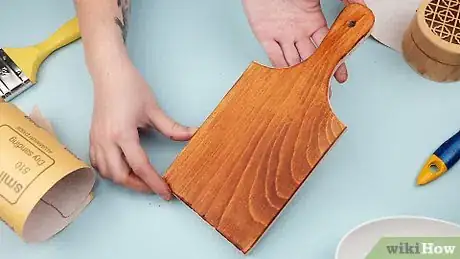
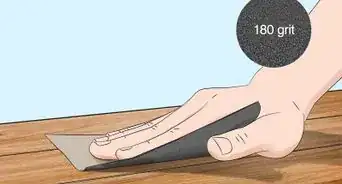
2Allow the wood to dry then sand it for a smooth finish. The bleach will cause the grain of the wood to become coarse. Wait a full day to make sure the wood is completely dry, sand it with a 120-grit sandpaper, and then follow up with medium-fine-grade sandpaper such as 180 or 220-grit so the surface of the wood is nice and smooth.[3]
How do you apply wood stain?
-
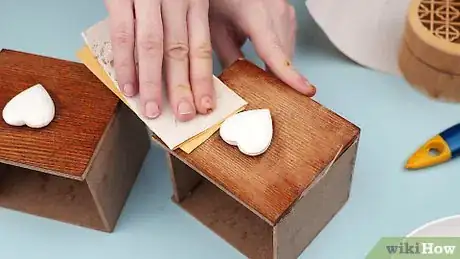
1Clean and lightly sand the wood first. Use a clean cloth to wipe away any dust or dirt from the surface.[6] Then, sand the wood with 120-grit sandpaper so the wood stain can stick to the surface more effectively. Wipe away the dust created from sanding with your cloth and then sand the wood again with 150 or 180-grit sandpaper so the surface is nice and smooth.[7]
- Make sure you use a clean, lint-free cloth to wipe away the dust between sanding so you don’t push the dust around or leave any fibers behind.
-
2Apply pre-stain conditioner and let it soak in for 5-10 minutes. The conditioner helps prepare the wood for the stain you plan to add. Wipe the conditioner over the surface of the wood and then let it fully soak in so it doesn’t mix with the stain when you apply it.[8]
-
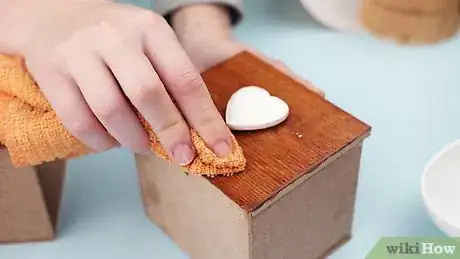
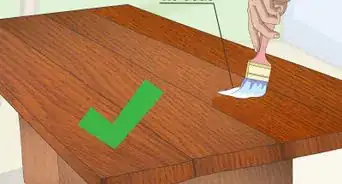
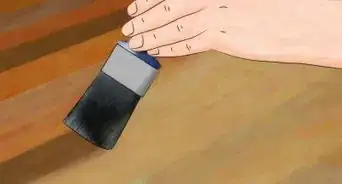
3Use a brush, sponge, or cloth to apply the stain and wipe away the excess. Open up the container of wood stain, apply it to your brush, sponge, or cloth, and wipe it evenly over the surface of the wood. Then, take a clean cloth, fold it over so the edges are even, and wipe over the wood, following the direction of the grain, to wipe off any excess stain and then allow the stain to fully dry.[9]
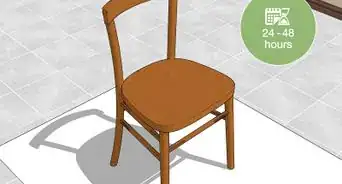
- Specific drying times can vary, so check the packaging of the wood stain you’re using. Generally, waiting overnight or for at least 8 hours is a safe bet.
Can I thin wood stain?
-
1Use mineral spirits to thin oil-based stains. Combine 3-4 parts wood stain to 1 part mineral spirit in a clean container. Stir the mixture well so it’s fully blended. Apply a small amount of the stain to a piece of wood to test it out. If it needs to be thinner, you can add a little more mineral spirit and then test it out again.[12]
- Mineral spirits puts off noxious fumes so be sure to work in a well-ventilated area.
- If you don’t have mineral spirits, you can use varsol, naphtha, turpentine, or paint thinner (which likely contains mineral spirits anyway).
-
2Add water to thin water-based wood stains. Water-based wood stains are often called latex stains. To dilute 1 US pint (470 mL) of stain, add 2 tablespoons (30 mL) of room temperature water. Add the water slowly and use a stir stick to stir and combine the solution. To test the viscosity, you can pour the stain through a funnel to see if it flows freely. If it’s still too thick, try adding a little more water and testing it again.[13]
- If the stain becomes too thin, you can add more stain to the solution to thicken it back up a bit.
-
3Use a lacquer thinner for lacquer-based stains. Lacquer-based wood stains are specially designed to create a shiny, protective coating, and they can only be thinned by a special lacquer thinner, also known as a cellulose thinner. Add 1 US pint (470 mL) of thinner to 1⁄2 gallon (1,900 mL) of lacquer and mix it together well. If the stain is still too thick, add some more of the thinner.[14]
- If you’re applying the lacquer with a spray gun, shake the bottle really well to combine the wood stain and thinner before you apply it.
Expert Q&A
Did you know you can get expert answers for this article?
Unlock expert answers by supporting wikiHow
-
QuestionWhat's the biggest mistake people make when they're staining wood?
 Andres MatheuAndres Matheu is the Owner of Hömm Certified Painting Systems, an Interior and Exterior Residential painting business based in the Washington, DC Metro area. Andres specializes in interior and exterior residential painting, color consultations, cabinet refinishing, wallpaper removal, and epoxy flooring among other services. An EPA Lead-safe Certified Firm, Hömm Certified Painting Systems has been awarded the Best of Houzz 2019 Service, Angie's List Super Service Award 2019, and Northern Virginia Magazine's 2018 Best Home Experts (painters) award.
Commercial Painter
Warnings
- Bleach and solvents like mineral spirits put off noxious fumes, so make sure you work in a well-ventilated area.⧼thumbs_response⧽
References
- ↑ https://www.popularwoodworking.com/projects/bleaching-wood/
- ↑ https://www.nytimes.com/1986/03/30/nyregion/home-clinic-bleaching-wood-two-ways-to-get-down-to-the-nitty-gritty.html
- ↑ https://www.nytimes.com/1986/03/30/nyregion/home-clinic-bleaching-wood-two-ways-to-get-down-to-the-nitty-gritty.html
- ↑ https://www.finehomebuilding.com/project-guides/decks/choosing-the-right-deck-finish
- ↑ https://youtu.be/JvApEnqheEU?t=40
- ↑ Andres Matheu. Commercial Painter. Expert Interview. 28 July 2020.
- ↑ https://www.thisoldhouse.com/house-one/21444224/how-to-stain-wood
- ↑ https://www.thisoldhouse.com/house-one/21444224/how-to-stain-wood
- ↑ https://www.thisoldhouse.com/house-one/21444224/how-to-stain-wood
- ↑ https://www.woodshopnews.com/columns-blogs/tips-and-tricks-can-turn-out-a-better-finish
- ↑ https://www.apartmenttherapy.com/how-to-stain-wood-108589
- ↑ https://sawshub.com/how-to-thin-wood-stain/
- ↑ https://www.ronaldphillipsantiques.com/how-to-thin-wood-stain/
- ↑ https://www.ronaldphillipsantiques.com/how-to-thin-wood-stain/
- ↑ https://youtu.be/oMmMCOEnvFo?t=109
