X
This article was co-authored by wikiHow Staff. Our trained team of editors and researchers validate articles for accuracy and comprehensiveness. wikiHow's Content Management Team carefully monitors the work from our editorial staff to ensure that each article is backed by trusted research and meets our high quality standards.
This article has been viewed 19,837 times.
Learn more...
Most golf carts utilize 4 to 8 batteries stored under the front seat. Each battery needs to be refilled with water and scrubbed clean on occasion. Set up a schedule so you remember to inspect and take care of your batteries at least once a month. Perform regular maintenance and you won’t ever have to worry about getting stuck in the rough.
Steps
Method 1
Method 1 of 3:
Refilling Batteries with Water
-
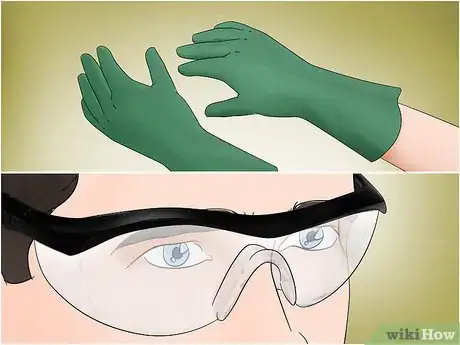
1Put on acid-proof gloves and glasses. Although you likely won’t come into contact with battery acid, taking precautions is always a good idea. Wear eye protection and long-sleeved clothing. Slip on a pair of gloves to protect your hands.[1]
- Take off any jewelry. Not only can the acid ruin your expensive ring, but the metal can ruin the battery.
- You can purchase chemical-resistant rubber gloves at many general and home improvement stores.
-
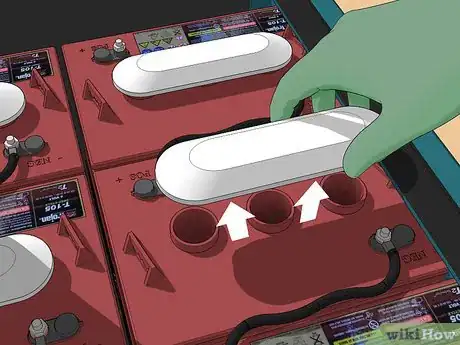
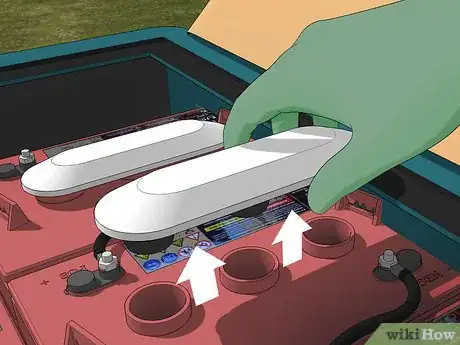
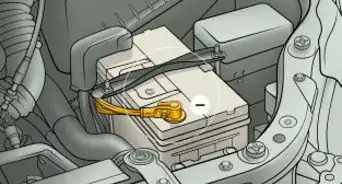
2Open the vent caps on the batteries. Make sure your golf cart is turned off and unplugged before you touch the batteries. Open the compartment under the driver’s seat to access the batteries. The batteries will have plastic caps on top of them, which you can pull off by hand.
- The caps may have acid on them, so set them on the ground or a rubber mat. Avoid resting them against metal surfaces.
Advertisement -
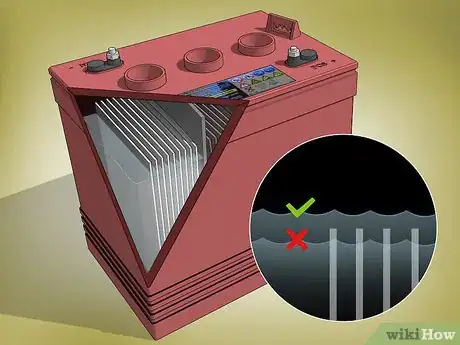
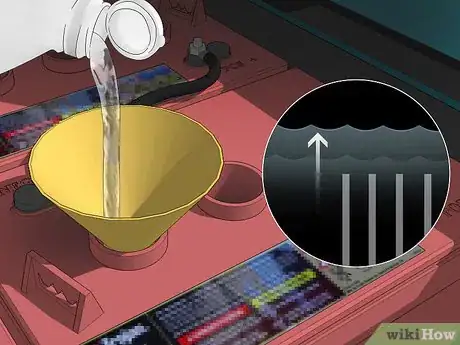
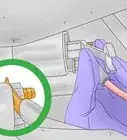
3Check the electrolyte level in the battery. Look underneath the caps to see inside the batteries. You should be able to spot the series of plates that allow each battery to function. If the fluid level is not above the plates, you will need to adjust it before charging your cart.
- Your battery may have several openings. Make sure each compartment has enough water in it.
- If your cart runs on gas, you won’t see any fluid and don’t need to add any. Move on to cleaning off any corrosion you see, as described elsewhere in the article.
-
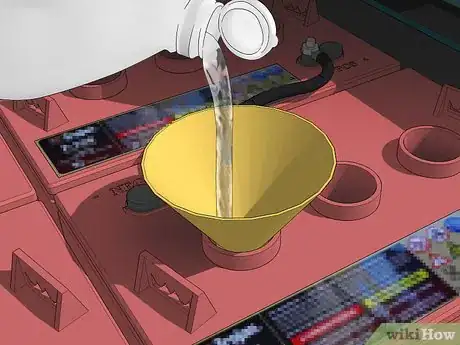
4Fill the batteries partially with distilled water. Using a funnel or battery refilling system is helpful here to avoid making a mess. Fill each battery carefully until the water is right above the plates. You don’t want to fill the entire battery yet. After the plates are submerged, replace the battery caps.[2]
- Distilled water has no extra minerals, so it is the best option. However, tap water is better than no water.
- You can usually find distilled water at supermarkets.
-
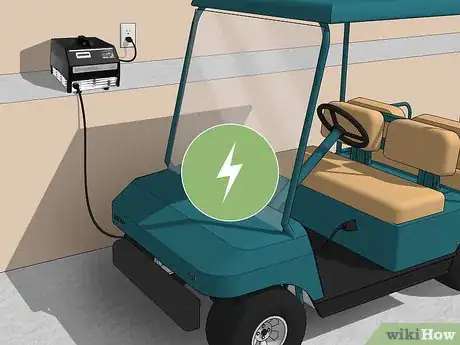
5Charge your golf cart. Plug the cart into a battery charger. Allow the cart to stay motionless until the batteries have a full charge. In a worst-case scenario, this can take half a day, so hopefully your batteries aren’t completely depleted![3]
- Avoid letting the batteries overcharge. An automatic charger is helpful since it will turn off when the batteries are full.
- You can purchase a new charger online or at some auto parts stores. Choose a charger that is compatible with your cart.
-
6Open the vent caps again. Once the batteries are charged, unplug the charger. Make sure the cart is still turned off. Remember to put on your safety gear again in case any acid is left on the battery covers.
-
7Add more water until the batteries are almost full. Avoid filling the batteries completely, or else you will end up with a nasty spill in your cart. Pour the distilled water in gradually, stopping when the water is about 1⁄8 in (0.32 cm) below the rim.
- Stop pouring if you are in doubt about how much water to add. As long as the plates are submerged, they are protected.
-
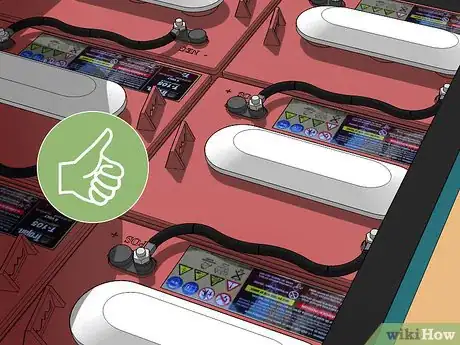
8Replace and tighten the caps. Put the cap back on each battery after you finish tending to it. Make sure the cap is tight so it doesn’t come off while you’re driving down a fairway hill. Push down on it until it snaps in place.
Advertisement
Method 2
Method 2 of 3:
Cleaning off Acid Corrosion
-
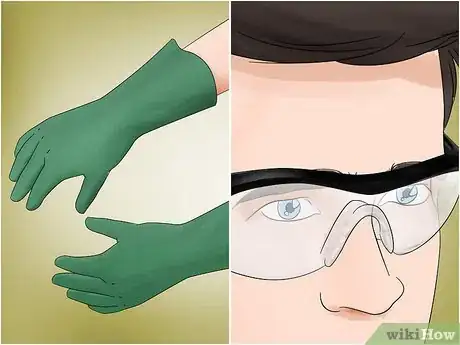
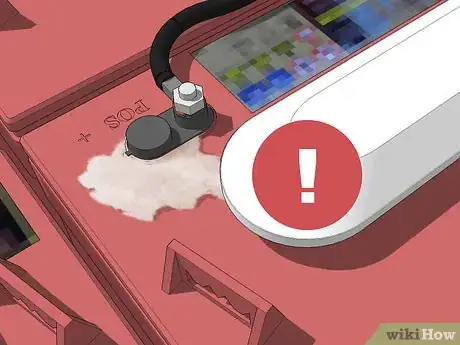
1Wear safety gloves and glasses. Acid leaks out of batteries over time, collecting on the terminals. Take safety precautions to avoid coming into contact with it. Wear long clothing and put away any jewelry as well.[4]
-
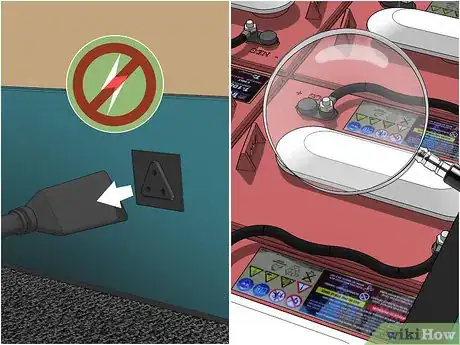
2Unplug your golf cart and check the vent caps. You do not need to unhook the batteries, but you do need to make sure electricity isn’t flowing to them. Turn off the golf cart and unplug the charger. Then, push against the vent caps on the batteries to make sure they are tightly in place.
- Leave the vent caps in place to avoid letting any chemicals get into the batteries.
-
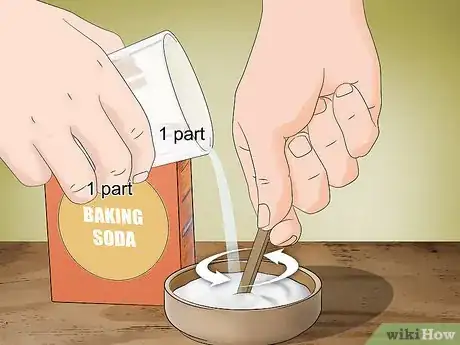
3Mix equal amounts of baking soda and water. Baking soda is a very effective natural cleaner that also happens to neutralize acid. Get a clean mixing container. Pour the 2 ingredients in, then stir them into a paste.
- For example, you can start by mixing 1 oz (28 g) of baking soda into 1 fl oz (30 mL) of water. Make more as needed.
-
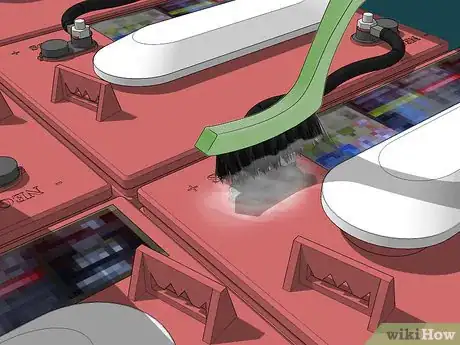
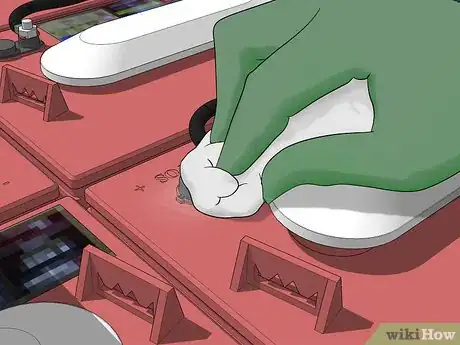
4Brush the mixture onto the battery terminals. Dip a clean cloth into the mixture and wipe it over the acid. The type of cloth doesn’t matter. If you have an old toothbrush, you can also use it to spread the mixture and scrub it into the acid.
- The mixture is primarily meant to polish the terminals and connectors, but you can use it to wash off the rest of the battery.
-
5Rinse and dry the batteries with clean cloths. Lightly dampen a clean cloth in lukewarm water. Wipe down all of the areas coated with the baking soda mixture. Follow up by using another clean cloth to absorb any remaining water.[5]
- The metal components should look bright again. If they aren’t, you probably missed some of the corrosion. Repeat the steps to clean it off.
- Make sure you also get any water that has dripped or spilled around the batteries.
-
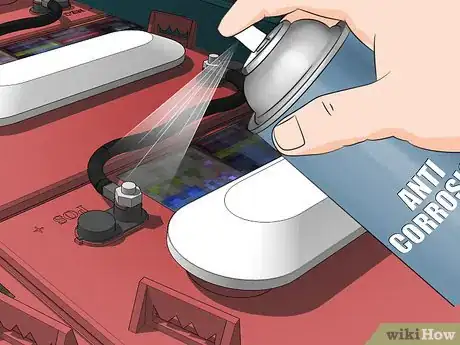
6Spray an anti-corrosive onto the battery terminals and clamps. You can purchase a battery anti-corrosive spray online or from auto parts stores. Coat the terminals and the metal connectors on the battery cables every time you clean off the batteries. A regular anti-corrosive application after cleaning ensures your battery lasts as long as possible.[6]
- If you need more space to work with, detach the cables from the terminals. This way, you can easily reach both parts.
- You can also use petroleum jelly or a silicone gel instead of the anti-corrosive spray.
- Ideally, clean the batteries off once a month. Doing this can make your batteries last up to 3 years longer than normal.
Advertisement
Method 3
Method 3 of 3:
Performing Routine Maintenance
-
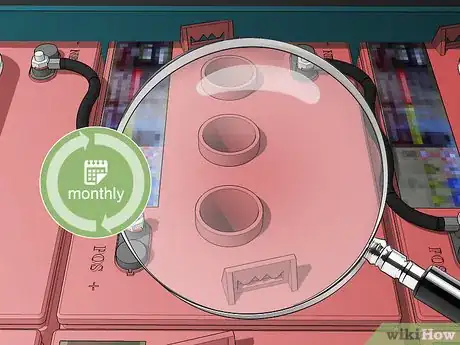
1Check the batteries once a month. Get into the habit of checking the batteries routinely. At least once a month, the batteries in an electric golf cart will need to be refilled with distilled water. You should also clean the terminals and take the time to inspect the components for damage.[7]
- Check the batteries frequently until you’re sure how much water they use.
- In warmer months, the batteries need to be refilled more frequently.
- Always inspect and recharge the batteries after storing the cart over the winter.
-
2Examine the batteries for signs of damage. Check for any acid leaks. You may notice a dripping liquid and distortions in the battery casing. If you see this, you will need to replace your battery. If you see a crack, you can try sealing it with an acid-resistant, non-flammable adhesive such as epoxy glue.[8]
- Stay safe. If you are worried about the condition of your batteries, replace them.
-
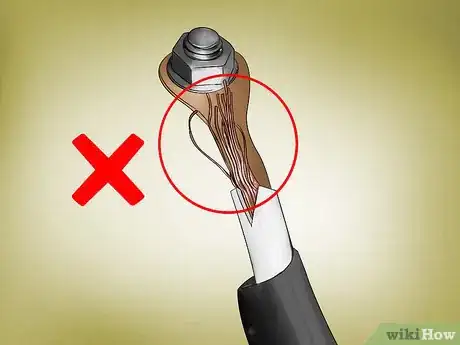
3Replace any frayed cables immediately. Frayed cables are electrical hazards and should be dealt with before operating the cart again. Twist the nuts on the end clamps counterclockwise to remove them. Replace them with new battery cables purchased from an auto parts store.[9]
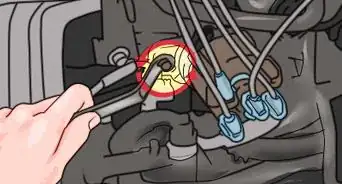
- If the nuts are difficult to remove, they may be corroded in place. Twist them off with pliers, but be careful not to touch any other metal until you’re done.
-
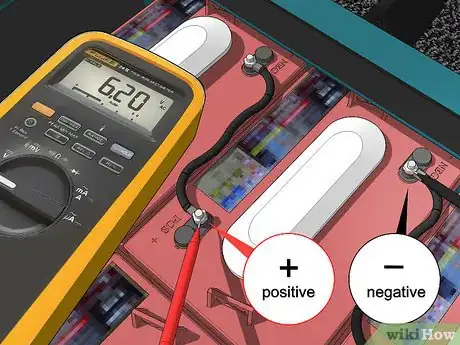
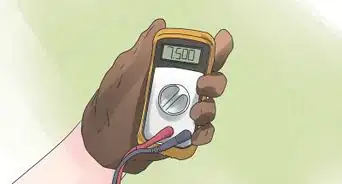
4Test the batteries with a multimeter. Unfortunately, batteries do wear out over time. If you suspect your batteries have an issue, you can test them by clamping a multimeter to the terminals. A low voltage can signify that your battery needs to be replaced.
- Search for your battery model online to figure out the recommended voltage level if you are unsure about it.
Advertisement
Community Q&A
-
QuestionDo you have any information on automatic battery filler?
 Community AnswerA battery water filler is a bottle designed for topping off battery water to batteries without overfilling. It is designed to automatically shut off when the right fluid level is reached. Although adding water to battery can be performed without using a designated equipment, it is more efficient and effective to use a battery filler bottle. Otherwise, you might spill a lot of water while trying to aim at the small battery vent. In addition, water spills can also make a smooth floor slippery and dangerous to walk on.
Advertisement
Warnings
- Replace damaged batteries and cables right away in order to avoid acid leaks or fires.⧼thumbs_response⧽
- Battery acid is highly corrosive. It can permanently damage your cart. Be careful when handling it.⧼thumbs_response⧽
Advertisement
Things You’ll Need
- Golf cart charger
- Rubber gloves
- Safety glasses
- Water
- Baking soda
- Anti-corrosive battery spray
References
- ↑ https://www.youtube.com/watch?v=gYsozEP8XMg&feature=youtu.be&t=62
- ↑ http://www.bspgc.com/images/service/MaintainElectricPrecedent.pdf
- ↑ http://golfcartsplus.com/wp-content/uploads/2014/11/golfcart101.pdf
- ↑ https://www.youtube.com/watch?v=gYsozEP8XMg&feature=youtu.be&t=62
- ↑ https://healthfully.com/maintain-golf-carts-batteries-2049848.html
- ↑ http://golfcartsplus.com/wp-content/uploads/2014/11/golfcart101.pdf
- ↑ https://healthfully.com/maintain-golf-carts-batteries-2049848.html
- ↑ https://healthfully.com/maintain-golf-carts-batteries-2049848.html
- ↑ http://www.bspgc.com/images/service/MaintainElectricPrecedent.pdf
About This Article
Advertisement
