This article was co-authored by Jason Shackelford and by wikiHow staff writer, Eric McClure. Jason Shackelford is the Owner of Stingray Auto Repair, a family owned and operated auto repair shop with locations in Seattle and Redmond, Washington. He has over 24 years of experience in auto repair and services, and every single technician on Jason’s team has more than 10 years of experience.
There are 15 references cited in this article, which can be found at the bottom of the page.
This article has been viewed 600,147 times.
A faulty ignition switch can cause your car to stall, keep your engine from starting, or lead to unexpected electrical issues with your lights and power steering. The good news is that replacing the ignition switch and cylinder is surprisingly straightforward—even if you’ve never worked on a car before. The not-so-grand news is that accessing the cylinder can be a little time consuming, since dashboard panels tend to hide the screws and tabs that lock them in place. But worry not, we’re here to help. In this article, we’ll show you how to swap out your faulty ignition switch so that you can get back on the road.
Things You Should Know
- Disconnect the battery and remove the trim surrounding your steering wheel until you can see the top of the metal ignition cylinder.
- Push a screwdriver into the opening at the back of the ignition cylinder and slide the entire module out.
- Purchase a replacement ignition cylinder for your make and model, or ask a dealership to rebuild your ignition switch.
- Install the new ignition switch and cylinder by sliding it into the slot on the steering wheel and reassemble your dashboard.
Steps
Accessing the Ignition
-
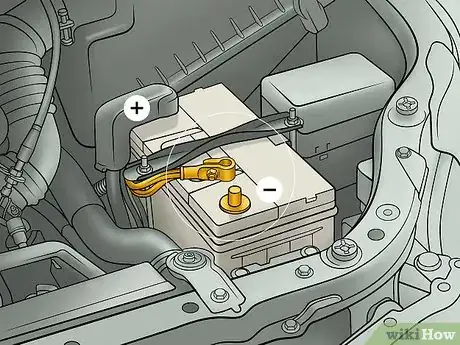
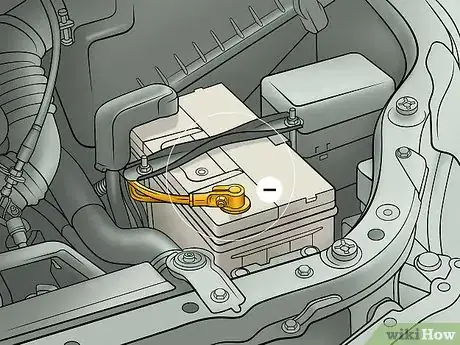
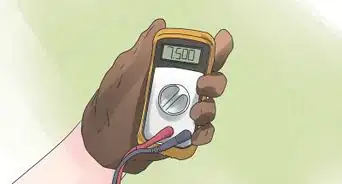
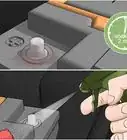
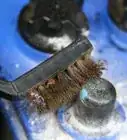
1Disconnect the negative terminal on the battery. Turn the car off if you can, pop the hood, and locate your battery. The battery is the black box with a positive (+) and negative (-) post sticking out of the top of it. Use a wrench to loosen the nut holding the cable on the negative (-) terminal and then slide it off the post.[1]
- You don’t need to remove the positive cable from its terminal.
- Tuck the negative cable to the side of the battery to make sure it doesn’t accidentally come into contact with the terminals.
EXPERT TIP"If your ignition switch is going bad, your key might not turn in the ignition, and the vehicle may not turn over when you crank it."
Jason Shackelford is the Owner of Stingray Auto Repair, a family owned and operated auto repair shop with locations in Seattle and Redmond, Washington. He has over 24 years of experience in auto repair and services, and every single technician on Jason’s team has more than 10 years of experience.
Jason Shackelford
Auto Technician Jason Shackelford
Auto Technician -
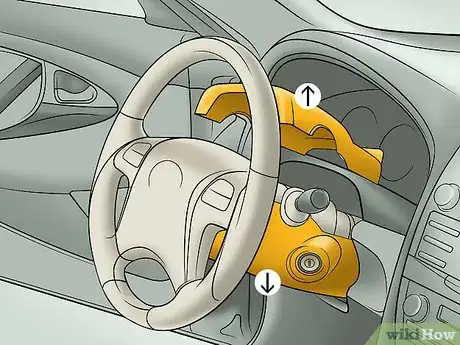
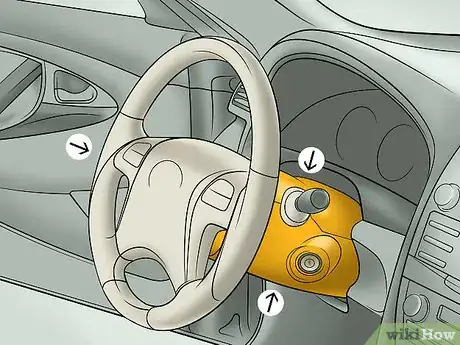
2Remove the trim around the steering wheel. There are likely a number of plastic pieces covering up the cylinder holding your ignition switch. Remove them carefully by either popping them off of their plastic clips or removing the screws and bolts that hold those pieces in place.[2]
- Refer to a vehicle specific repair manual for guidance on how best to gain access to the ignition switch. This process is a little different on every make and model.
- Set all trim pieces aside somewhere safe where they won’t get stepped on or damaged.
- Don’t get overwhelmed by all of the wires and components you’re exposing; you aren’t going to damage anything by taking the dash panels off.
Advertisement -
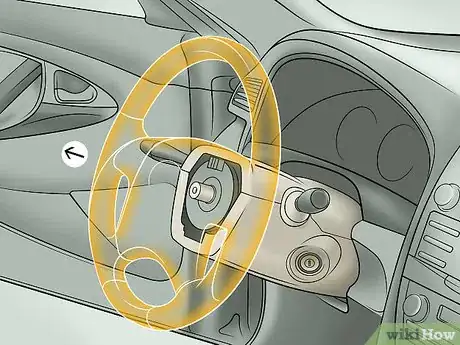
3Take the steering wheel out if it covers the top of the ignition. In some vehicles, you may be able to replace the ignition switch without removing the steering wheel. However, if you’re unable to get access to the top of the ignition switch with all the interior trim pieces removed, take the steering wheel out. Refer to a vehicle specific repair manual for guidance on how to safely remove your steering wheel from the vehicle.[3]
- It’s important to get vehicle-specific guidance on steering wheel removal to avoid damaging the steering column or airbag.
- If you don’t have your manual, go online and download the manual for your specific vehicle.
- On some vehicles, you'll need a special tool called a steering wheel puller to remove it. These tools often come in kits with specialized tools for removing trim pieces as well.
-
4Release the clips on the ignition module cover. There may be a plastic cover surrounding the ignition cylinder in your vehicle. If so, press the release clips found on either side of the cover (it’s round, so they’ll be 180 degrees opposite of one another). You may need to press the top release with a screwdriver if it’s too difficult to access with your fingers.[4]
- With the releases pressed, slide the cover out over the ignition module.
- Set all your pieces aside someplace safe until you need to reassemble the dash.
Removing the Ignition Cylinder
-
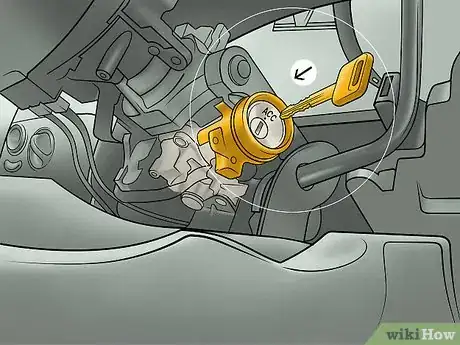
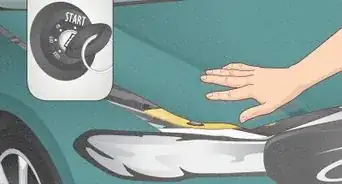
1Insert the key and turn it to the accessory position. The ignition switch needs to be set to the accessory position before you can release it from the ignition module. The accessory position is before the starter is engaged, and would normally let you run the vehicle’s electronics without the engine running (when the battery is connected).[5]
- The key may be stuck in the ignition switch, but that shouldn’t stop you from turning it.
- If you don’t have a key, force the module to turn using a flathead screwdriver. It’s okay if you break the switch, you’re going to replace it anyway.
-
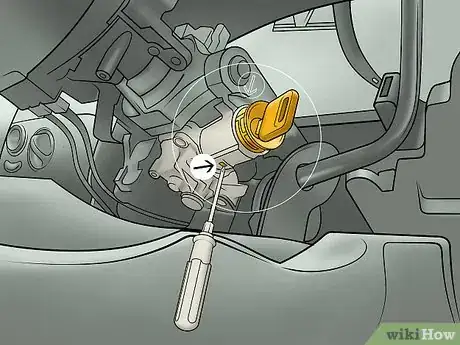
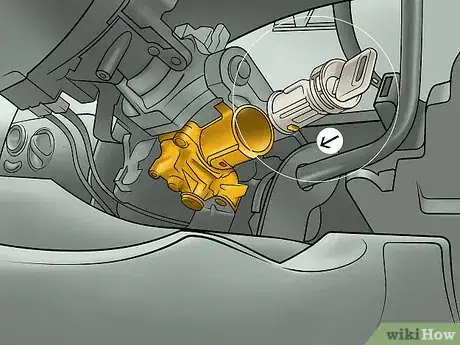
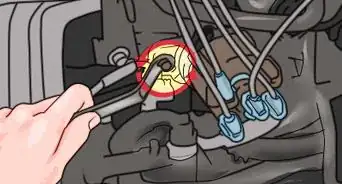
2Press the release pin inside the hole on the ignition cylinder. Look on top of the ignition module for a hole that’s slightly smaller in diameter than a pencil. Insert a screwdriver or thin rod into the hole to press down on the release pin inside. The ignition cylinder should unlock.[6]
- If you don’t have a small enough screwdriver, you can use anything long and thin enough to press the pin, including a paintbrush handle or even a kabob skewer.
- Don’t use anything brittle that may break inside the hole to try to press the pin.
- The ignition switch is connected to the ignition cylinder, which is the round module holding everything together. You’re going to replace the entire cylinder (replacing the switch alone involves electrical work, and the cylinder is likely to be the culprit anyway).
-
3Slide the ignition cylinder out of the steering wheel column. With the release pin pressed, pull the ignition switch straight out of its place beneath the steering wheel. It should come without any resistance, but it’s common for it to stick a bit in older vehicles that have accumulated a lot of dust and debris around the cylinder.[7]
- If the switch feels stuck, make sure you are pressing the release pin firmly enough with your screwdriver or similar tool inside the hole.
- It’s okay to use some force with the cylinder, but don’t damage the steering column.
-
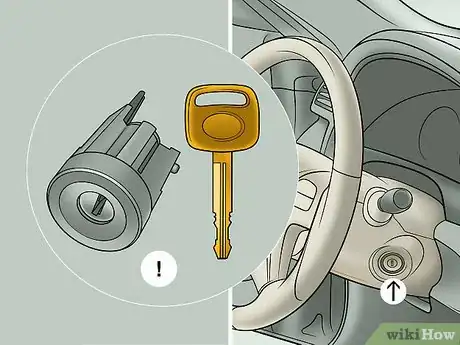
4Get your ignition switch rebuilt if you want to keep the same keys. Some dealerships will rebuild your existing ignition switch if you would rather not have to switch ignition keys. Rebuilding your switch can vary in price based on the application and may not always be available.[8]
- A rebuilt switch should work just as well as a new one.
- The only real benefit of a rebuilt switch is not having to use new keys. That’s the extend of it, though.
- If you plan on having the dealership rebuild your ignition switch, you’re probably best off just not disassembling the dash in the first place. Just have the dealer do all of the work.
-
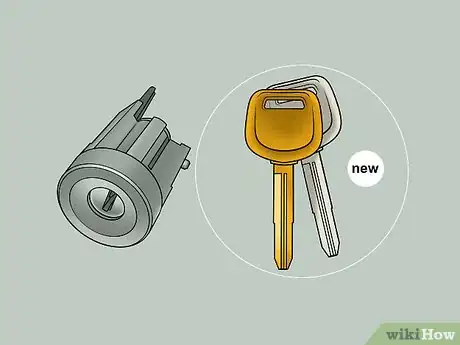
5Purchase a new ignition cylinder if yours can’t be rebuilt. Buy a new switch from a manufacturer-specific dealership that will also provide you with new ignition keys to match. Provide the dealership with the year, make, and model of your vehicle along with the VIN number to be sure to get the right part.[9]
- You can sometimes get aftermarket ignition switches from your local auto parts store as well.
- You can find a ton of replacement switches and keys on eBay.
Installing the Replacement
-
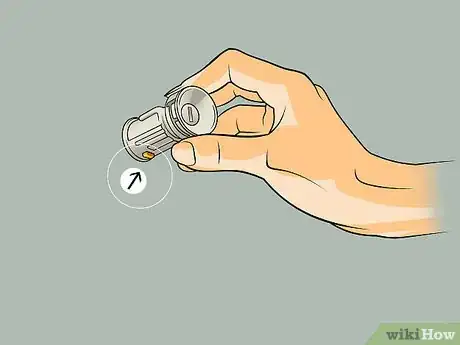
1Squeeze the release pin on the ignition switch so it’s flush with the side. Press the same release pin that stopped the old switch from coming out. Then, slide the switch into place inside the ignition module. Install it at the same angle and orientation as your old cylinder was installed.[10]
- Hold the release pin in until you have the switch inserted.
- Some switches have an angled release pin that you don’t have to press down as you slide the switch in.
-
2Slide the ignition switch into its hole if it’s separate. If your replacement cylinder doesn’t come with the switch preinstalled, slide the switch into the cylinder. Align the shape of the cylinder and the location of the release pin with the coinciding grooves inside the ignition module. Keep pressing it in until you hear the click of the release pin setting into place.[11]
- If you don’t hear a click from the release pin, the ignition switch isn’t properly seated yet.
- You may need to push in on the switch a little to make it click into place.
- The vast majority of aftermarket cylinders will have the switches preassembled and connected.
-
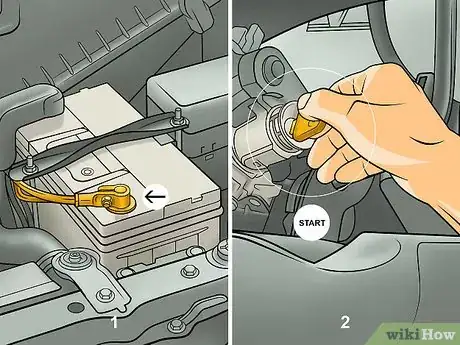
3Reconnect the battery and test the new switch. Test the switch before you completely reassemble the dashboard, just in case there’s an issue. Reconnect the cable to the negative (-) terminal on the battery, then insert the key into the ignition and turn it to start the vehicle.[12]
- If the vehicle doesn’t start, contact a mechanic to check your work or try and reinstall the cylinder and try it again.
-
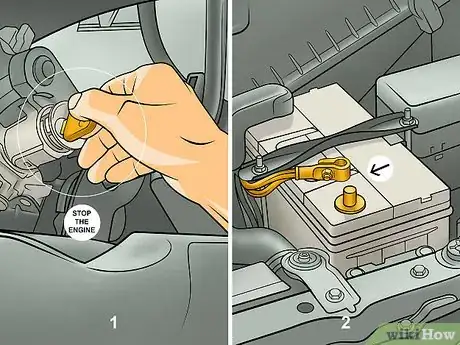
4Shut the engine off and disconnect the battery again. Now that you know the new ignition switch works, you can start re-assembling your interior. Remove the cable from the negative terminal on the battery a second time. This will keep you from getting hurt as you work.[13]
-
5Put the dash back together in the opposite order of how it came apart. Dashboards are notorious for the use of overlapping plastic. Start by installing the last parts your removed and go backwards from there. Every vehicle’s interior is different, so the order you install the parts will vary from model to model.[14]
- If you find yourself having trouble getting the pieces to fit back together properly, refer to a vehicle specific repair manual for help.
- Don’t force trim pieces together or they may break. If one of them won’t go on properly, take it off and look things over to see what’s stopping it from sealing properly.
-
6Reconnect the battery. With the dashboard completely assembled and the new ignition switch working, reconnect the cable to the negative (-) terminal on the battery and tighten it with the right sized wrench.[15]
- Make sure the cable is secure and can’t jiggle loose.
Things You’ll Need
- Screwdriver
- Steering wheel puller (if necessary)
- Replacement ignition cylinder
References
- ↑ https://youtu.be/6DVSAg9Age4?t=30s
- ↑ https://youtu.be/MMR-a2n05gc?t=56s
- ↑ https://www.2carpros.com/articles/steering-wheel-removal
- ↑ https://youtu.be/6DVSAg9Age4?t=5m38s
- ↑ https://youtu.be/4PcBuOn7d6I?t=1m56s
- ↑ https://youtu.be/MMR-a2n05gc?t=1m38s
- ↑ https://youtu.be/MMR-a2n05gc?t=1m55s
- ↑ https://ag.ny.gov/consumer-frauds/used-car-lemon-law-fact-sheet
- ↑ https://youtu.be/MMR-a2n05gc?t=1m49s
About This Article
To replace an ignition switch, you'll need to either have your old switch rebuilt by a dealership so you can keep your old keys or purchase a new switch from a dealership and get a new set of keys. Either way, you should remove your old ignition switch by taking out your vehicle's steering wheel and ignition module cover, inserting the key and turning it to the accessory position, and then sliding out the switch. Once the old switch is out, you can slide the new or rebuilt one into the hole on the steering column and reassemble the dashboard. To learn how to remove a steering wheel and ignition module cover, keep reading!
