This article was co-authored by Melinda Meservy. Melinda Meservy is a Plant Specialist and the Owner of Thyme and Place, a botanical boutique offering plants and gifts in Salt Lake City, Utah. Before starting her own business, Melinda worked in process and business improvement and data analytics. Melinda earned a BA in History from the University of Utah, is trained in lean and agile methodologies, and completed her Certified Professional Facilitator certification. Thyme and Place offers indoor plants and containers, a fully stocked potting bench, and tips on plants to suit your space and lifestyle.
There are 11 references cited in this article, which can be found at the bottom of the page.
wikiHow marks an article as reader-approved once it receives enough positive feedback. In this case, 100% of readers who voted found the article helpful, earning it our reader-approved status.
This article has been viewed 340,768 times.
If you want a sleek, modern concrete planter for your outdoor plants, why not make your own instead of shelling out hundreds of dollars? With just some simple supplies and concrete, you can make a custom planter that's the perfect size and shape for your garden. This article will walk you through how to make a mold and pour the concrete for your planter step by step. Soon, you'll have a sturdy, aesthetic new home for your plants.
Steps
Creating the Mold
-
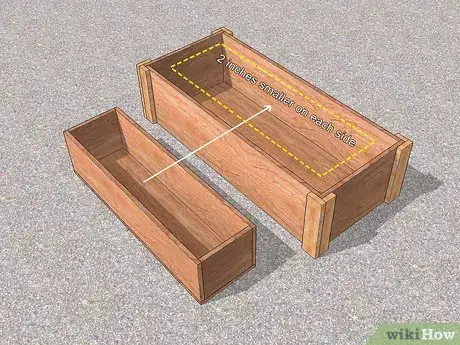
1Get 2 different sized boxes. The boxes will be the molds that you’ll use to create the planters. Find 1 large box and a slightly smaller box. The smaller box should be able to fit inside of the larger box. The space in between the 2 boxes will determine the thickness of your concrete planters.[1]
- The boxes can be made of cardboard or wood.
- The smaller box should be at least 2 inches (5.1 cm) smaller than the big box on each side.
- The smaller box should be at least 8 inches (20 cm) deep for larger plants and 3–4 inches (7.6–10.2 cm) deep for smaller plants.
- Get sturdy boxes so that the mold doesn’t break when you fill it with concrete.
-
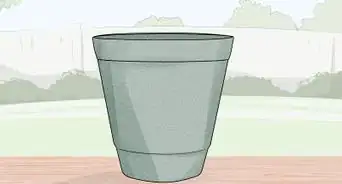
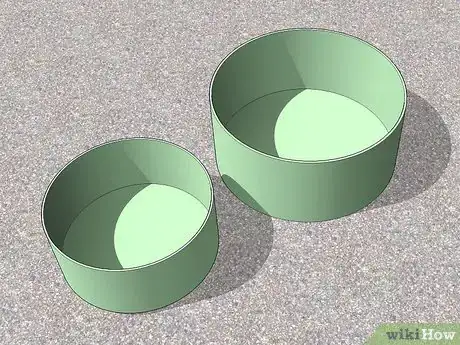
2Use plastic containers rather than boxes. If you want a concrete planter that’s a different shape than a rectangle or square, you can purchase plastic containers of any shape to serve as your molds.[2] Find 2 different sized plastic containers online or at a department store.[3]
- The smaller container should be at least 2 inches (5.1 cm) smaller than the larger container around each side.
- The smaller container should be at least 8 inches (20 cm) deep for larger plants and 3–4 inches (7.6–10.2 cm) deep for smaller plants.
- For instance, you can get 2 pots or 2 plastic bowls.[4]
Advertisement -
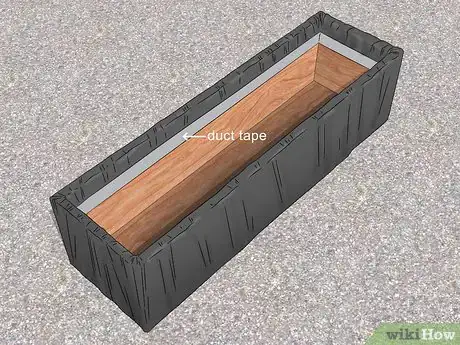
3Tape a plastic trash bag around the smaller container. Stretch the trash bag over the smaller container so that it's taut against the sides. The trash bag should be tight against the inside of the container as well. Tape the trash bag to the box or container with duct tape.[5]
- The plastic bag will prevent the concrete from sticking to the small container and will make it easier to remove the mold.
-
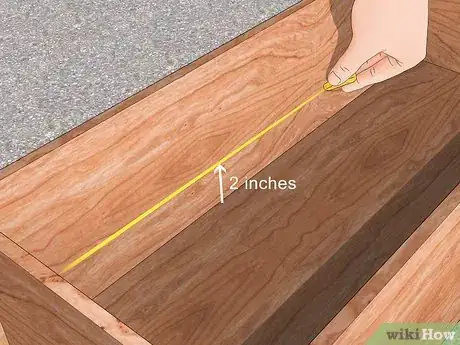
4Mark 2 inches (5.1 cm) from the bottom of the large container. Use a ruler to measure 2 inches (5.1 cm) from the base on the inside of the large container. Make a horizontal line with a pen or marker. This will help you determine how much concrete you should initially pour into the mold.[6]
- If you want the sides of your planter to be thicker, measure and mark the line to reflect the change in dimensions.
- For instance, if your planter's walls are 4 in (10 cm)-thick, you'd measure and mark 4 inches (10 cm) from the base of the planter.
-
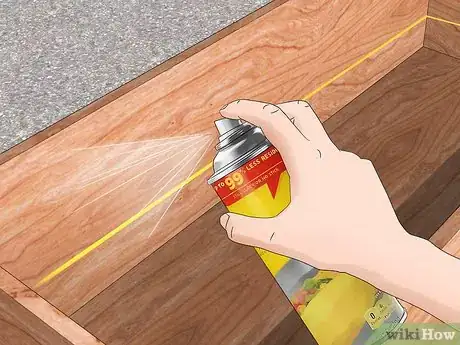
5Coat the inside of the larger box with cooking spray. Spread the non-stick spray around to get an even coating on the inside of the larger box. The cooking spray will make it so that the concrete doesn’t stick to the sides of the larger container.[7]
- You can purchase a can of cooking spray online or at a grocery store.
- You can coat the inside of the larger box with mineral spirits as an alternative to cooking spray. Pour the spirits into the bottom of the box and spread it around on the inside of the box with a rag.
Filling in the Mold
-
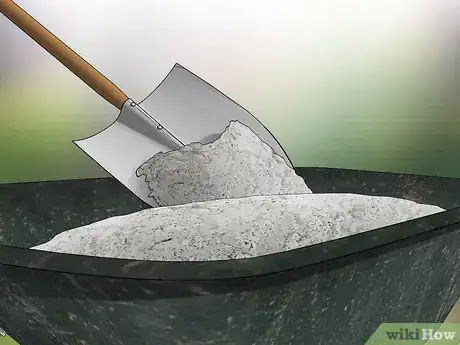
1Mix concrete and water in a wheelbarrow or bucket.[8] Read all of the instructions on the package of concrete so you know the ratio of concrete to water. Put on a pair of gloves and pour the concrete mix into the wheelbarrow or bucket. Then, slowly pour in the appropriate amount of water into the concrete mix. Mix the concrete and water with a stick or shovel until it’s an oatmeal-like consistency.[9]
- You can add a variety of powdered concrete pigments during the mixing process to infuse different colors into the planter.[10] Purchase concrete pigments online.
- Concrete pigments come in a variety of colors like blue and red.[11]
- If you run out of concrete while filling your mold, mix more.
- Try to get out all of the lumps from the concrete before pouring it.
-
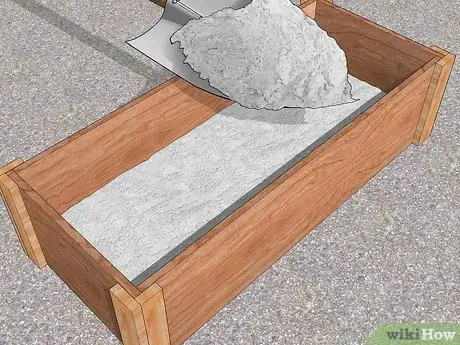
2Pour concrete into the larger box, up to the line that you made. Shovel the concrete from the wheelbarrow or bucket into the large container. Continue to fill the larger container until it reaches the mark that you made or is 2 inches (5.1 cm) high. This will form the bottom of your planter.[12]
- If you have thicker walls, adjust the pour level of the concrete. For instance, if you marked 4 in (10 cm) from the base of the planter, fill the concrete up to the line that you marked.
-
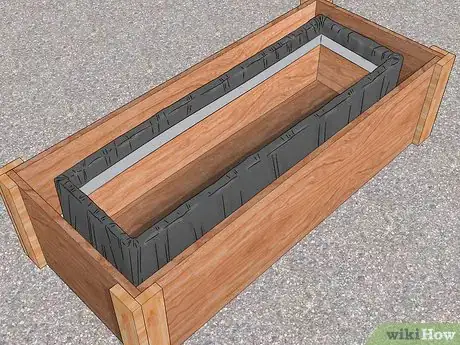
3
-
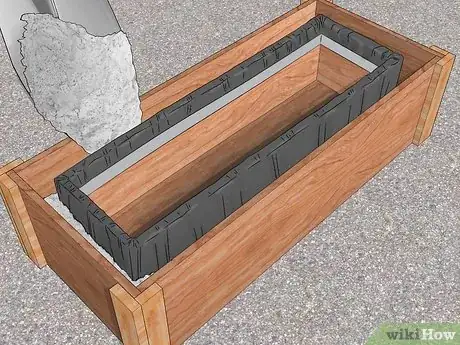
4Pour the wet concrete in between the smaller and larger container. Slowly pour the concrete in between the containers. Continue pouring the concrete until it completely fills the mold.[15]
- The concrete should not fill the small container or connect over the top rim of the small container.
-
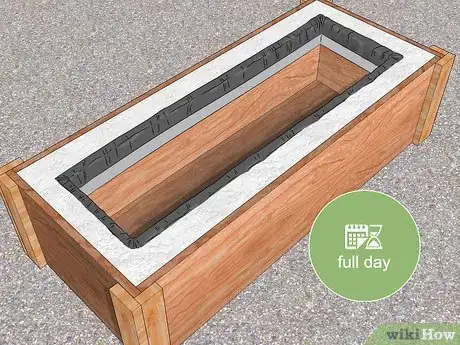
5Let the mixture cure for a full day. Set the molds aside in a place where they won’t be disturbed. Cover the top of the molds with a cloth or tarp. Wait a full day so that the concrete can fully harden and set.[16]
- Check the instructions on your concrete bag to determine exact curing times.
Finishing the Planter
-
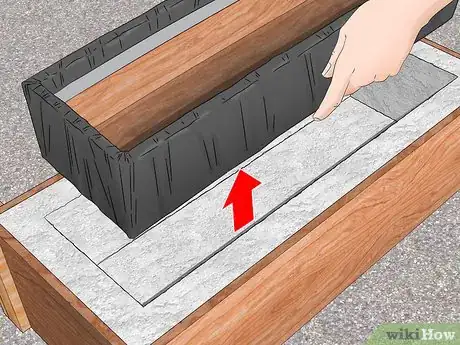
1Pull out the smaller mold. Grab the edges of the smaller container and pull it out of the concrete. If you covered it with a plastic bag, it should come out fairly easily. Peel away any plastic that may have stuck to the inside of the larger mold.[17]
- If you're having trouble getting the small mold out, you can use a crowbar to pry it out of the larger mold.
-
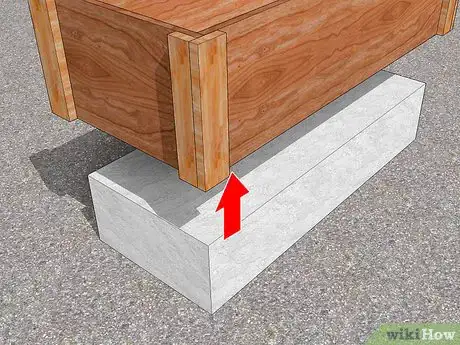
2Flip the planter over and lift up the larger container. If you sprayed the inside with cooking spray, the planter should slide out. If you used a cardboard box, peel away the sides and bottom of the box to reveal the concrete planter.[18]
- If you're having trouble getting the planter out, don't be scared to break the larger mold.
-
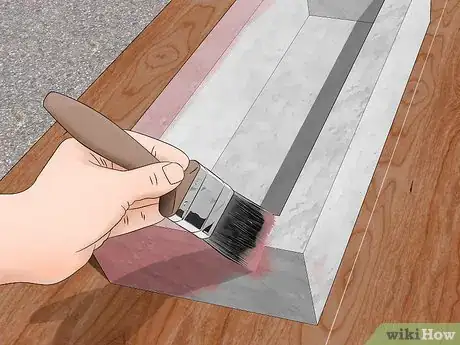
3Decorate the outside of the planter to personalize it. You can superglue stones, decorative glass, or beads to the outside of the planter to give it a more colorful look. You can use masonry paint to paint the outside of the planter if you want it to be a different color.[19]
-
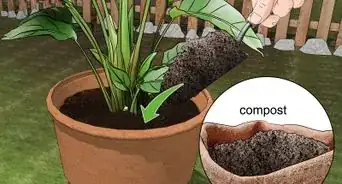
4Plant your indoor or outdoor plant in the planter. Fill the interior of the planter with potting mix and plant whatever flower or houseplant that you want. You may want to amend and replace the soil once a month to keep your plant alive and healthy.[22]
- You can also grow a new plant by planting a seed in the pot.
Expert Q&A
Did you know you can get expert answers for this article?
Unlock expert answers by supporting wikiHow
-
QuestionHow long do I have before the cement dries?
 Melinda MeservyMelinda Meservy is a Plant Specialist and the Owner of Thyme and Place, a botanical boutique offering plants and gifts in Salt Lake City, Utah. Before starting her own business, Melinda worked in process and business improvement and data analytics. Melinda earned a BA in History from the University of Utah, is trained in lean and agile methodologies, and completed her Certified Professional Facilitator certification. Thyme and Place offers indoor plants and containers, a fully stocked potting bench, and tips on plants to suit your space and lifestyle.
Plant Specialist
-
QuestionHow do I make a mold for concrete planters?
 Community AnswerCardboard and tape can be used to make molds. Glass can be used too, but could break if no lubricants etc. are added.
 -
QuestionIs it possible to color the concrete during the process?
 Community AnswerYou can add an integral color when you mix the concrete or you can color with an acid stain after the concrete has cured. If you use an acid stain, you will need to neutralize the acid with an ammonia/water mixture. Whether you use integral color or acid stain, it is highly recommended that you use a concrete sealer (water based is fine) before using your concrete planter — it protects the concrete and enhances the color.
Things You’ll Need
- 2 differently sized boxes or containers
- Plastic trash bag
- Duct tape
- Marker or pen
- Cooking spray
- Gloves
- Concrete
- Water
- Wheelbarrow or bucket
- Shovel
- Potting mix
- Plant
References
- ↑ https://youtu.be/D_-jZzMC434?t=19
- ↑ Melinda Meservy. Plant Specialist. Expert Interview. 18 August 2020.
- ↑ http://littlegreennotebook.com/2014/03/diy-concrete-planters.html/
- ↑ http://littlegreennotebook.com/2014/03/diy-concrete-planters.html/
- ↑ https://www.thisoldhouse.com/how-to/how-to-make-concrete-planter
- ↑ https://www.thisoldhouse.com/how-to/how-to-make-concrete-planter
- ↑ https://www.curbly.com/diy-concrete-planters
- ↑ Melinda Meservy. Plant Specialist. Expert Interview. 18 August 2020.
- ↑ https://www.apartmenttherapy.com/try-this-super-simple-diy-marbled-and-ombre-concrete-planters-233425
- ↑ Melinda Meservy. Plant Specialist. Expert Interview. 18 August 2020.
- ↑ https://www.apartmenttherapy.com/try-this-super-simple-diy-marbled-and-ombre-concrete-planters-233425
- ↑ https://www.thisoldhouse.com/how-to/how-to-make-concrete-planter
- ↑ Melinda Meservy. Plant Specialist. Expert Interview. 18 August 2020.
- ↑ https://www.thisoldhouse.com/how-to/how-to-make-concrete-planter
- ↑ https://www.thisoldhouse.com/how-to/how-to-make-concrete-planter
- ↑ https://www.thisoldhouse.com/how-to/how-to-make-concrete-planter
- ↑ https://youtu.be/D_-jZzMC434?t=304
- ↑ https://youtu.be/D_-jZzMC434?t=312
- ↑ https://gardentherapy.ca/how-to-make-concrete-planters/
- ↑ https://www.houselogic.com/remodel/painting-lighting/concrete-painting/
- ↑ https://www.countryliving.com/diy-crafts/g4124/diy-pretty-flower-pot-ideas/
- ↑ https://gardentherapy.ca/how-to-make-concrete-planters/
- ↑ Melinda Meservy. Plant Specialist. Expert Interview. 18 August 2020.
About This Article
To make a simple concrete planter, get a pair of rectangular boxes of slightly different sizes. The smaller box should be about 2 inches (5 cm) shorter on each side than the bigger one. Wrap the smaller box in a plastic garbage bag and tape the bag in place. Measure up 2 inches (5 cm) from the inside bottom of the larger box and draw a line at that level all around the inside of the container. Coat the inside of the larger box with cooking spray to keep the concrete from sticking. Pour concrete into the bottom of the larger box up to the level of the line you drew, then set the smaller container inside the larger one. Fill the smaller box with stones or sand to keep it from floating around, then pour more concrete into the space between the sides of the two containers. Let the concrete cure for a full day, then carefully pull the smaller container out of the mold. Flip the larger container upside down to release the planter. Paint or decorate the planter however you like. For tips on decorating your finished planters, read on!




-Oven-Step-15.webp)

