This article was co-authored by wikiHow Staff. Our trained team of editors and researchers validate articles for accuracy and comprehensiveness. wikiHow's Content Management Team carefully monitors the work from our editorial staff to ensure that each article is backed by trusted research and meets our high quality standards.
This article has been viewed 742,418 times.
Learn more...
Instead of presenting your loved one with store-bought chocolates for a special occasion, why don't you make him or her some original treats? Chocolate is actually quite simple to make at home, and you can customize them to create unique flavor combinations. Learn how to make simple chocolate candies, chocolate truffles, or homemade chocolate bars.
Steps
Simple Chocolate Candies
-
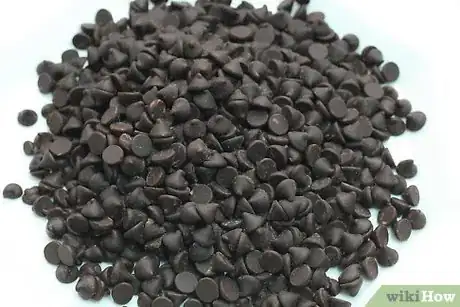
1Gather your ingredients. Here's what you'll need to make simple chocolate candies:
- 8 ounces chopped chocolate bars or chips
- Optional mix-ins like nuts, dried fruit or shredded coconut
- Optional fillings like caramel, peanut butter or jam
-
2Choose chocolate to use. Any type of solid chocolate bar or chocolate chips will work using this technique. Choose milk chocolate, dark chocolate, or even white chocolate to make into candies.Advertisement
-
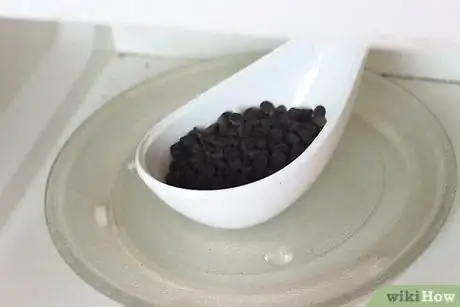
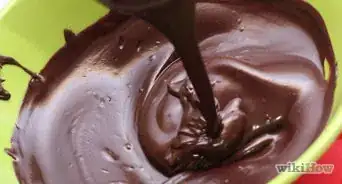
3Melt the chocolate. Place it in a microwave safe bowl and put it in the microwave. Cook it on high for 30 seconds, then open the microwave and stir the chocolate. Cook it for another 30 seconds and stir again. Repeat until the chocolate is completely melted.
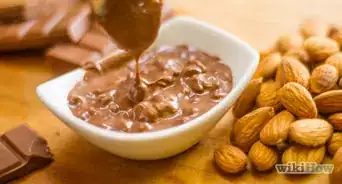
- You can mix in chopped nuts, shredded coconut, dried fruit pieces, or other mix-ins to customize your chocolate.
- Add a few drops of peppermint extract if you want to make mint chocolate.
-
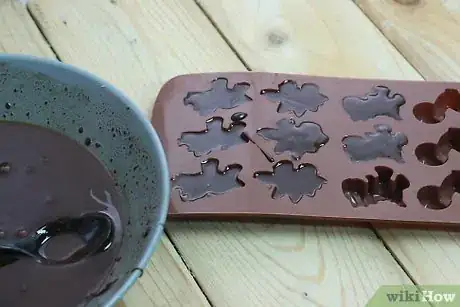
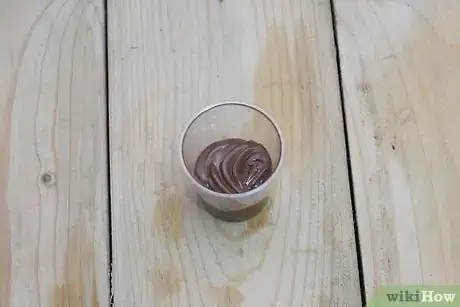
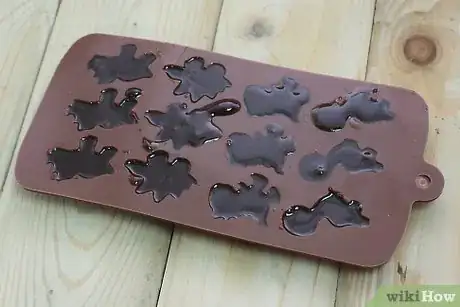
4Pour the chocolate into molds. While it's still hot, pour the melted chocolate into individual candy molds. Molds come in all sorts of shapes and sizes, and can be found at kitchen supply stores. Fill the molds to their rims. If necessary, use the back of a spoon to smooth the chocolate into the corners.
- If you don't have candy molds, get creative and make your own. Use mini muffin tins, small paper cups, shot glasses, or another type of container as molds.
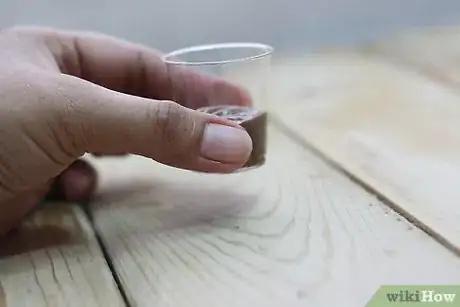
- To help the chocolate settle, you can lift it a few inches above the counter and let it drop. This removes air bubbles and smooths out the chocolate.
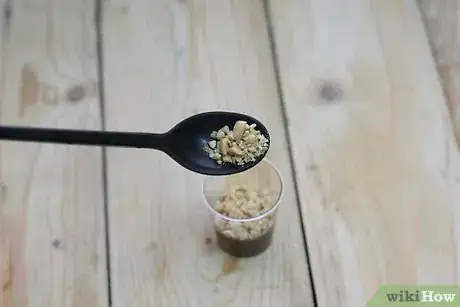
- To make filled chocolates, fill the molds halfway, then spoon a bit of caramel, peanut butter, or another filling in the center of the chocolate. Pour more chocolate on top of the filling to fill the mold to the top.
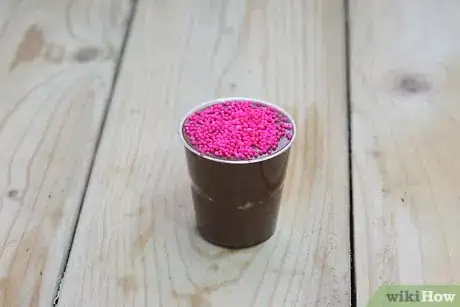
- Sprinkle the chocolate with sprinkles or other decorations if you wish.
-
5Let the chocolates cool. Leave them on the counter to harden or put them in the refrigerator. Let them get completely cool before you try to take them out of the molds.
-
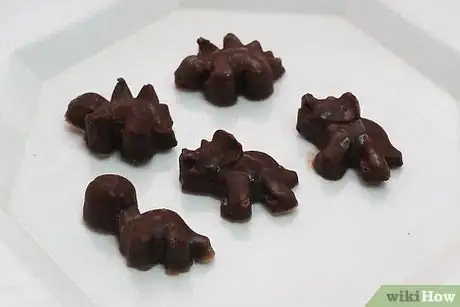
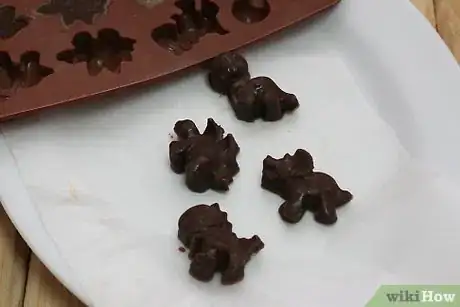
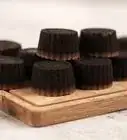
6Remove the chocolates from the molds. Carefully pop them out of the molds. Eat them right away or wrap them in chocolate wrappers to give as gifts.
-
7Finished.
Chocolate Truffles
-
1Gather your ingredients. Here's what you'll need to make chocolate truffles:
- 8 ounces chopped chocolate bars or chips
- 1/2 cup cream
- 1 tablespoon liqueur or a few drops of flavoring
- Cocoa powder or nuts for coating
-
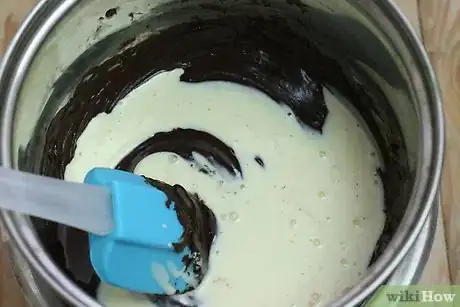
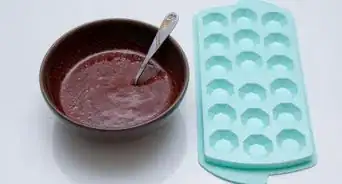
2Make the chocolate mixture. Place the chocolate pieces in a large ceramic or heatproof bowl. Put the cream in a small saucepan and heat it on the stove until it comes to a boil. Pour the cream over the chocolate and stir until the chocolate is completely melted and combined with the cream.
-
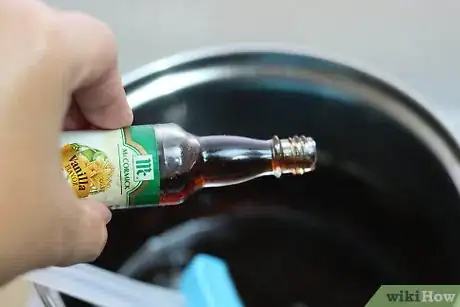
3Add flavoring. If you want to add liqueur or another flavoring, such as vanilla or peppermint extract, stir it into the melted chocolate mixture.
-
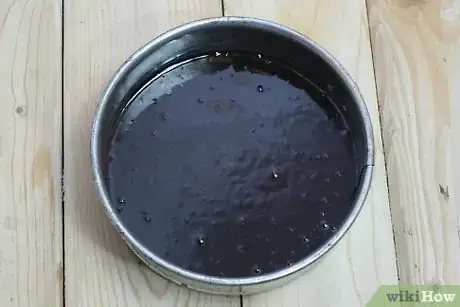
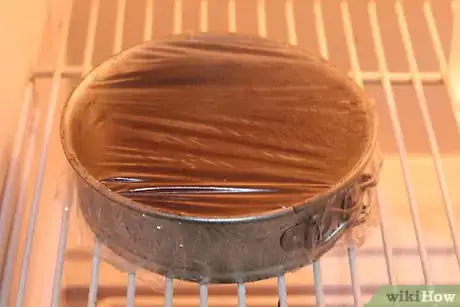
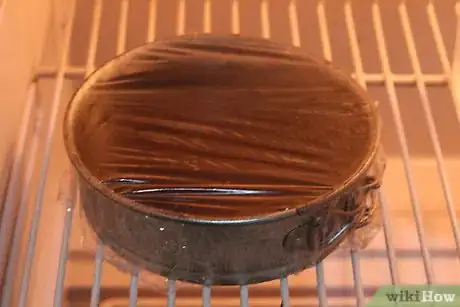
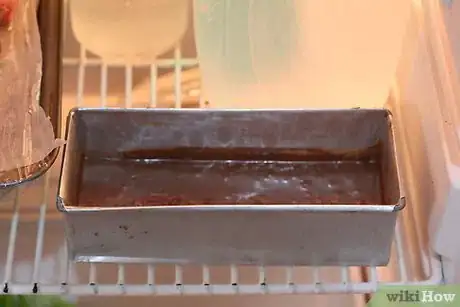
4Let the chocolate cool. Pour it into a baking pan or cake pan and let it stand on the counter until the mixture thickens a bit. Stir it once more, then cover it with plastic wrap and place it in the refrigerator. Let the chocolate cool for 2 hours.[1]
- Check to make sure the chocolate has thoroughly cooled before moving on to the next step. It will be much more difficult to handle if it's still warm.
- It's fine to melt the chocolate and chill it overnight if you want to make truffles the next day.
-
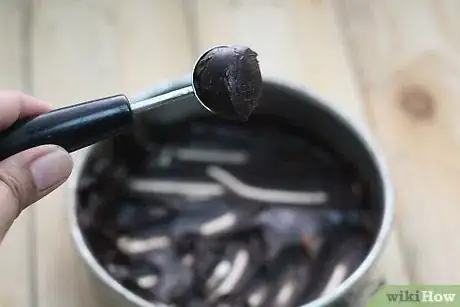
5Scoop the chocolate. Use a small ice cream scoop or a rounded teaspoon to scoop chocolate from the pan. Shape it into a ball with your hands, working quickly so the chocolate doesn't melt. Place the chocolate truffle on a baking sheet lined with parchment or wax paper, to keep it from sticking. Repeat with the remaining chocolate, taking care to make the truffles equal in size.
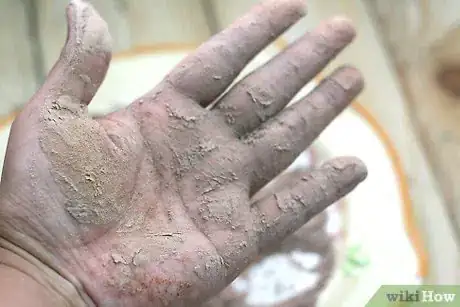
- If the chocolate starts melting as you handle it, try coating your hands in cocoa powder, or running them under cool water and thoroughly drying them before continuing.
- You can also place the chocolate back in the refrigerator to cool it down as necessary.
-
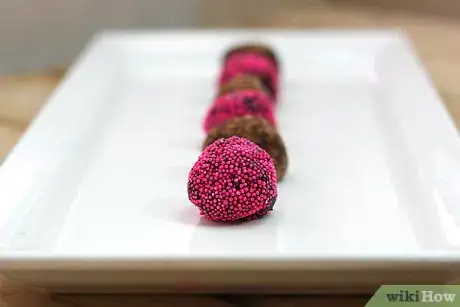
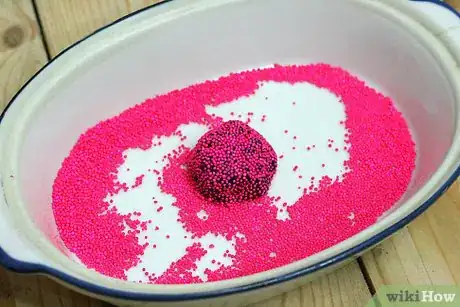
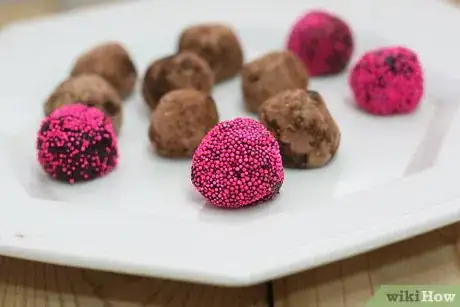
6Coat the truffles. Roll the truffles in cocoa powder, chopped nuts, sprinkles, or another topping of your choice to coat them. Be sure each side is coated evenly.
-
7Store the truffles. If you aren't eating them right away, store the truffles in an airtight container in the refrigerator. Since they contain cream, they shouldn't be left too long at room temperature.
Homemade Chocolate Bars
-
1Gather your ingredients. Here's what you'll need to make homemade chocolate bars:
- 1 cup cocoa butter
- 1 cup dutch process cocoa powder
- 1/2 cup honey, maple syrup or agave nectar
- 1 teaspoon vanilla extract
-
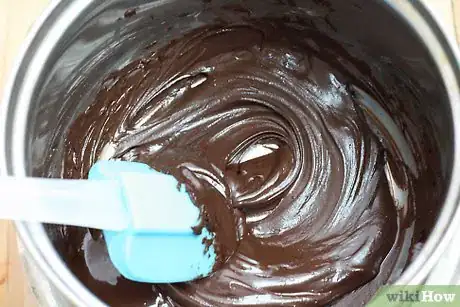
2Melt the cocoa butter and sweetener. Place the cocoa butter and sweetener (be it honey, maple syrup or agave nectar) in a bowl. Microwave it on high until the cocoa butter is completely melted, then stir the ingredients together until smooth.[2]
-
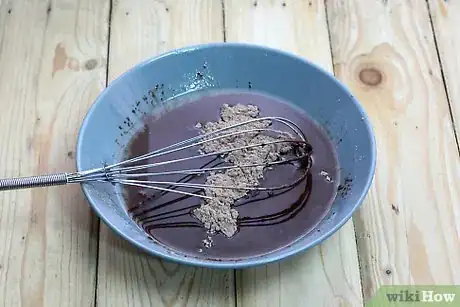
3Add the cocoa powder and vanilla. Stir them into the mixture until the ingredients are completely blended and no lumps of cocoa powder remain.
-
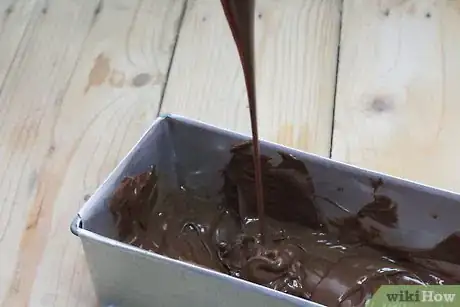
4Pour the chocolate into molds. Use candy molds or create bars of chocolate by pouring the mixture into the bottom of a small baking pan, such as a bread loaf pan.
-
5Let the chocolate cool. Allow the chocolate to harden at room temperature, or place it in the refrigerator to speed things along. If you're making chocolate bars, score the chocolate to create bar shapes halfway through to make the bars easier to cut later.
-
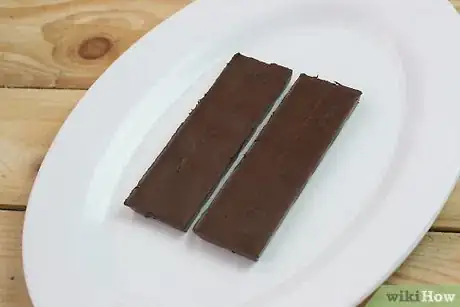
6Remove the chocolate from the molds. Pop the chocolate candies from the molds, or cut the chocolate into bars. Store chocolate you don't immediately eat in the refrigerator.
-
7Finished.
Community Q&A
-
QuestionCan I use anything aside from cocoa butter?
 Community AnswerRegular butter will do just fine.
 -
QuestionCan I make chocolate with coffee powder instead of chocolate chips or cocoa?
 Community AnswerIf you are making a chocolate recipe then substituting coffee powder for cocoa powder will give you a different taste. The taste of chocolate will be replaced by a taste of coffee, so your candy will no longer be chocolate.
 -
QuestionHow can I carry the chocolate around without it melting?
 Community AnswerAvoid keeping it in the sun or leaving it in the hot car. If you are transferring it to a party or picnic, consider keeping it in a cooler with an ice pack.
Warnings
- Before eating the chocolates, take them out of the fridge and leave them to stand for a while. They may be too cool and hard to eat at first!⧼thumbs_response⧽
- If you want to put sprinkles on the chocolates, you must do it before you cool the chocolate or they will not stick. However, if you want to decorate your chocolates with icing, you must do it after they have cooled.⧼thumbs_response⧽
References
About This Article
To make home made chocolates, start by melting some chocolate chips or a chocolate bar in the microwave for 30 seconds. Then, pour the melted chocolate into a candy mold, muffin tin, plastic cup, or any other container you want to use. To enhance the flavor of your home made chocolates, sprinkle some chopped nuts or pieces of candy over the top of them. Once you've poured all the chocolate into your mold, put it in the refrigerator and wait for the chocolates to cool and harden before serving. If you want to learn how to make chocolate truffles instead, keep reading the article!
