This article was co-authored by wikiHow Staff. Our trained team of editors and researchers validate articles for accuracy and comprehensiveness. wikiHow's Content Management Team carefully monitors the work from our editorial staff to ensure that each article is backed by trusted research and meets our high quality standards.
The wikiHow Video Team also followed the article's instructions and verified that they work.
This article has been viewed 193,399 times.
Learn more...
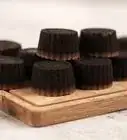
Molded chocolates make a nice dessert as well as a great gift for holidays, birthdays, and other special occasions. Whether you want to use high-quality or standard chocolate, making molded chocolate is not a difficult process!
Steps
Buying and Melting Your Chocolate
-
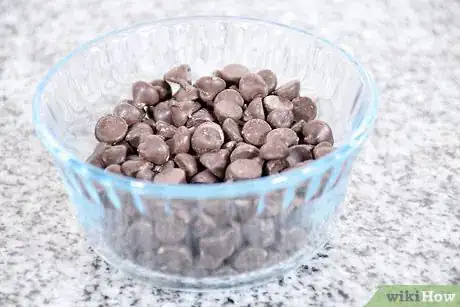
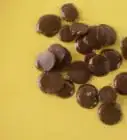
1Buy chocolate bars or chips for the cheapest option. Chocolate chips and chocolate bars don't usually use true chocolate and do not have the same rich taste as couverture chocolate. However, they are more stable—meaning they can be microwaved—and are a lot cheaper than couverture chocolate.[1]
- Always look at the ingredients first to determine the chocolate type. Confectionary chocolate—cheaper chocolates rich in carbohydrates and sugar—contain vegetable fat instead of cocoa butter.
- You can use any chocolate for molded chocolate. In general, anything with vegetable fat (most store-bought chocolates) is going to be easier to melt but not as tasty.
- If you're making chocolate with kids, confectionary chocolate is a great choice because it comes in lots of different colors.
-
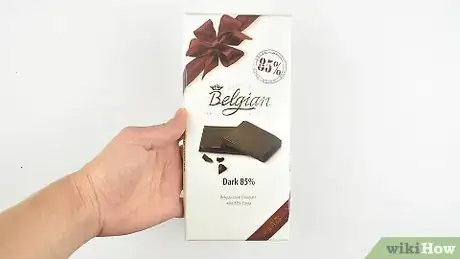
2Purchase couverture chocolate for the best taste. Couverture chocolate is high-quality and tastes great, but much is more expensive than standard chocolate. It also must be heated with a double-boiler. But if you're picky about your chocolate, couverture chocolate is worth the price![2]
- Check the ingredients to determine the chocolate type. Couverture chocolate contains cocoa liquor, cocoa butter, sugar, and vanilla.
- Any chocolate with cocoa butter must be tempered, which means you must use a double-boiler.
Advertisement -
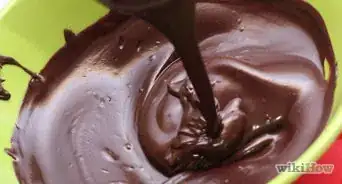
3Microwave the chocolate if you're using chocolate bars or chips. Put 1 pound (450 g) of chocolate in a microwave-safe bowl and heat it for 1 minute on medium. Afterward, stir the chocolate as much as you can. Continue microwaving the chocolate in 1-minute intervals and stirring it afterward until it's a smooth consistency.[3]
- When the chocolate is properly melted, it should pour from a spoon like syrup.
- Be sure that the bowl is microwave safe and never use a microwave without an adult present.
- Don't overcook your chocolate or you'll ruin its consistency.
-
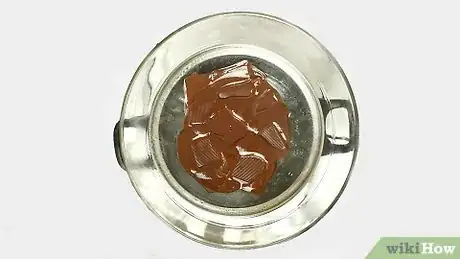
4Double-boil the chocolate if you’re using couverture chocolate. Heat 1 pound (450 g) of couverture chocolate on low for 15 minutes. Place your chocolate into the top pan or bowl. Set the heat to low—2 or 3 on your stove dial—and boil it for about 15 minutes. Use a cooking thermometer to make sure the chocolate is 110 °F (43 °C) when it's done. Be sure to stir the chocolate every 1 to 2 minutes once you notice it start to melt.[4]
- If you don't own a double-boiler, make one on your own.
- Never use an oven without the help of an adult.
Molding Your Melted Chocolate
-
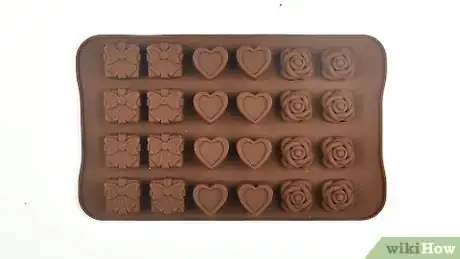
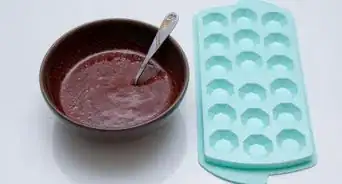
1Purchase a plastic candy mold for your chocolates. Always choose clear molds whenever possible—this makes it easier to tell when your chocolates are done. In terms of size, select whatever mold you'd prefer. Just remember that larger molds take longer to cool.
- Invest in custom molds to create your own shapes and designs!
- Never use a metal mold.
-
2Paint the surface of your candy mold if you want colored chocolates. Use small, food-safe paintbrushes to apply 1 or more colors of a confectionary coating into the surface of each chocolate mold. If you're going to paint multiple colors, make sure to purchase multiple colors of confectionary coating and let each color dry one at a time before adding another. Once all the colors have dried, you can add your chocolate![5]
- If you're up for the challenge, you can also melt cocoa butter (following the same instructions as for chocolate), tint it with fat-soluble food coloring, and use paint the mold surface with it.
-
3Pour the melted chocolate into the mold. If you have squeeze bottles, pour your chocolate into them and squeeze it into each mold cavity. If you don't have squeeze bottles, spoon your chocolate from the bowl and gently pour it into the cavities.[6]
- Gently tap the mold tray onto a tabletop after filling all the cavities. This will remove air bubbles by leveling out the chocolate.
-
4Scrape the excess chocolate from the mold. Run the edge of a small palette knife or offset metal spatula across the top of the mold to remove excess chocolate. Afterward, the chocolate should be level with the surface of the mold.[7]
- If you're making your molds into lollipops, insert the sticks now. Be sure to twist the sticks all the way around once to ensure the chocolate coats it evenly.
-
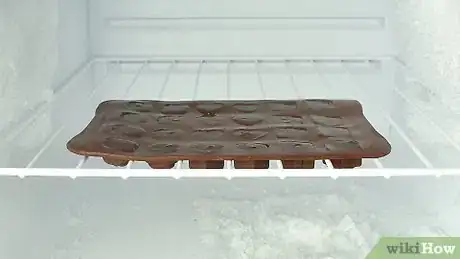
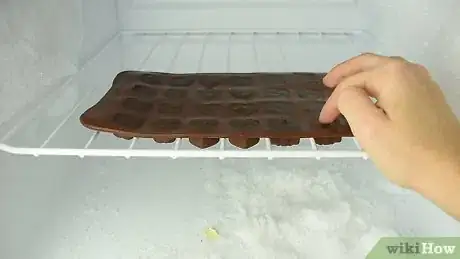
5Place your mold in the freezer for 5 to 10 minutes. Remove small bite-sized chocolate molds in about 5 minutes and standard molds in around 10. Leaving the mold in the freezer is nothing to worry about—it's much better than taking it out too early.[8]
- If you can't freeze your chocolate, refrigerate it for about 15 to 30 minutes (the former for small molds and the latter for standard molds). However, remember that freezing "quick-cools" the chocolate, which makes the pieces easier to remove.
-
6Check that the chocolate has set before taking them out of the mold. Before trying to remove your chocolate pieces from the mold tray, make sure that they have properly contracted and dried. For clear molds, check the underside and make sure the chocolate doesn't look wet. If your mold isn't clear, gently touch the surface of the chocolate while wearing candy handling gloves.
- Purchase candy handling gloves from kitchen stores and online suppliers.
-
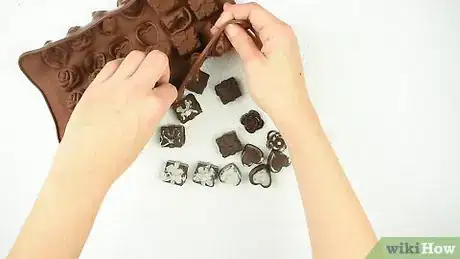
7Remove the molded chocolate from the tray. After removing the mold tray from the freezer, gently tap it against a clean towel spread across a flat surface. If the chocolate cooled properly, the pieces should fall out immediately. For chocolates that don't fall out, gently tap the back of each mold.[9]
- If you used a refrigerator to cool your chocolate, you might have to push each chocolate piece out of the mold from behind the tray.
- Use a paper towel to gently remove any moisture from the chocolate pieces.
-
8Clean your mold as soon as possible. Always clean your mold while the chocolate is still melted. Clean and rinse it thoroughly with soapy water. If there's any chocolate left, put the mold in the freezer until the problematic chocolate hardens. Afterward, gently tap the mold against a hard flat surface and the chocolate should cleanly fall out.[10]
- Use this same strategy for squeeze bottles.
-
9Store your chocolate in a plastic air-tight container. Always place the container in a dry, cool place, such as a pantry or cupboard. Ambient temperature should be 55 to 70 °F (13 to 21 °C) and humidity should be lower than 50 percent.
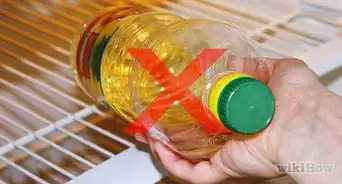
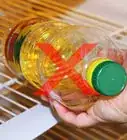
- Never store your chocolate in the refrigerator.
Community Q&A
-
QuestionHow long can the chocolate be stored?
 Maya KearnsCommunity AnswerIf it's in an airtight container, it can last as long as the date on the chocolate you used to make the candies!
 -
QuestionCan I make my own molds?
 Community AnswerYes. You can make your own molds by getting a piece of chocolate and shaping it with a molder or knife.
 -
QuestionIs there any chocolate that can be made without a mold?
 Maya KearnsCommunity AnswerYou can't make chocolate candies without a mold, but you can make chocolate shards with a sheet pan.
Things You'll Need
- Plastic candy mold
- Double-boiler (for couverture chocolate)
- Mixing bowl (oven-safe if you're microwaving)
- Cooking thermometer
- Squeeze bottle
- Spoon or 5 ounce (140 g) ladle
- Small palette knife or offset metal spatula
- Lollipop sticks (for chocolate lollipops)
Warnings
- Never wash your candy mold in a dishwasher.⧼thumbs_response⧽
- Don't use a microwave or oven without the help of an adult.⧼thumbs_response⧽
References
- ↑ http://dish.allrecipes.com/molded-chocolates/
- ↑ http://dish.allrecipes.com/molded-chocolates/
- ↑ https://www.candylandcrafts.com/chocolatecandymolding.htm
- ↑ https://www.candylandcrafts.com/chocolatecandymolding.htm
- ↑ http://dish.allrecipes.com/molded-chocolates/
- ↑ https://www.candylandcrafts.com/chocolatecandymolding.htm
- ↑ http://dish.allrecipes.com/molded-chocolates/
- ↑ https://www.candylandcrafts.com/chocolatecandymolding.htm
- ↑ https://www.candylandcrafts.com/chocolatecandymolding.htm
About This Article
To make molded chocolates, start by microwaving some chocolate chips or bars in 1-minute intervals until the chocolate is fully melted. Then, pour the melted chocolate into a plastic candy mold, and scrape the excess chocolate off of the top of the mold using a knife. Next, gently tap the mold tray on a flat surface to remove any air bubbles, and place it in the freezer for 5-10 minutes. Finally, once the chocolates are set and firm, remove them from the mold and dig in. To learn how to store homemade molded chocolates, scroll down!
