This article was co-authored by wikiHow staff writer, Janice Tieperman. Janice is a professional and creative writer who has worked at wikiHow since 2019. With both a B.A. and M.A. in English from East Stroudsburg University, she has a passion for writing a wide variety of content for anyone and everyone. In her free time, you can find her working on a new crochet pattern, listening to true crime podcasts, or tackling a new creative writing project.
There are 13 references cited in this article, which can be found at the bottom of the page.
The wikiHow Video Team also followed the article's instructions and verified that they work.
This article has been viewed 33,310 times.
Learn more...
Whether you’re a beginner or a seasoned pro, painting chocolate is a fun, creative way to express yourself in your dessert-making. This skill may seem daunting from a glance, but it’s easy to get the hang of with the proper tools and ingredients. Set aside a few minutes to decorate your chocolate, then let it dry for around an hour. With enough patience and practice, you make beautifully decorated chocolate treats of your own!
Steps
Using a Paintbrush
-
1Pour any premade edible paint into a small palette. Visit your local grocery store or baking supply shop and pick up a few bottles of your desired edible paint colors. When you’re getting ready to paint your chocolate, set aside a small palette and pour each paint color into a separate palette pan.[1]
- You can find a small paint palette at any art supply store. If you don’t have one on hand, feel free to use small cups instead.
- Edible paint tends to come in small bottles. If you’re working on a large-scale project, you may want to get more than 1 bottle of certain colors.
-
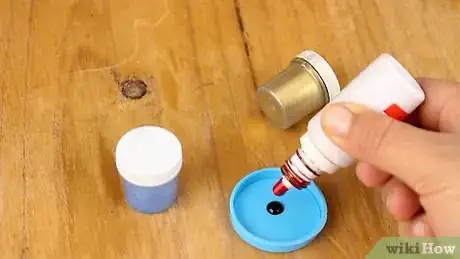
2Combine cocoa butter and powdered food coloring to make simple colors. Melt your cocoa butter down to a liquid, then add in a spoonful of powdered food coloring to make a “paint” for your chocolate. Make sure you’re mixing cocoa butter and powdered food coloring at a 6:1 ratio. [2]
- For instance, if you’re melting 6 tbsp (82 g) of cocoa butter, mix in 1 tbsp (15 g) of powdered food coloring.
- Use separate cups or containers to store each color as you make it.
- Try using a yogurt maker to melt your cocoa butter—it will help keep it at a consistently warm, melted consistency.
Advertisement -
3Recolor white chocolate with oil-based food coloring. Melt your white chocolate so it’s in a consistent, liquid form. Ladle some white chocolate to a separate container, then slowly pour in multiple drops of food coloring. Continue stirring the food coloring until it’s completely mixed into the chocolate.[3]
- You can find oil-based food coloring online, or in stores that sell special baking supplies.
- Don’t use water-based food coloring to recolor your chocolate, or you may ruin the consistency.
- This is a great way to tint white chocolate before pouring it into a mold![4]
Did you know? If you don’t want to go to the trouble of dyeing cocoa butter or white chocolate, consider melting candy melts instead!
-
4Dip a thick paintbrush into the paint for broad paint jobs. Grab a clean, 1 in (2.5 cm) thick paintbrush if you’re planning on painting over large sections of chocolate in one color. Pretend you’re painting something in watercolors, then dip the brush in the food coloring or chocolate in the same way. Coat the entire brush so you can completely cover the surface and apply the coloring to your chocolate in smooth, short strokes.[5]
- Use a clean brush for each color you plan on using.
- You can use regular paint brushes for this! Check your local art supply store if you don’t have any on hand.
-
5Use a thin paintbrush to paint fine details onto your chocolate. Dip a thin, tapered brush into the color of your choice. Paint over fine details of the chocolate with careful precision so your finished artwork looks as exact as possible.[6]
- This is good for drawing facial features or outlying different designs.
-
6Paint along the edges of your chocolate to get full coverage. Dip your thicker brush into the paint color of your choice, then start spreading the coloring along the edges and rims of your chocolate. Work in small, smooth strokes until the entire edge is covered.[7]
- This strategy works well for small desserts, like chocolate covered Oreos.
-
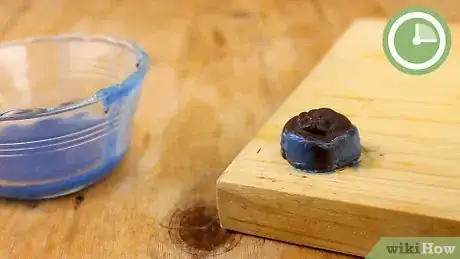
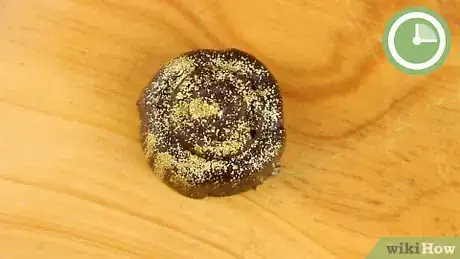
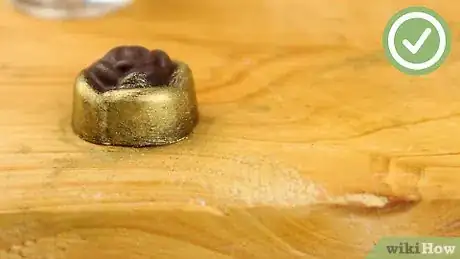
7Wait at least 1 hour for your painted chocolate to dry. Leave your painted chocolate in an open area, then set a timer for around 1 hour. Lightly tap the coloring to see if it’s dry to the touch. If it still seems damp, wait another hour or so.[8]
- Edible paints usually dry within 15-60 minutes.
Airbrushing the Chocolate
-
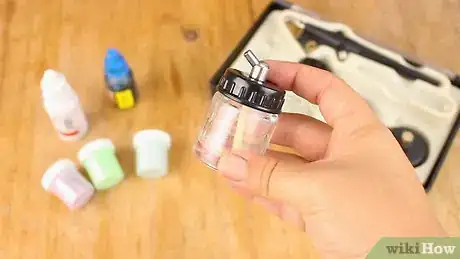
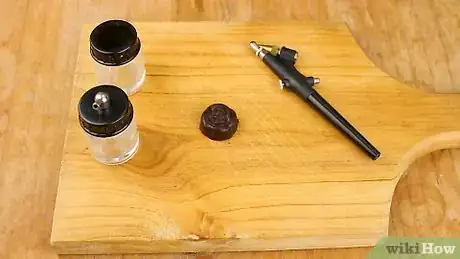
1Secure your desired color into your airbrushing equipment. Check online or visit a specialty baking store for the cartridges and airbrush tool you’d use to color your chocolate. Follow the instructions provided with your airbrushing equipment to load and replace each color properly.[9]
- Airbrushes usually come in a dual-action trigger style, or a pistol trigger style. Check your instruction guide to see which type of equipment you have.
- Airbrushing equipment generally consists of the actual airbrush gun, an air compressor, and a hose that connects the 2 together.[10]
Did you know? Airbrushes are made with a compressor, which helps the equipment to work properly. Make sure your airbrush comes with a “moisture trap,” which sits on top of your compressor and keeps any unwanted moisture from mixing with your colors.[11]
-
2Work with your chocolate in a room that’s 65 to 70 °F (18 to 21 °C). Keep in mind that chocolate will melt if you touch it, so set up your workspace in a comfortable space that’s cool enough to keep your chocolate intact. Place your chocolate on a flat surface, like a table, so you can easily coat it with edible airbrushing paint.[12]
- Make sure your workspace is very dry, with a humidity level below 50%.
- It may help to keep your chocolate on a spinning wheel or Lazy Susan, which you can move easily.[13]
- You may also want to place a cloth down to protect your workspace.
-
3Keep your airbrush 6 in (15 cm) away and at a 45-degree angle as you spray. Measure a few inches or centimeters away from the surface of your chocolate, so the color applies consistently to the surface. Work in a circle or spin your work surface to apply the airbrushed paint in an even layer over your chocolate.[14]
- Don’t hold down on the airbrush nozzle all the way! Instead, apply a small amount of pressure for more consistent coloring.
- You can also use shiny, shellac airbrush paints to give your chocolate a fun sheen.[15]
-
4Wait a few minutes for your airbrushed paint to dry. Double-check the instructions on your edible paint to see what the recommended drying time is. Depending on the product, you may be able to handle your chocolate within a few minutes of air-brushing![16]
-
5Apply base colors before adding extra accents. View your chocolate like a painting—before adding any fun details, you need to spray the background colors ahead of time. Once the base colors are in place, you can play around with different patterns and other fun designs on your chocolate![17]
- Check online or in a baking supply store for fun stencils that you can use on your chocolate.[18]
Things You’ll Need
Using a Paintbrush
- Edible paint
- Plastic palette
- Cups
- Cocoa butter
- Powdered food coloring
- White chocolate
- Oil-based food coloring
- Candy melts
- Parchment paper
- 1 in (2.5 cm) thick paintbrush
- Fine paintbrush
Airbrushing the Chocolate
- Airbrush equipment
- Airbrushing colors
- Lazy Susan or circular workspace
References
- ↑ https://m.youtube.com/watch?v=az29yiOBAkc&t=0m20s
- ↑ https://www.craftybaking.com/howto/chocolate-tint
- ↑ https://www.craftybaking.com/howto/chocolate-tint
- ↑ https://m.youtube.com/watch?v=oCGuyu0CUbQ&t=0m56s
- ↑ https://m.youtube.com/watch?v=z9sR_IeXAaU&t=1m19s
- ↑ https://m.youtube.com/watch?v=az29yiOBAkc&t=0m44s
- ↑ https://m.youtube.com/watch?v=z9sR_IeXAaU&t=2m18s
- ↑ http://www.edibleartpaint.com/8/faq/how-quickly-does-it-dry-
- ↑ http://www.manifestartstudio.com/pdf_files/Airbrushing_Chocolate.pdf
- ↑ https://chefmaster.com/blogs/articles/how-to-use-chefmaster%C2%AE-airbrush-food-coloring
- ↑ http://www.manifestartstudio.com/pdf_files/Airbrushing_Chocolate.pdf
- ↑ http://www.manifestartstudio.com/pdf_files/Airbrushing_Chocolate.pdf
- ↑ https://m.youtube.com/watch?v=SaD0H4H_PGc&T=1m8s
- ↑ https://chefmaster.com/blogs/articles/how-to-use-chefmaster%C2%AE-airbrush-food-coloring
- ↑ https://m.youtube.com/watch?v=SaD0H4H_PGc&t=1m12s
- ↑ https://chefmaster.com/blogs/articles/how-to-use-chefmaster%C2%AE-airbrush-food-coloring
- ↑ http://www.manifestartstudio.com/pdf_files/Airbrushing_Chocolate.pdf
- ↑ https://m.youtube.com/watch?v=AjN1vKL4dDo&t=2m31s
- ↑ https://m.youtube.com/watch?v=z9sR_IeXAaU&t=0m58s
