This article was co-authored by wikiHow staff writer, Travis Boylls. Travis Boylls is a Technology Writer and Editor for wikiHow. Travis has experience writing technology-related articles, providing software customer service, and in graphic design. He specializes in Windows, macOS, Android, iOS, and Linux platforms. He studied graphic design at Pikes Peak Community College.
This article has been viewed 36,178 times.
Learn more...
Anchor is a podcast creation platform by Spotify that provides tools that allow you to start a podcast, create new episodes, record them, publish, and distribute them. Anchor offers two ways for you to make money from your podcasts. You can make money through Sponsorships and Listener Support. Through Sponsorships, Anchor pairs you with different brands. You can record ads for your brand sponsors and then add them as ad breaks during your podcasts. Listener Support allows you to take donations from your listeners. Anchor monetization is only available to users within the US. How much money you can make on Anchor depends on the size of your listenership. This wikiHow teaches you how to make money on Anchor.
Steps
Signing Up for Anchor
-
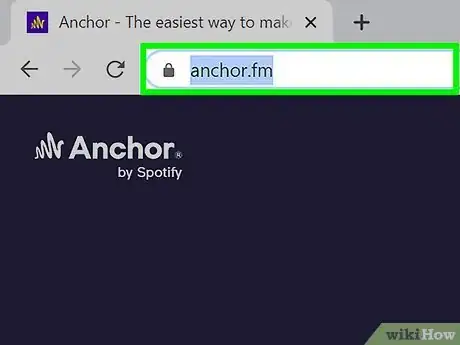
1Go to https://anchor.fm/ in a web browser. You can use any web browser on a PC or Mac. Signing up for Anchor is free and only takes a few minutes.
-
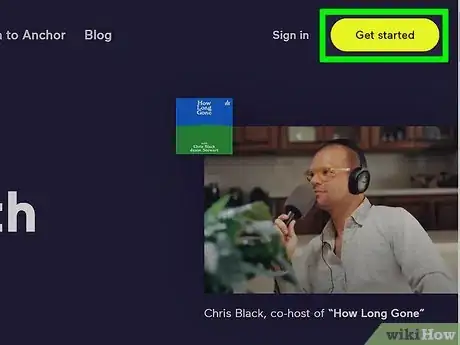
2Click Get Started. It's the yellow button in the upper-right corner. Click this button to get started creating a new Anchor account.Advertisement
-
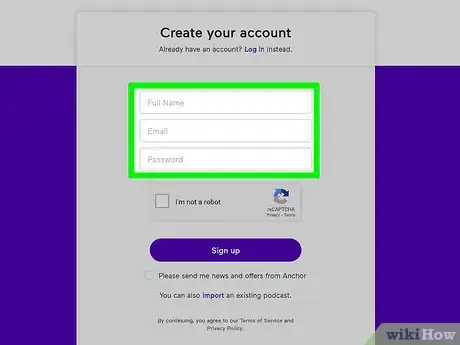
3Enter your name, email, and a password. Use the form on the Sign Up page to enter your full name, an active email address, and a password of your choice that you will use to log in.
-
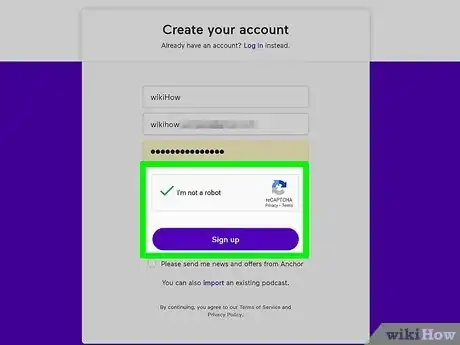
4Click the checkbox next to "I am not a robot" and click Sign Up. The check box is below the form with your name, email, and password. Click the checkbox in the reCaptcha window. Then click the purple button that says Sign In at the bottom of the page.
-
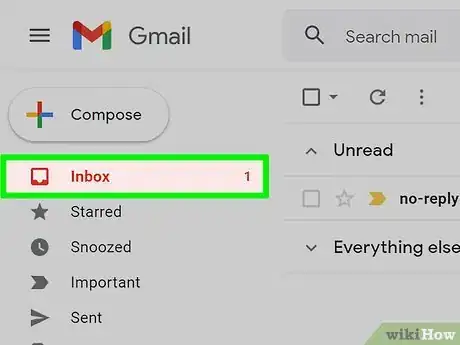
5Log in to your email. Before you can publish podcasts to your Anchor account, you need to verify your email address. Log in to the inbox for the email you used to sign up for Anchor.
-
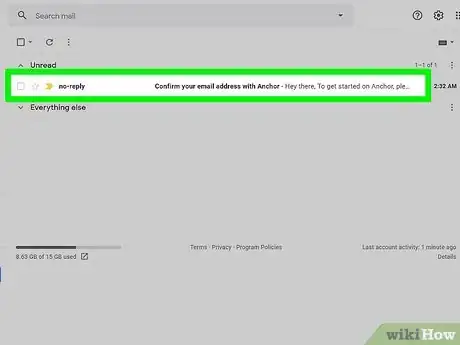
6Open the email from Anchor and click the verification link. You should have an email called "Confirm your email address with Anchor." Click the link in the first line of the email body to confirm your email address and activate your Anchor account.
Activating a Stripe Account
-
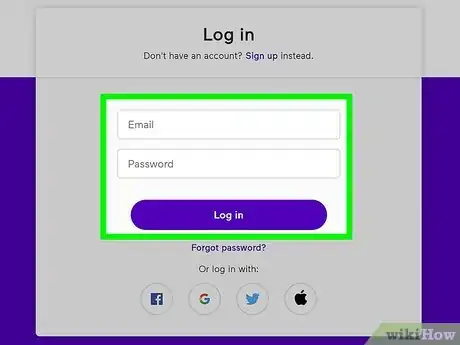
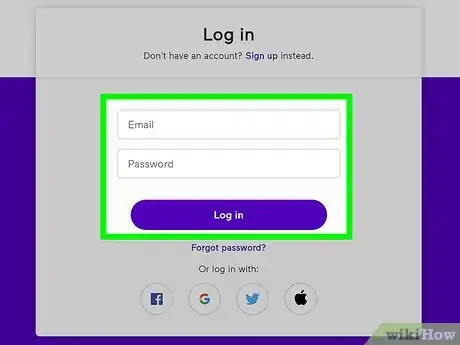
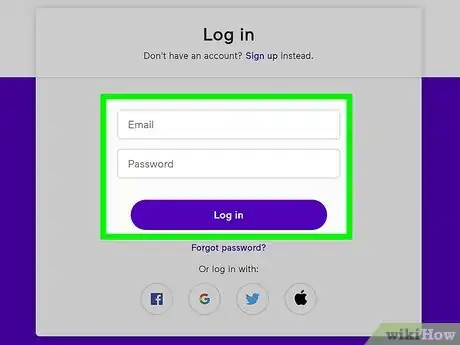
1Log in to your Anchor account. If you haven't already done so, go to https://anchor.fm/ and log in using the email address and password associated with your Anchor account. Before you can start earning money from Anchor, you'll need to create a Stripe account. Stripe is the third-party company that Anchor uses to process online payments. You can set up your Stripe account right from the Anchor website.
- You must have a Stripe account set up in order to make money on Anchor. You cannot monetize your podcast or get paid without a Stripe account.
-
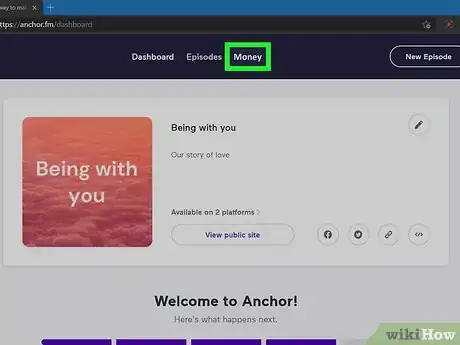
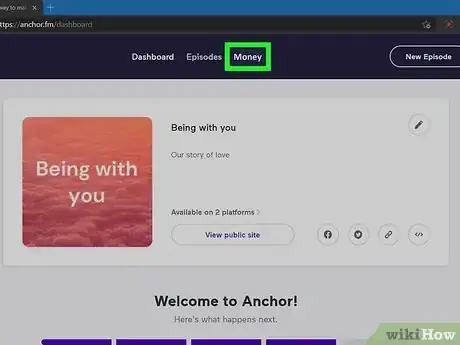
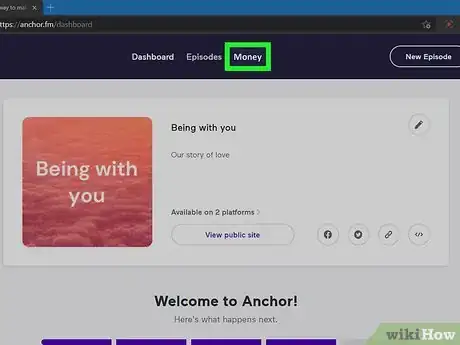
2Click Money. This displays the monetization options Anchor has to offer. This is also where you can activate your Stripe account.
-
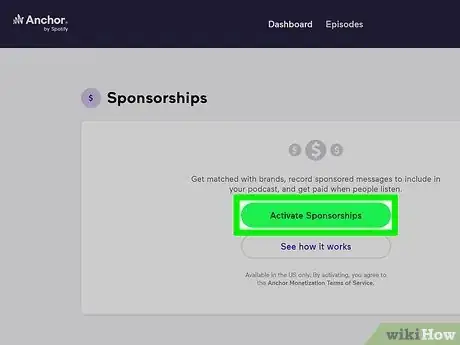
3Click Activate Sponsorships or Activate Listener Support. It's the green button at the top of the page or the purple button at the bottom of the page. This takes you to the Anchor Payments page. You will need to activate your Anchor Payments account (which will be your Stripe account) to receive payments from Anchor. This is how you create a Stripe account.
-
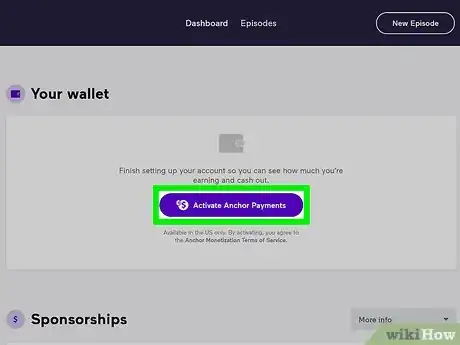
4Click Activate Anchor Payments. It's the purple button in the center of the box labeled "Your Wallet."
-
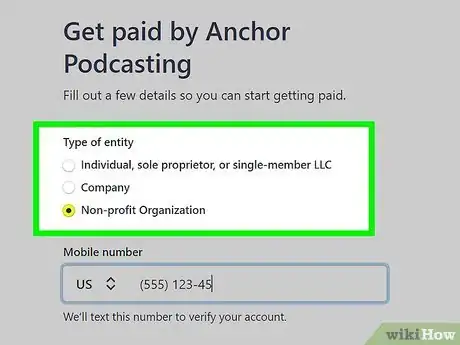
5Select the type of entity you are. There are three types of entities that you can select. They are as follows:
- Individual, sole proprietor, single-member LLC: Select this option if you are creating a podcast just for yourself.
- Company: Select this option if you are creating a podcast that will be owned by a for-profit business.
- Nonprofit company: Select this option if you are creating a podcast for a nonprofit organization, such as a charity or a religious institution.
-
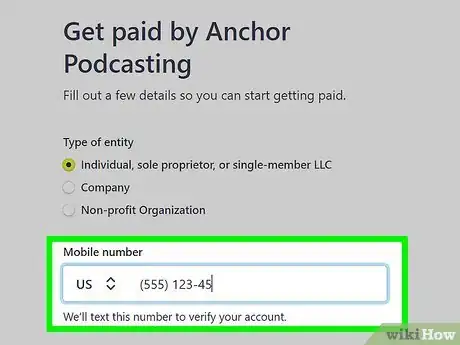
6Enter your mobile phone number. A text will be sent to your phone to verify your account. Use the space below "Mobile number" to enter a valid mobile phone number.
-
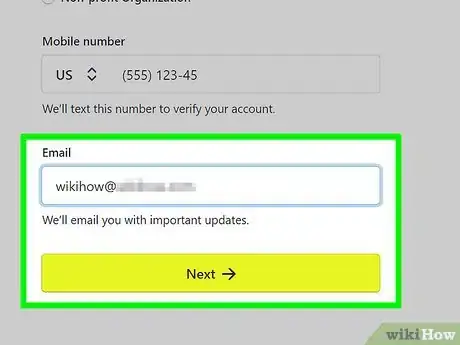
7Verify your email and click Next. The email you used to set up your Anchor account will already be entered automatically. Verify that it is correct, or enter a different email. Click Next to continue.
-
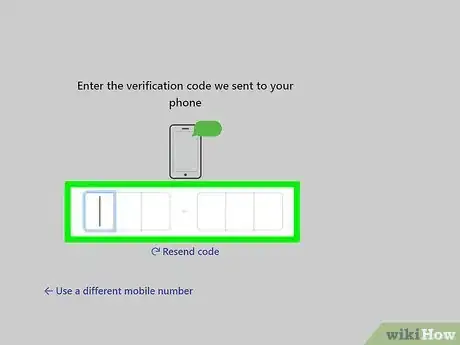
8Verify your mobile number. You will receive a confirmation text message. Check the text messages for the mobile phone number you are using to set up Anchor Payments and enter the 6 digit code in the spaces on the screen.
-
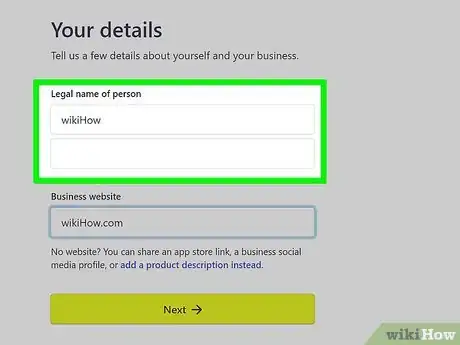
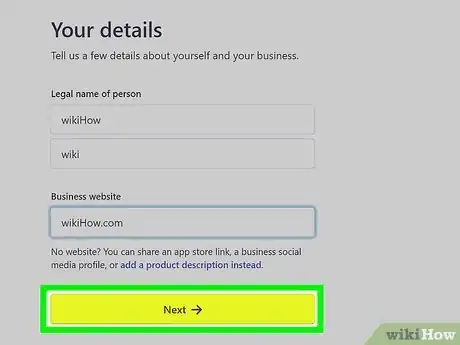
9Enter your first and last name. Use the spaces labeled "First name" and "Last name" to enter your name.
-
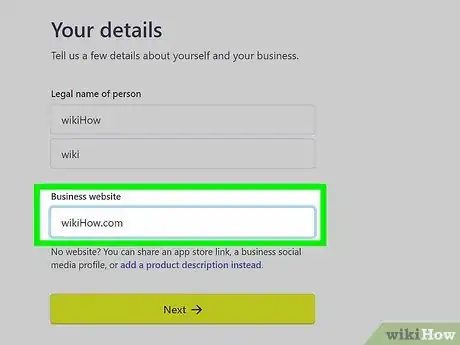
10Enter your business website. Use the space labeled "Business website" to enter the URL for your business website. If you don't have a business website, you can enter a social media profile URL, app store link, or add a description instead.
-
11Click Next. When you are ready to continue, click Next.
-
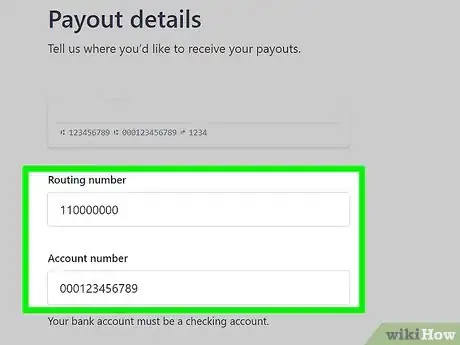
12Enter your checking account number and routing number. You'll need to enter your account number and routing number for a bank account. On most checks, the routing number is in the lower-left corner, and the account number is to the right of it. Enter the account number and routing number for your checking account in the spaces provided.
- The banking account you use must be a checking account. You cannot use a savings account.
-
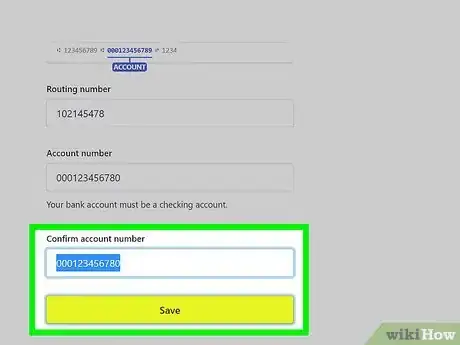
13Confirm your checking account number and click Save. Enter the checking account number again at the bottom of the page to confirm it. Then click Save save your account details.
-
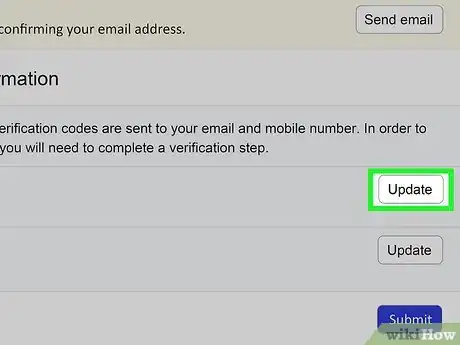
14Verify your personal details. You need to verify that you are a representative for your bank. To do so, click Update and then enter your birthdate, and the last 4 of your social security number.
-
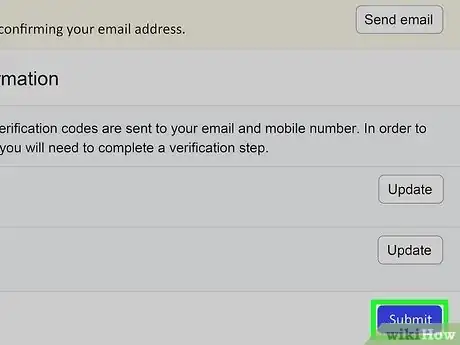
15Click Submit. It's the blue button in the lower-right corner. You will receive a confirmation email.
-
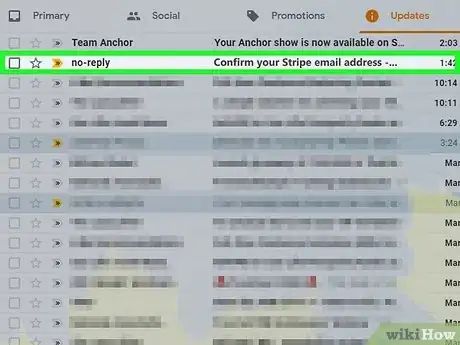
16Verify your email. After you submit your account details, log in to your email and look for an email titled "Confirm your Stripe email address". Open the email and click the blue button that says "Confirm your email." This will confirm your email with Stripe and allow you to start receiving payments.
Activating and Using Sponsorships
-
1Log in to your Anchor account. If you haven't already done so, go to https://anchor.fm/ and log in using the email address and password associated with your Anchor account.
-
2Click Money. This displays the monetization options Anchor has to offer.
-
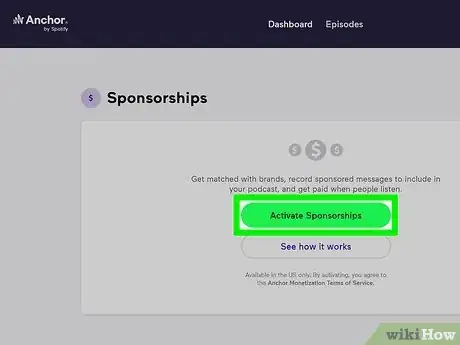
3Click Activate Sponsorships. If you haven't already done so, make sure you have activated Sponsorships. This allows Anchor to match you with brands that will sponsor your podcast.
- Brands pay you a certain amount per CPM, which is 1000 listeners. Each sponsor sets its own price per CPM. Anchor takes a 30% cut of your sponsorship earnings before they are paid out to your wallet.[1]
-
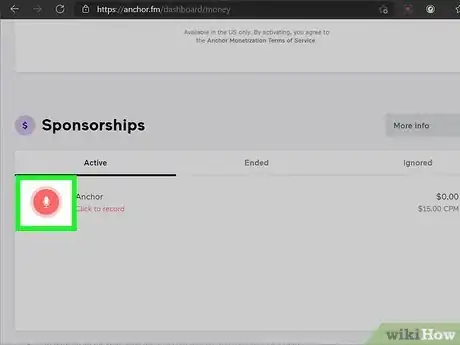
4Click the red record button next to a sponsor. If you have a sponsor, they will appear under "Sponsorships." When you sign up, you will already have Anchor as your first sponsor. Click the red button with a mic in the middle next to a sponsor to review the sponsor ad details and start recording an ad for your sponsor.
-
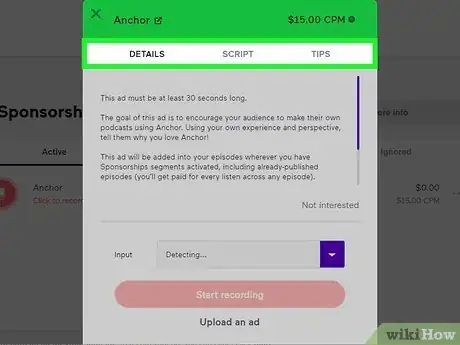
5Review the ad details. There are three tabs in the ad details pop-up window. Click each tab and read the text to review the ad details. The three tabs are as follows:
- Details: This is a general description of the ad. This tells you how long the ad should be and what the goal of the ad is.
- Script: This contains a general script for the ad. It contains a few key talking points it wants you to hit on in the ad. The sentences in bold are mandatory and must be included in the ad. The rest of the script is not mandatory. You can paraphrase these sections or not include them if you don't feel they are relevant.
- Tips: This tab contains a few tips that will help you make the ad good. It may explain the style or tone of the ad or how it wants you to read the ad.
-
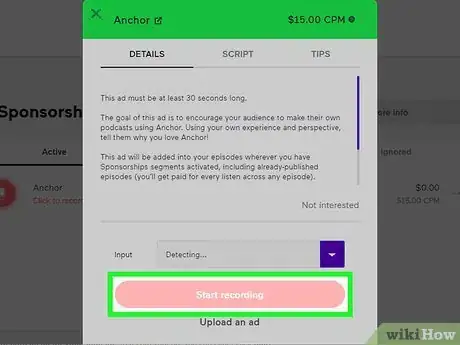
6Record an ad for your sponsor. To record your ad, you can either click Start Recording and use your computer mic or a connected USB mic Click Stop recording when you have finished recording the script. Alternatively, you can record an ad using an external program like Audacity, or a separate digital audio workstation. Save the audio as an MP3 and click Upload an ad to upload the audio file. Click Preview your recording to hear what your ad sounds like. Click Submit if you are satisfied with the ad.
- If you are do not want the brand as a sponsor, click Not Interested to pass on this sponsor.
- Make the ads for your sponsors entertaining. Recording ads don't have to be a chore and don't have to be a chore for your listeners to listen to. Be yourself and make them funny and entertaining (unless your podcast has a serious tone). Sponsors will look at how well you can convert listers to new customers. The better you can do that, the longer you will keep the sponsor.
- Record new ads for your sponsors as soon as possible. You should receive an email notification every time you get a new sponsor. Don't wait. Record a new ad for the sponsor as soon as you have the time.
-
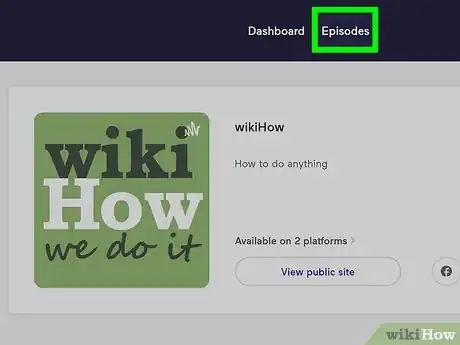
7Click Episodes. This is the second tab at the top of the page. This is where you edit and record your episodes.
-
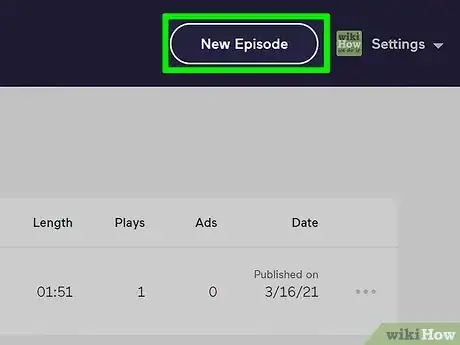
8Click New Episodes or click the name of a saved episode. If you click a saved episode, scroll down and click Edit Audio. This is where you can record the audio for your podcasts and insert commercial breaks.
-
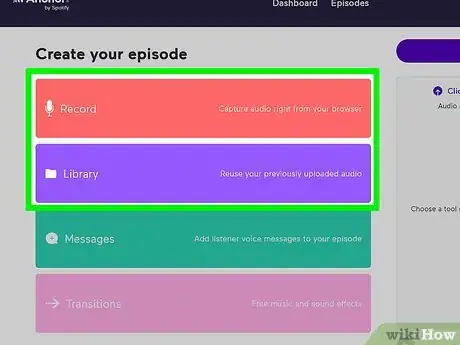
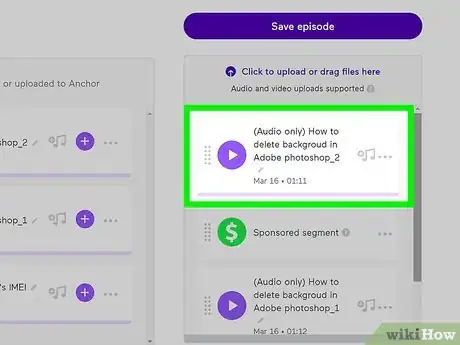
9Record your podcast up to the first ad break. You can either record your episode from your computer by clicking Record in the menu to the left. Click Stop Recording when you are finished. If you are recording your episode in an external audio editor, be sure to cut the audio file it into multiple segments so that you can add commercials breaks to your podcast. Click and drag the audio file for the first segment of your podcast and drop it in the panel to the right.
-
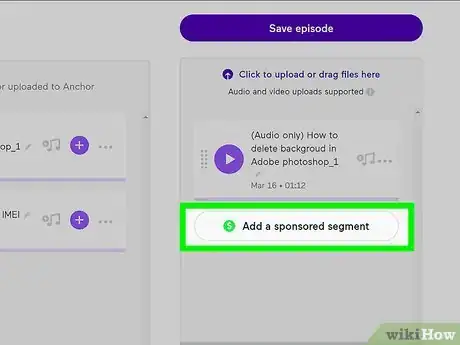
10Click Add Sponsored Segment. It's in the box on the left. This automatically adds a sponsored segment right after the first segment of your podcast. When your podcast is published, one of the ads that you recorded for your sponsors will be added to your podcast.
- You can also add a sponsored segment to the beginning of a podcast, though some sponsors require you to add the ad as a midroll, which means it needs to go in the middle of your podcast.
-
11Add another segment to your podcast. You can either record another segment for your podcast or upload the audio file of another segment of your podcast that you have previously recorded.
-
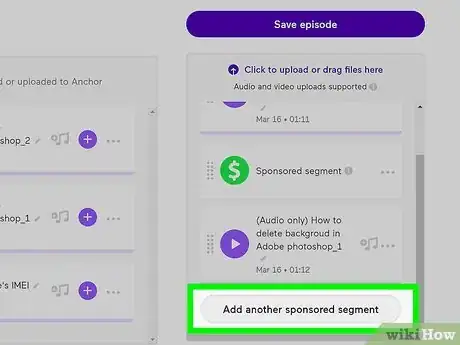
12Click Add another sponsored segment. This will add another commercial break to your podcast. Repeat for as many segments are needed for your entire podcast. You can add as many commercial breaks as you want.
- You can rearrange the order of the podcast segments and sponsored segments by clicking and dragging them.
- You cannot add a sponsored segment at the end of your podcast.[2]
- Be sure to add as many sponsored segments as possible to increase the number of CPM impressions.
-
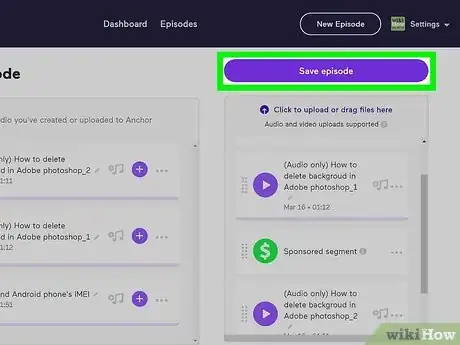
13Click Save Changes. It's the purple button above the list of podcast audio segments and sponsored segments of your podcast. This saves all the changes you have made to your podcast.
- Activate sponsorships in every episode. This will help you get as many CPM impressions as possible.
-
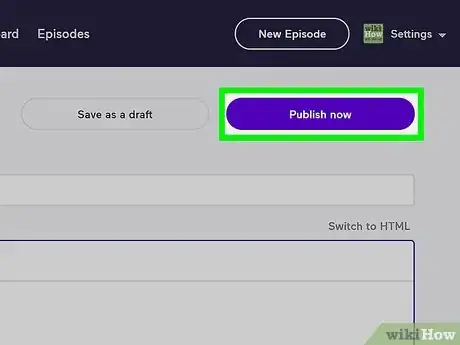
14Publish your podcast. If your podcast is finished recording your podcast, use the following steps to publish your podcast:
- Click the episode name in your list of episodes.
- Click the pencil icon in the upper-right corner to edit your podcast details.
- Add an episode title and description for your podcast.
- Click Publish now.
Activating and Using Listener Support
-
1Log in to your Anchor account. If you haven't already done so, go to https://anchor.fm/ and log in using the email address and password associated with your Anchor account.
-
2Click Money. This displays the monetization options Anchor has to offer.
-
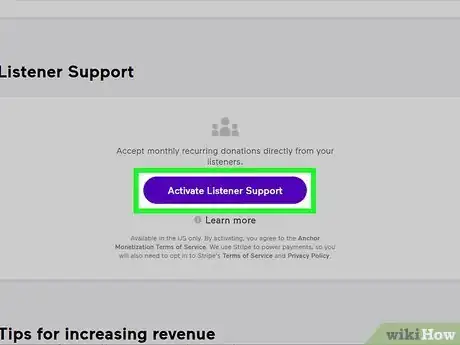
3Click Activate Listener Support. It's the purple button at the bottom of the page. You will receive an email with information about Listener Support. Listeners can choose to donate $.99, $4.99, or $9.99 per month.[3]
- Listener Support does not offer the option to record exclusive content for those who support your podcast. If you would like to create a subscription service with exclusive paid content, you can do so using a separate service such as Patreon, Supercast, or OnlyFans.
-
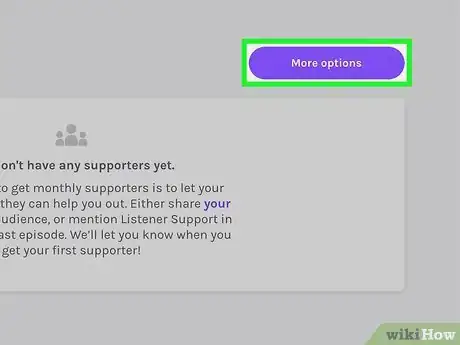
4Click Options next to "Listener Support." It's the purple button that appears next to in the top-right above the "Listener Support" box after you activate Listener Support. This allows you to customize the listener support message that will go in the show description for each podcast.
-
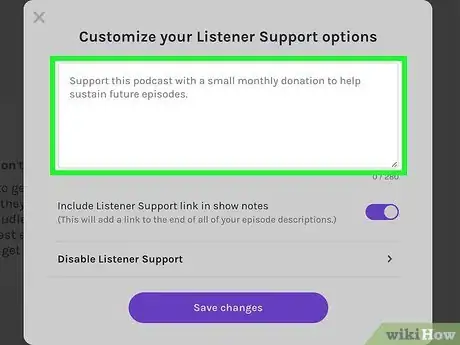
5Type a custom message asking your listeners to donate. Use the text box to type a custom message that will appear at the end of the episode description. Your message must be under 280 characters.
-
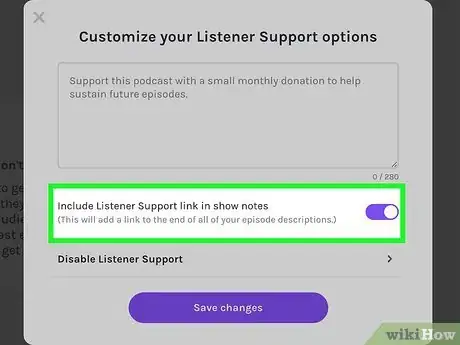
6Ensure the "Include Listener Support link" is turned on. By default, the toggle switch next to "Include Listener Support link in show notes" is turned on. If it is not on, click the toggle switch to turn it on. This will automatically post the Listener Support link at the end of all your podcast descriptions.
-
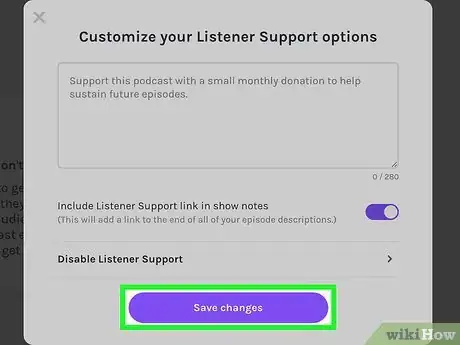
7Click Save changes. It's the purple button at the bottom of the window that allows you to customize your Listener Support options.
-
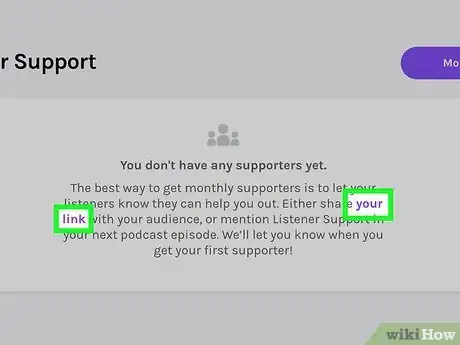
8Click "your link" in the Listener Support box. It's the blue link within the text inside the Listener Support box. This opens your Listener Support page. This is what listeners see when they see click your Listener Support link. It contains a form that allows them to enter their name, email, credit, or debit card and select how much they want to donate per month. Listeners can fill out this form to donate to your podcast.
-
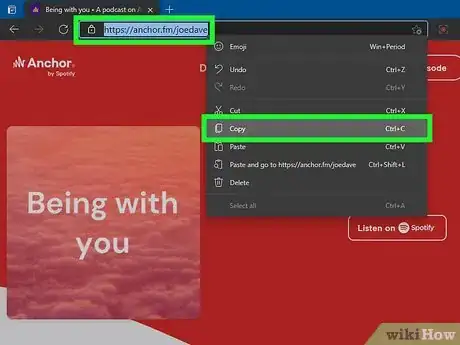
9Copy the link to the Listener Support page. Highlight the link at the top of the page and right-click the link and click Copy.
-
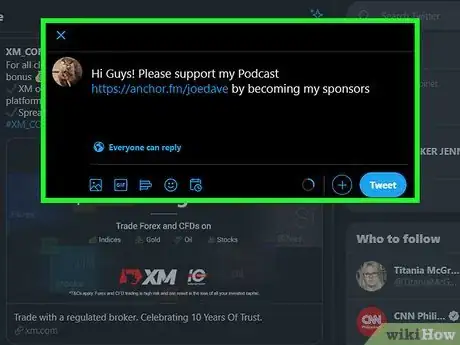
10Paste the link in messages and share it. You can paste the link in a social media post, email newsletter, website, or any other place where people will see it. This lets people know you are accepting donations and allows them to support you.
- When asking listeners to donate money, be yourself and mention it organically. Let it be known that this is entirely optional.
- Offer rewards for donating money. Rewards can include shoutouts or guest spots on an episode, or free merchandise.
- Let your listeners know what their donations will be used for. This could be more frequent episodes, better guests, new recording equipment, better production quality, etc.
Cashing Out
-
1Wait 30 days after your first sponsorship. Once you get your first sponsorship, there is a 30-day waiting period before you can cash out.
-
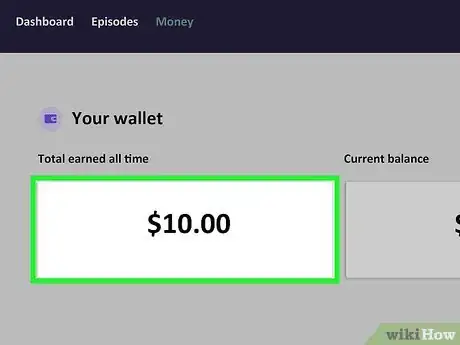
2Have a current balance of at least $10. You must have a balance of at least $10 before you can cash out.
-
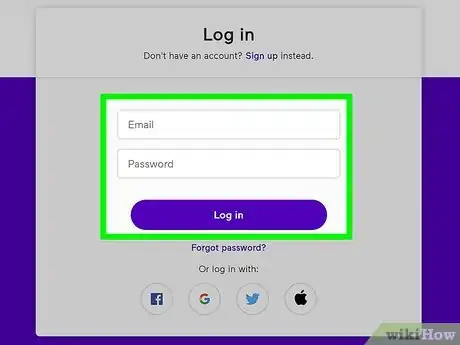
3Log in to your Anchor account. If you haven't already done so, go to https://anchor.fm/ and log in using the email address and password associated with your Anchor account. You can also log in to the Anchor app on your smartphone or tablet.
-
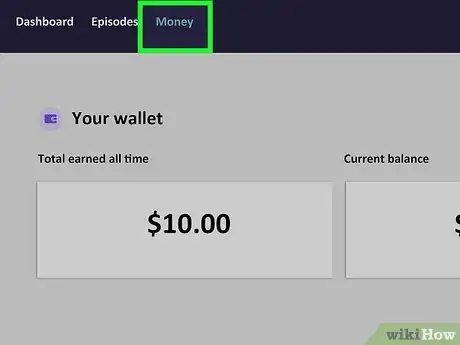
4Click or tap Money. The money page displays all your monetization options as well as your current balance and all-time earnings.
-
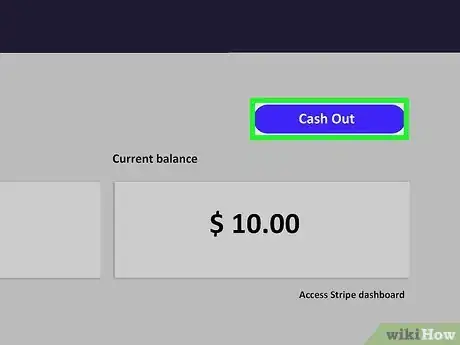
5Click Cash Out. It's the blue button on the Money page on both the website and mobile app. It normally takes 3-5 business days for your earnings to appear in your bank account.
- There is a $.25 processing fee when you cash out.[4]
- The balance in your wallet will automatically be cashed out after 90 days.
References
- ↑ https://help.anchor.fm/hc/en-us/articles/360012563112
- ↑ https://www.youtube.com/watch?v=UBUUalBCLEQ
- ↑ https://techcrunch.com/2018/08/09/anchor-launches-listener-support-feature-to-help-podcasters-get-paid/
- ↑ https://help.anchor.fm/hc/en-us/articles/360012563112-Cashing-out-from-your-wallet-
- ↑ https://help.anchor.fm/hc/en-us/articles/360019691231-Tips-for-growing-revenue
About This Article
1. Go to https://anchor.fm/ and log in or create a new account.
2. Click the Money tab.
3. Click Activate Sponsorships or Activate Listener Support.
4. Follow the instructions to activate your Anchor Pay account.
5. Click the record button next to a sponsor in the Sponsorships box to record an ad for a sponsor.
6. Click Options next to "Listener Support" to create a customer Listener Support message.
7. Record the first segment of your podcast in under the Episodes tab.
8. Click Add Sponsored Segment to add an ad for a sponsor to your podcast.
9. Publish your podcast.
