This article was co-authored by wikiHow Staff. Our trained team of editors and researchers validate articles for accuracy and comprehensiveness. wikiHow's Content Management Team carefully monitors the work from our editorial staff to ensure that each article is backed by trusted research and meets our high quality standards.
This article has been viewed 181,757 times.
Learn more...
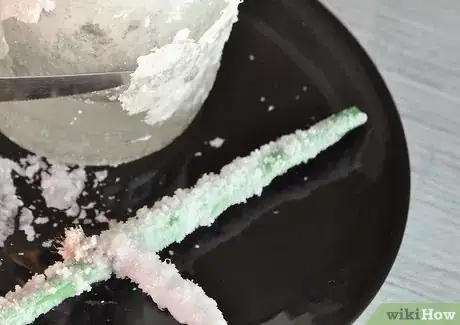
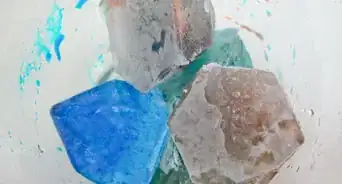
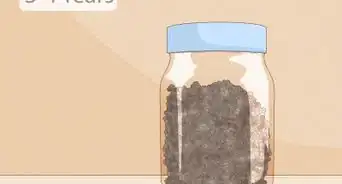
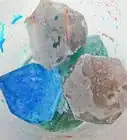
Rock salt is just coarse-grained table salt. Many stores sell it by the pound in bags. If you can't find any, then with a little work it's not hard to make your own. You can use these crystals as garnish for food, or you can keep them and add them to your personal rock collection.
Steps
Making Basic Rock Salt
-
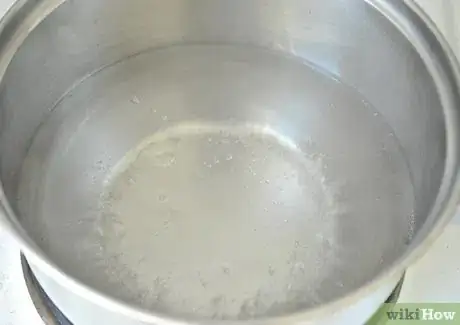
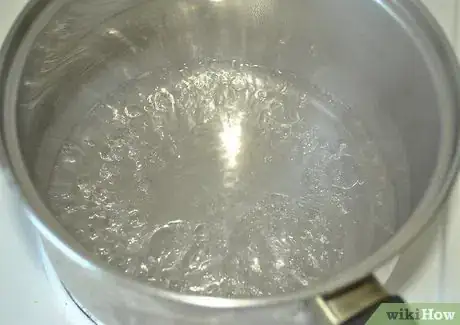
1Boil some water in a saucepan. You need enough water to fill your jar. How much water you use will depend on how large your jar is.
-
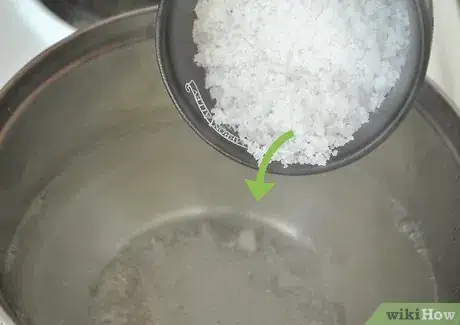
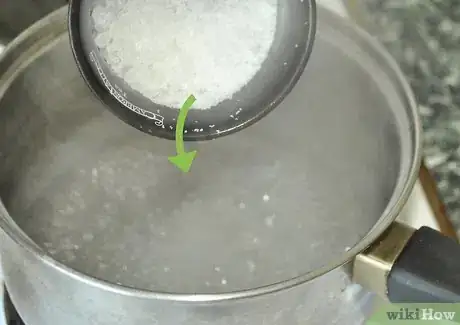
2Stir some salt into the water and let it dissolve. Keep the water boiling at this point. You can use any type of salt, such as: iodized salt, uniodized salt, sea salt or Epsom salt.[1] If you plan on eating the salt crystals, do not use Epsom salt.
- Uniodized salt will give you the best-shaped crystals.
Advertisement -
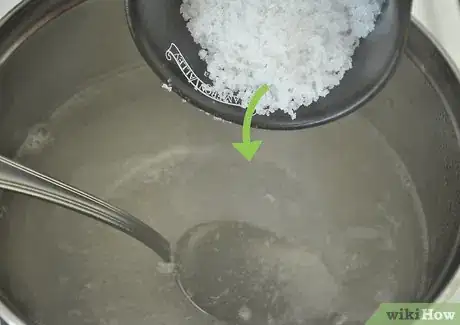
3Keep adding salt until no more will dissolve, and a few grains remain at the bottom. If you want to make colored rock salt, add a few drops of food coloring. The more food coloring you add, the darker your crystals will become.[2]
-
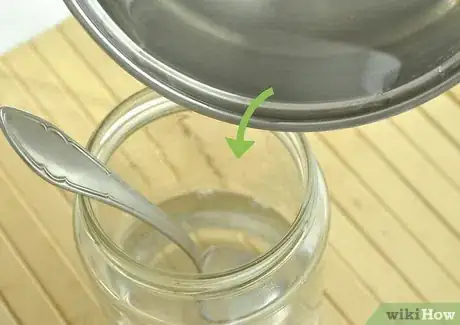
4
-
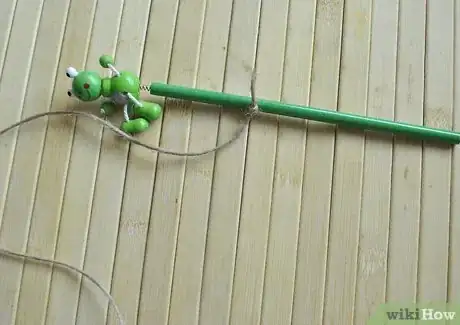
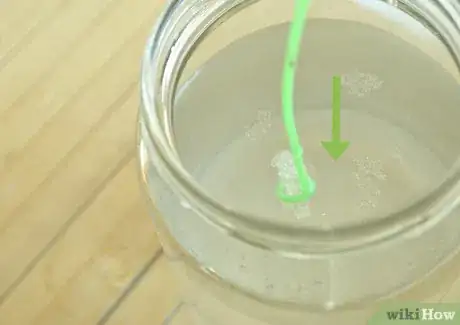
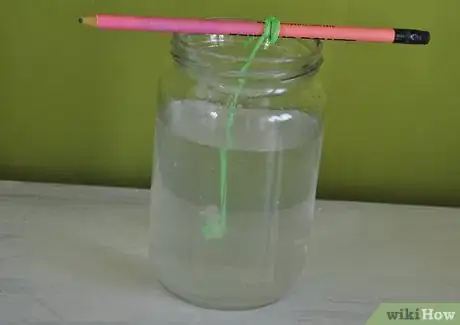
5Tie a string to a pencil. The string should be long enough to fit inside your jar, but not so long that it touches the bottom. About 1/2 to 1 inch (1.27 to 2.54 centimeters) from the bottom of the jar will be plenty.
-
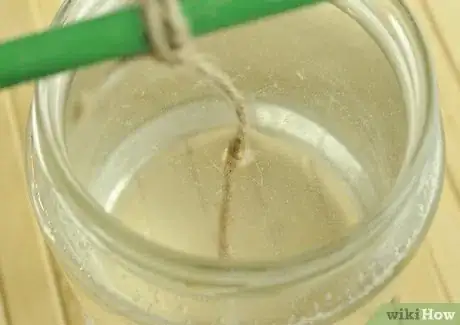
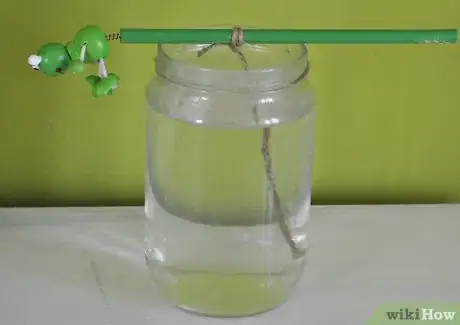
6Lay the pencil across top of jar and dip the string into the water. The string should be suspended in the water. If string won't stay down, tie a bead or paper clip to it.[5] Again, the bottom of the string should not be touching the bottom of jar. If it is, cut the string shorter.
-
7Place the jar someplace where it won't be disturbed. If you can, try to keep the jar covered, such as with a box. You want the water to be able to evaporate, but you don't want any dust to get inside the jar, which can prevent the crystals from forming.[6] The room temperature should also remain consistent.
-
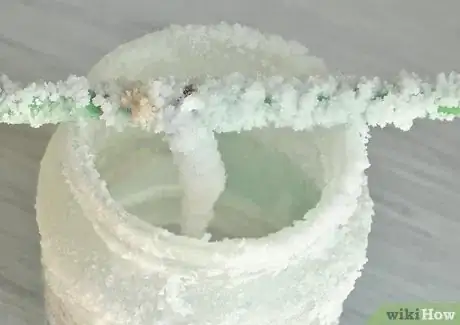
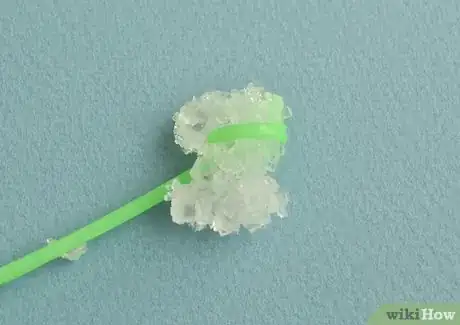
8Wait for the crystals to grow. As the water evaporates, it will leave the salt behind. During this time, the salt will begin to come together and form crystals. Most of the crystals will grow on the strong, but you may also get some growing on the walls of the jar.
- It will take a few days for the crystals to grow. The longer you wait, the larger they will become. If you want really large crystals, you will need to use a crystal seed. Click here to learn how to grow and use a crystal seed.
-
9Use the crystals. Once the crystals get to the size you want, carefully pull the string out and pour the water out of the jar. If you want to use these crystals to eat, carefully break them off the string. You can also use a butter knife to pry them away from the walls of the jar.
Making Extra-Large Rock Salt
-
1Boil some water in a small saucepan. You do not need a lot of water at this point, but you need enough to create a concentrated solution. Aim for about 1 cup (240 milliliters) of water.
-
2Stir some salt to the boiling water and let it dissolve. Keep adding salt until no more will dissolve, and you see a few grains of salt at the bottom of the pot.
-
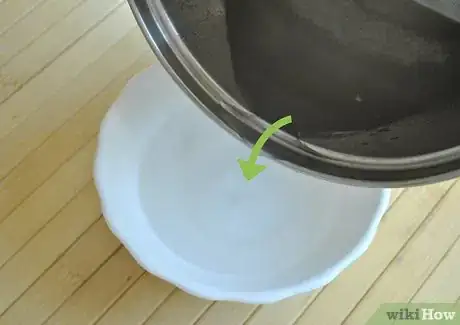
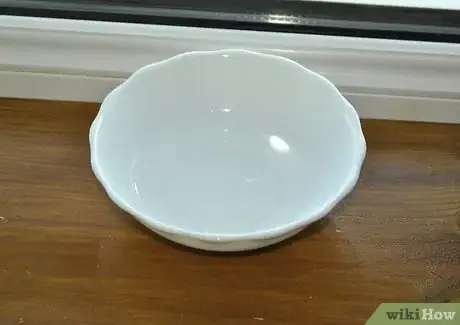
3Pour the water into a small saucer or dish. Once no more salt will dissolve, take the saucepan off the stove, and pour the water into a small dish. You are only using a little bit of water for now, so that it can evaporate faster. You will likely have a lot of water left over. Either save this water for later, or pour it out.
- Be very careful not to get any salt grains into the dish. If you get any salt grains, your salt crystals won't be very big.[7]
-
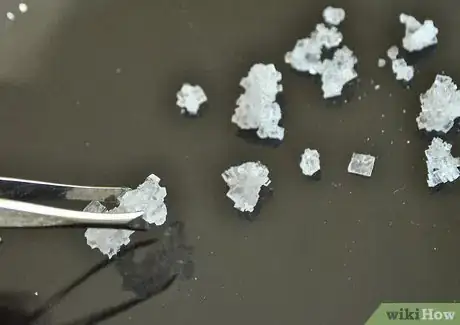
4Wait until the water evaporates and crystals form. Put the dish someplace where it won't be disturbed. It will take a few hours to a day for the water to evaporate and tiny crystals to form.
-
5
-
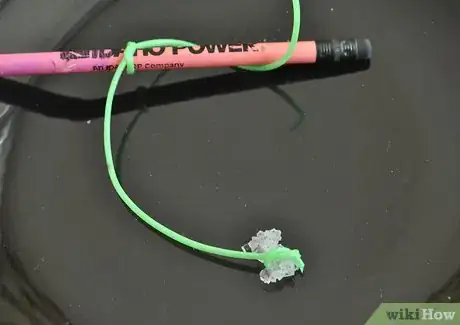
6Tie a piece of thread to the crystal. Tie the other end of the thread to a pencil. You can also use a popsicle stick or chopstick instead.
-
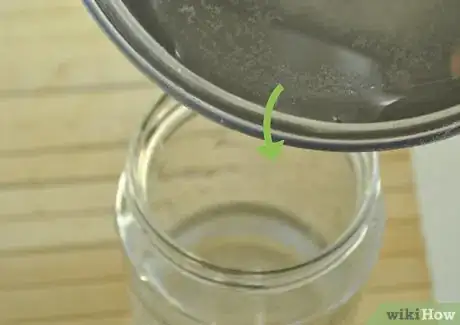
7Fill a jar with more salt water, and let the water cool. Boil some more water, and add some salt to it. Keep adding salt until no more will dissolve, and you see a few grains at the bottom of the pot. Take the pot off the stove and let the water cool.
-
8Place the pencil over the mouth of the jar, and slowly lower the crystal into the water. Don't let it splash into the water, if you may trigger the growth of smaller crystals.[10] The water must be cool, or the crystal may dissolve.
-
9Place the jar someplace where it won't get disturbed, and wait. If you can, try to keep the jar covered, such as with a box. You want the water to be able to evaporate, but you don't want any dust to get into the jar. The temperature in the room must also be consistent.[11]
-
10Use the crystal. As the water evaporates, the salt will stay behind, and collect on your seed crystal. The longer you wait, the larger your crystal will become. Once it reaches the size you want, pull the crystal out of the water, and cut the string off. Pour the salt water out. You should now have an extra-large salt rock.
Community Q&A
-
QuestionIs it safe to eat?
 Community AnswerYes, it is safe to eat (unless you use Epsom salt).
 -
QuestionDo I have to do step 5?
 Community AnswerTechnically no. You will still form crystals, however they need something to grow off of. This is the use for the string.
 -
QuestionWhat type of salt do I need to use?
 Community AnswerAny type of salt should work well.
Warnings
- Make sure that the temperature where you leave the jar is consistent. A windowsill is a poor choice, because the temperatures change too much. A desk or shelf would be better.⧼thumbs_response⧽
- If you are going to keep the crystals to use for display, don't get them wet or they will dissolve.⧼thumbs_response⧽
- Don't let any dust get into the jar, or the crystals won't form properly.⧼thumbs_response⧽
- Don't disturb the jars while the crystals are forming.⧼thumbs_response⧽
Things You'll Need
Basic Rock Salt
- Stove
- Pot or saucepan
- Distilled Water
- Salt
- Spoon
- Glass jar
- String
- Pencil, popsicle stick, or chopstick
- Bead or paperclip (optional)
- Food coloring (optional)
Extra-Large Rock Salt
- Stove
- Pot or saucepan
- Distilled Water
- Salt
- Spoon
- Small dish
- Glass jar
- Thread
- Pencil, popsicle stick, or chopstick
- Bead or paperclip (optional)
References
- ↑ http://www.saltassociation.co.uk/education/properties-of-salt/grow-salt-crystal/
- ↑ http://sciencenotes.org/grow-table-salt-or-sodium-chloride-crystals/
- ↑ http://sciencenotes.org/grow-table-salt-or-sodium-chloride-crystals/
- ↑ http://www.saltassociation.co.uk/education/properties-of-salt/grow-salt-crystal/
- ↑ http://www.sciencecompany.com/Simple-Crystals-on-a-String.aspx
- ↑ http://www.sciencecompany.com/Simple-Crystals-on-a-String.aspx
- ↑ http://skywalker.cochise.edu/wellerr/crystalgrow/how-form.htm
- ↑ http://skywalker.cochise.edu/wellerr/crystalgrow/how-form.htm
- ↑ http://sciencenotes.org/grow-table-salt-or-sodium-chloride-crystals/
About This Article
To make rock salt, start by bringing some water to a boil in a saucepan and adding salt, stirring it so it dissolves. Then, continue to add salt to the water until no more will dissolve. Next, pour the mixture into a glass jar and tie a string around a pencil. Once you've done that, lay the pencil across the rim of the jar and dip the string into the water. Finally, set the jar aside and wait several days for the water to evaporate and rock salt to grow on the string. To learn how to make extra-large rock salt, scroll down!
