X
wikiHow is a “wiki,” similar to Wikipedia, which means that many of our articles are co-written by multiple authors. To create this article, 9 people, some anonymous, worked to edit and improve it over time.
This article has been viewed 1,849 times.
Learn more...
A pie iron is a cooking tool usually used outdoors. Whether you're camping, at the park, or in your backyard, using a pie iron is simple. In this article, you will be learning how to make a grilled cheese sandwich using a pie iron over a campfire.
Ingredients
For one sandwich:
- Two slices of bread of your choice.
- Two slices of Cheese or a bag of shredded cheese.
- One tbsp of stick of butter, softened or spray butter is preferred.
Steps
-
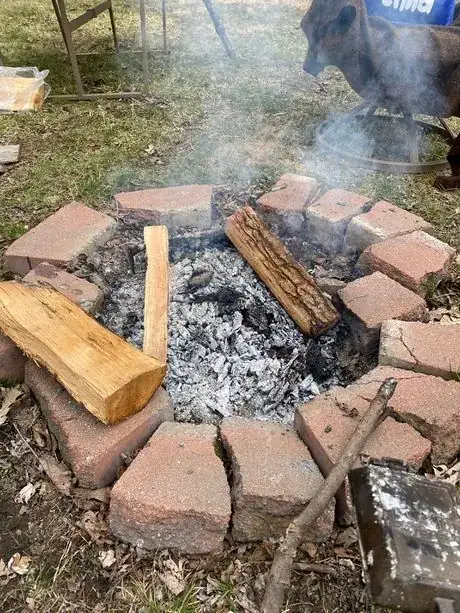
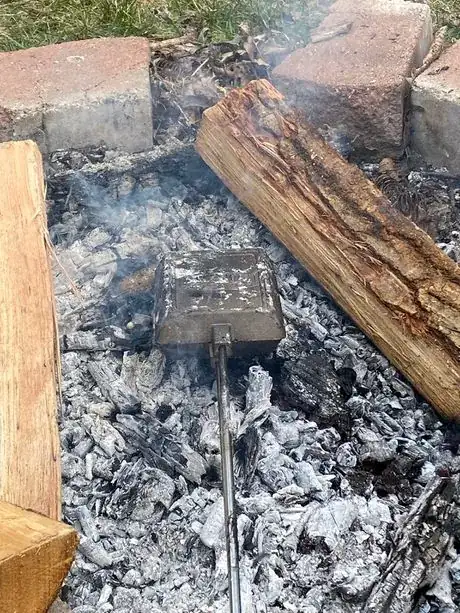
1Start a campfire. For help building a campfire, you can refer to the Wikihow article How to [Build a Campfire].
- Make sure the coals are level for even heat.
-
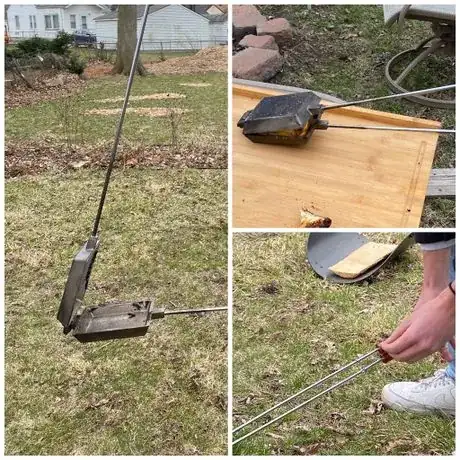
2Prepare the pie iron.
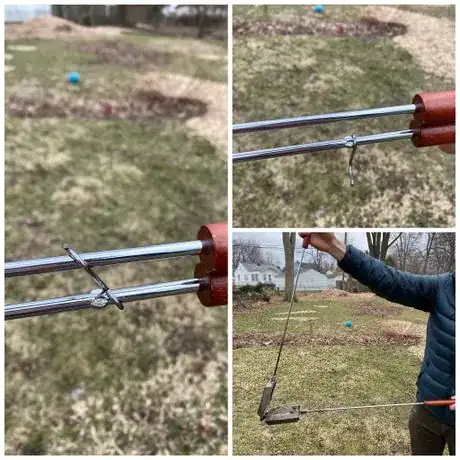
- Unhook the latch on the bottom.
- Make sure it opens and closes freely.
- Make sure the pie iron is clean. If not, be sure to clean it.
Advertisement -
3Butter the iron.
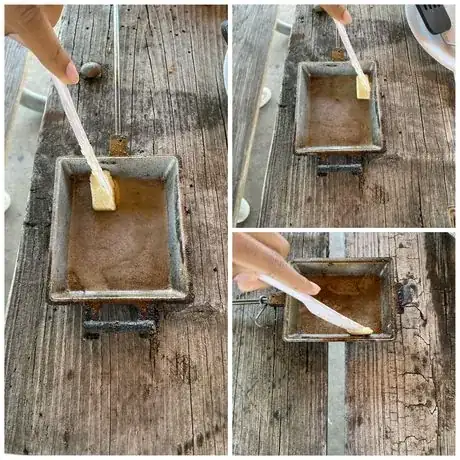
- Use a butter knife to spread 1/2 tablespoon of butter on each side of the pie iron.
-
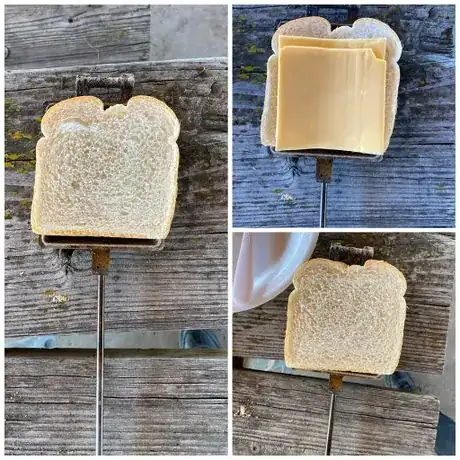
4Add the sandwich. Take a slice of bread and place it in the pie iron. Get your choice of cheese - Velveeta sliced cheese is preferable because it melts the easiest. Shredded cheese is also good but there is no exact quantity. Add your preferred amount of slices to the slice of bread that's in the pie iron, it is recommended that you use no more than 2 slices.
-
5Close the pie iron.
- Shut the pie iron and hook the bottom metal piece in.
- Latch the bottom hook of the pie iron and keep it secure.
- Cut off any excess bread that is hanging outside of the pie iron.
-
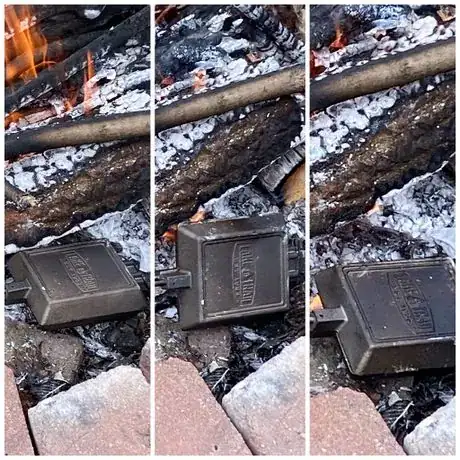
6Place in fire. Once the fire has calmed down and is burning, using oven mitts, place your pie iron directly on top of the coals.
- Place the pie iron above the heat and make sure to keep a distance.
-
7Flip the pie iron 180 degrees every 30 seconds.
-
8Check frequently.
- After every 30 seconds, take your pie iron out and open to check for desired make.
-
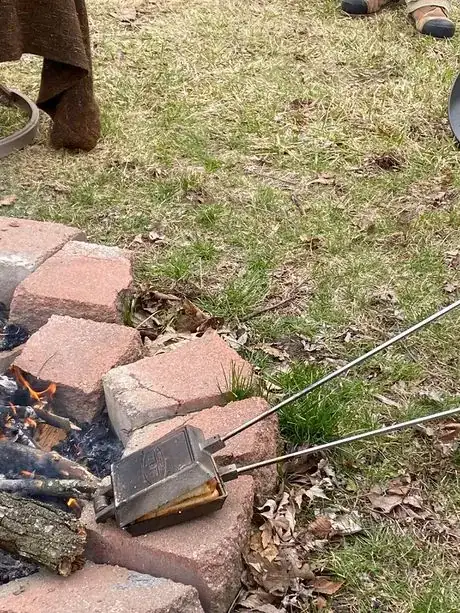
9Take the pie iron out.
- Pull the pie iron away from the fire.
- Make sure once again that the latch is secured and rotated for convenience.
- Do not bring the iron near others while holding it. Be careful not to touch any metal parts of the iron because they are hot.
-
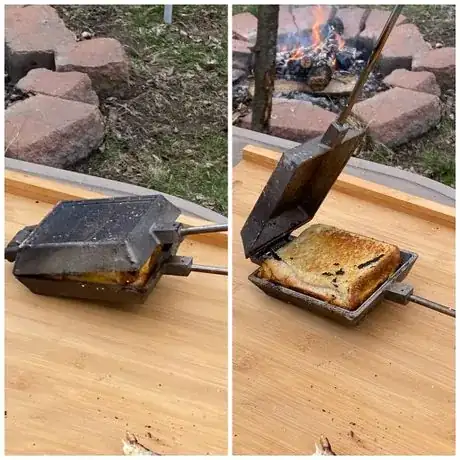
10Place it down. Place the pie iron on a heat-safe surface. For example, a picnic table, a brick, or even on the grass.
- If there is no heat-safe surface available, put a heat placemat to avoid damaging any surfaces.
-
11Open the pie iron.
- While still wearing your gloves, unhook the metal latch from the bottom and open the pie iron away from you.
-
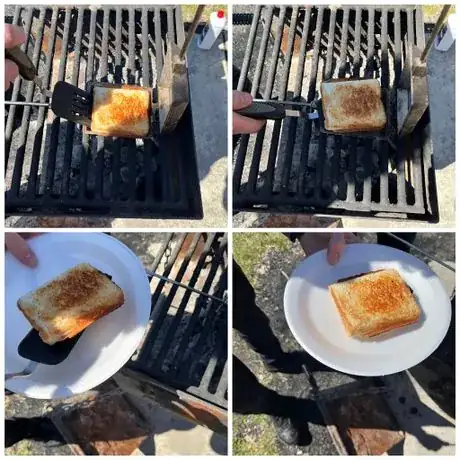
12Prepare your dish.
- Have a plate ready on the table.
- Remove the sandwich from the pie iron using a spatula.
- Place it on a plate and enjoy!
-
13Clean the pie iron. If it is an aluminum pie cooker, you can wash it by scrubbing it with soap using a scrub or steel wool and then soaking it in hot water.
- To clean your cast pie iron, you can refer to How to Clean Cast Iron.
Advertisement
Warnings
- Do not touch the iron after placing it in the fire, it may burn you.⧼thumbs_response⧽
- When making multiple sandwiches, note that the pie iron heats the slowest in the beginning so it will take longer than usual. After you've made at least one sandwich, the pie iron will stay hot so more frequent checking is recommended the more sandwiches are made with the same pie iron.⧼thumbs_response⧽
Advertisement
Things You'll Need
- Cast Pie Iron or an Aluminum Pie Cooker
- Butter Knife
- Spatula
- Oven mitts or Heat-safe gloves
- Plates
About This Article
Advertisement
